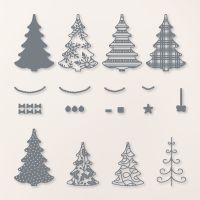
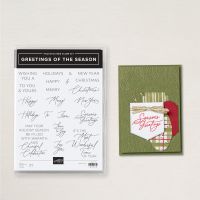
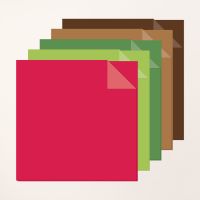
I saw a version of this gorgeous card, that highlights many of the components of this lovely bundle! What I also liked, is that it highlights our 2-tone papers! The trees are a combination of the Garden Green and Granny Apple Green papers! Notice the subtle color changes in the layers? It also makes for a thinner, lighter weight card. My one suggestion is to be sure to make use of our Adhesive Sheets for all the intricate layers and decorations! That was so helpful!
Measurements:
- Thick White: 1/2 sheet cut LENGTHWISE
- Basic White: 4 1/8" square (largest decorative circle), 1 1/4" x 4" (words), 3/8" x 2"
- Real Red: 2 1/2" x 3 1/2" (tree base), 1 1/4" x 4" (words), 3/4" x 2 3/4" (label)
- Reindeer Memories 2-Tone cardstock (N)(SB): 2 pcs @ 2 1/2" x 3 1/2" (Garden Green), 2 1/4" x 2 3/4" (Garden Green); 2 1/2" x 3 1/2" (Granny Apple Green)
- Take a Bow (N): 4" x 5 1/4", (diagonal stripe); 2 3/4" x 5 1/4", 1/2" x 5 1/2" (dots)
- Gold Foil: scraps
- Adhesive Sheet: scraps
To Make This Card:
- Attach DSP pieces to folded White card.
- Die cut the largest decorative circle from the Spotlight on Nature dies. Attach to card front as shown, just a little higher off center.
- Die cut "solid" tree from Real Red and 2 from Garden Green 2-tone.
- Attach Adhesive sheet to the corresponding cardstocks and die cut "plaid" tree from Granny Apple Green, "dots" & "holly" from Garden Green 2-tone.
- Attach to the corresponding bases. (Note: you will need to trim the "holly" base to fit the top.)
- Add Adhesive sheet to back of Gold scrap. Die cut "decorations", and attach to the "trees" as shown.
- Now assemble the trees onto the White circle, centering the "dots" tree near the top.
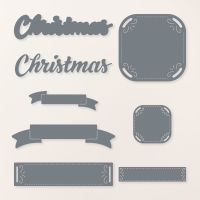
- Next, Die cut base of sentiment in White. Attach Adhesive sheet to the back of the Real Red piece, and die cut the detailed sentiment. Adhere the 2 together, and add to card.
- Die cut small "label" in Real Red. Stamp sentiment in Real Red ink, and attach to labe.
- Then attach "label" to card front, over trees, with Dimensionals.
- Finish inside with strip of DSP
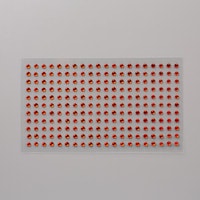
- Finish outside with small red rhinestones, as shown.






No comments:
Post a Comment