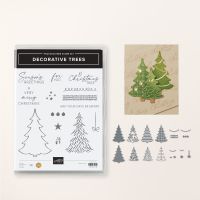
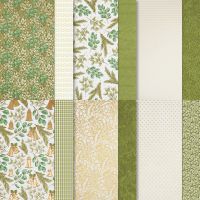
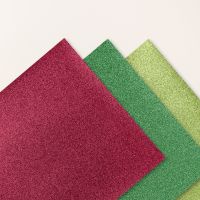
Sara Douglass, our CEO, shares some fun things every Tuesday afternoon! If you haven't watched her, she really has some fun things to share! A couple of weeks ago, she demonstrated heat embossing on Glimmer (glitter) Paper! She used the Decorative Trees, shown here, and did another sample as well. This is so new, that I had to come up with my own card, as I was not finding any inspiration on any other websites! So, enjoy this full card version using the Festive Glimmer Paper in the new mini catalog, along with DSP from the Seasons of Green and Gold DSP in the Online Store.
Measurements:
- Thick White: 1/2 sheet
- Basic White: 3 3/4" x 5", 1 1/4" x 4" ("Christmas"), 3/8" x 2" ("Merry")
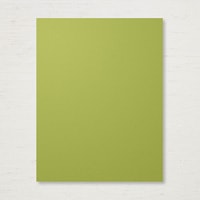
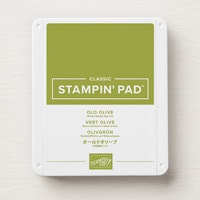
- Old Olive: 4" x 5 1/4", 1 1/4" x 4" ("Christmas"), scrap
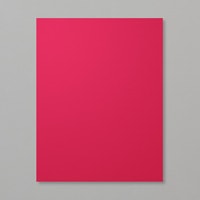
- Real Red: 1 7/8" x 5"
- Festive Glimmer Paper (N): 2 1/2" x 3 1/2" (lt green)
- Seasons of Green & Gold DSP (N): 1 7/8" x 5" (green plaid)
- Adhesive Sheet: 1 1/4" x 4" (white "Christmas")
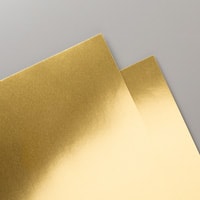
- Gold foil: small scrap
To Make This Card:
- Attach Old Olive layer to folded White card.
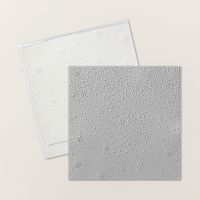
- Run Basic White layer through Snowflake Sky 3D Embossing Folder. Attach to card front.
- Adhere plaid DSP to Real Red piece, then add to card as shown.
- Die cut tree from Glimmer Paper.
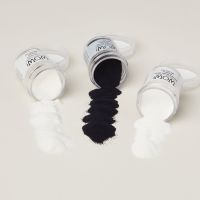
- Stamp and emboss "tree" in White Embossing Powder. Cool, huh!
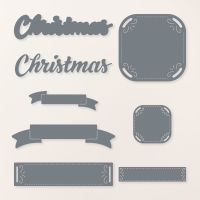
- Die cut larger "Christmas" from Old Olive.
- Attach adhesive sheet to White piece for words. Die cut with more detailed "Christmas". Peel back adhesive and attach to Old Olive layer.
- Now, attach this to card, as shown.
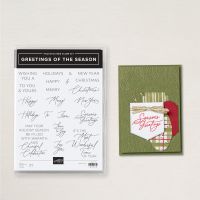
- Die cut smallest tag from Old Olive. Stamp "merry" in Old Olive ink onto narrow strip, and attach to tag, then attach to card.
- Die cut a star from Gold Foil. Attach to top of tree.
- Add "tree" to card with Dimensionals.
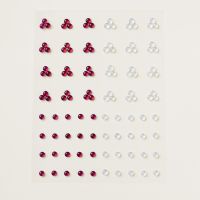
- Finish with scattered "berries".







No comments:
Post a Comment