Wednesday, August 28, 2024

In the Grove meets Thoughtful Journey

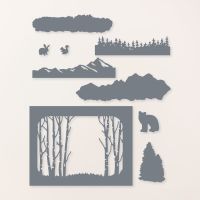
 One can't have too many "tree" dies!  This one is another gorgeous die that creates a horizontal, rectangle opening of BIRCH trees! (Each die has it's own "tree" and orientation!). I love the rounded corners and graceful bottom edge on this one. These always work so well with our scenic papers and make awesome guy cards!  I usually don't like to mess with the design with a sentiment, but this one is...okay. I love the extra design of this card, which adds an additional, smaller card inside with the embossed DSP.  So many of our DSP's would work for this design!  Give it a try!


Measurements:  

  • Thick Basic White: 1/2 sheet cut LENGTHWISE
  • Basic White: 5" x 7 1/2" (inside card)
  • Boho Blue: scrap
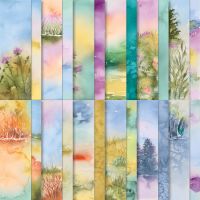
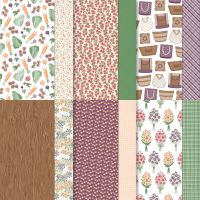
  • Thoughtful Journey DSP (N): 3 3/4" x 5", 1/2" x 5" strip
To Make This Card:
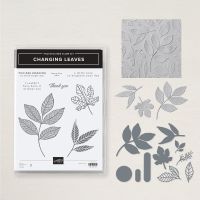
  • Fold Thick, White card base in half.  Center and die cut the Birch trees. I also cut the White "tag" from the Changing Leaves Dies from the area between the trees. (It really doesn't need to be thick, but, hey, it works!)
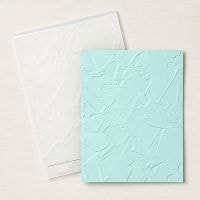
  • Run DSP piece through the Painted Texture 3D Embossing Folder, now found in the Online Exclusives.
  • Adhere this piece to the folded inside card. The cut edges will be flush with the card.
  • Next, attach this card to the inside of the card base. I added a strip of DSP to the inside, flush with the inside bottom of this card.
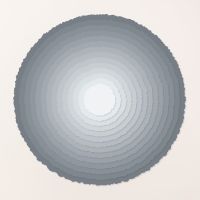
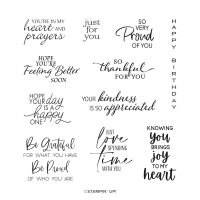
  • For the tag, stamp sentiment of your choice onto the White circle in Boho Blue ink.  Attach this to the 3rd smallest Deckled Circle Die, also now found in the Online Exclusives, cut in Boho Blue cardstock.
  • Add to card front with Multipurpose Glue.
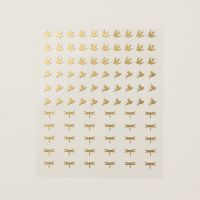
  • Finish card with scattered Dragonflies and Birds, from the Online Exclusives.

Product List

Tuesday, August 27, 2024

Pumpkin Truck Book Binder Card

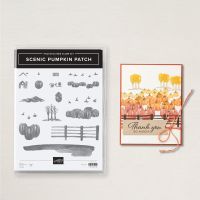
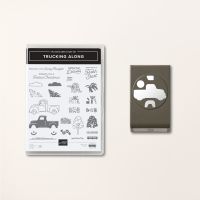
 Fall is just around the corner (hard to believe with recent temperatures) and I wanted to use our new Scenic Pumpkin Patch in the Online Exclusives and pair it with our cute Trucking Along truck (sadly now retired, you can still get the punch). My gals at the senior center wanted to try a book binding card, so here's my original using both stamp sets in a book binding design. They loved it!


Measurements:  

  • Garden Green: 1/2 sheet cut LENGTHWISE
  • Very Vanilla: 3 3/4" square (outside), 4" square (inside), scrap
  • Cajun Craze: 4" square
  • To Market: 1" x 4" (Garden Green plaid)
To Make This Card:

  • Fold Garden Green card in half. Score at 4 1/4" - 5 1/2".  Crease well.
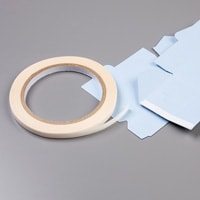
  • Attach "binding" area to card with Tear n Tape.
  • Stamp smaller, outside Very Vanilla piece, as shown.  I stamped the group of 5 pumpkins first in Pumpkin Pie ink, 2 times about 1" up from the bottom of the piece. Add the cute little stems in Garden Green. Then, stamp the "fence" over the top in Pecan Pie.
  • Next, stamp the 3 trees in Early Espresso ink, with "leaves" in Cajun Craze ink that's been stamped off.
  • Stamp sentiment in Garden Green ink.
  • Now, stamp the truck in Garden Green, and punch out. For the pumpkins in the back, stamp the 5 pumpkins & stems, and fussy cut the last 3 pumpkins.  Adhere to the truck, as shown, and add to card with Dimensionals.
  • Mount this piece to Cajun Craze layer, and then to front of card.
  • Now, add 1" DSP strip to "binding". 
  • After trimming the burlap strip, I put glue on the ends to keep it from unraveling, then adhere it to the card over the DSP.
  • For the inside, add the larger Vanilla square. I also stamped the 3 larger pumpkins in the corner. 
  • Finish with scattered copper Metallic dots.

Product List

Monday, August 26, 2024

Yellow Layers of Beauty

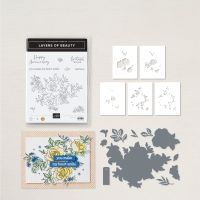
I told you that I am loving these decorative masks to "paint" our images, so I dug out another set that I hadn't used, yet, Layers of Beauty!  A gorgeous rose! My customers will attest to how much fun these masks really are, and, how EASY they are to use!  So, easy, that I am doing this with my Senior Stampers!!  Now, I did start the ones for Assisted Living, but I intend to have Independent do it all!! Once completed, they look so real!! Love that we have some awesome colors that blend so well together!  So, have inks and a Blending Brush and give it a try!!


Measurements:  

  • Granny Apple Green: 1/2 sheet
  • Basic White: 3 3/4" x 5" (front); 4" x 5 1/4" (inside)
  • Daffodil Delight: 2 3/4" square
To Make This Card:
  • Diagonally cut the Daffodil square into 2 pieces.  Attach one piece to opposing corners. Set aside.
  • Next, you'll create the rose image!  
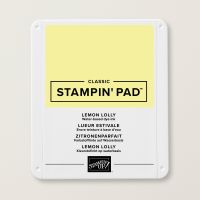
  • First, stamp the flower bouquet (if desired, you don't have to, I didn't) in Black (this just fits!). Next, take the mask marked #1, and line up over stamped image. I held both the cardstock and mask down with Painters Tape, or Washi Tape.  You will also want to mark the "V" placement cut from the mask onto your worksheet. Now take a Blending Brush and burnish in some color with Lemon Lolly.
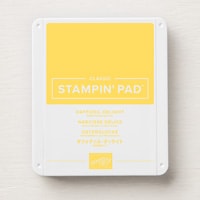
  • Remove that mask, and go to mask #2  Line it up over the stamped bouquet image, as well as the "V" placement mark. You can use the same brush, and just add the next layer in Daffodil Delight.
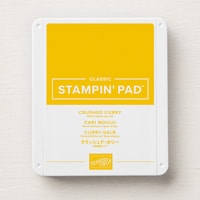
  • Remove that mask, and go to mask #3 which is the flower detail. Line it up, with the previous color, as well as the "V" placement mark, and add the final detail with Crushed Curry.
  • Remove that mask, and voila, the flowers are done!  But wait, you still have the leaves!  There are 2 masks for the leaves, too!
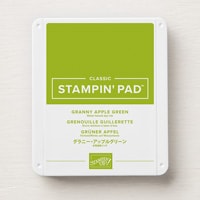
  • So, now, you will line up mask #4, over the leaf images, and also lining up the "V" placement.  I found you also need to look to make sure it is lined up!  Burnish in some color with Granny Apple Green.  Remove mask.
  • Next, finish up with #5 mask (yes, 5) and add the leaf detail with Garden Green ink! Remove the mask and voila - you have a stunning Rose Bouquet!
  • Now, add this to the front of your card.
  • I stamped the sentiment, from the stamp set, directly to the White panel in Garden Green ink.
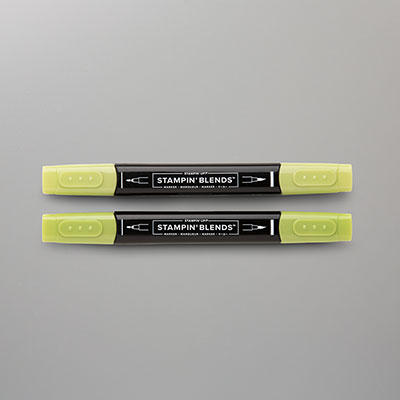
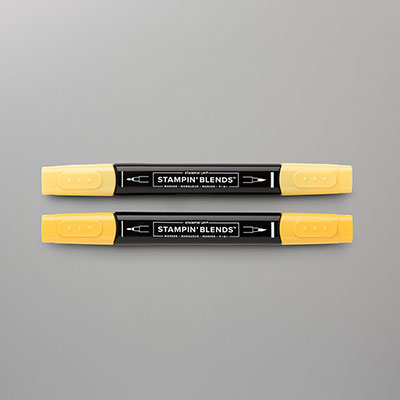
  • The inside, has a White panel with stamped rose images, that I colored with Blends.
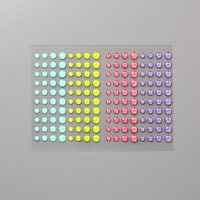
  • Finish with retired Granny Apple Green Glimmer Dots and Wink of Stella on the flowers.
Product List