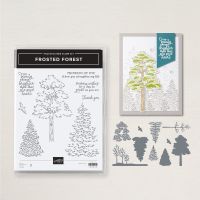
I have several sets of layered masks that I have never tried. I decided it was time to give at least one a whirl! So, I started with our new Frosted Forest Bundle in the Online Exclusives!! They are SO EASY, and so much FUN! I made this one into a fall card. You can choose any colors that you want, it is so versatile! And, it makes for a great guy card!!
Measurements:
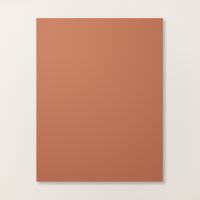
- Copper Clay: 1/2 sheet, 3 3/4" x 5 1/2", scrap
- Basic White: 4" x 5 1/4" (inside), 3" x 4 3/4" (tree)
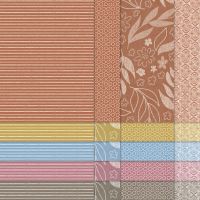
- 2023-2025 InColor DSP (N): 3 1/2" x 5 1/2" (copper clay print), 1/2" x 5 1/4"
- Gold Foil: 2 pcs @ 1/2" x 5 1/2"
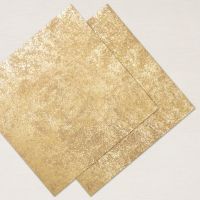
- Distressed Gold (ret): 3" square
To Make This Card:
- Fold Copper Clay card in half.
- Attach Gold Foil strips to front of card, flush with the top crease, and bottom cut of card front.
- Next, attach DSP to front, between gold foil strips. It may overlap just a bit.
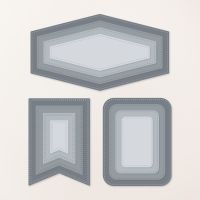
- Now, die cut front shape from the center of the Copper Layer using the largest size of the shown opening.
- Die cut just the 3 trees from the Distressed Gold piece. Adhere to the back of the opening on the Copper Layer
- Now, you can add this layer to the front with Dimensionals.
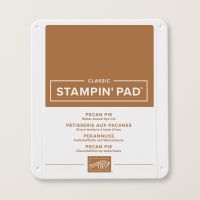
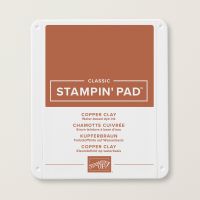
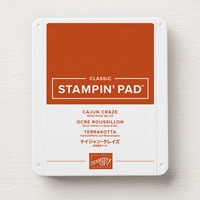
- Next, you'll create the tree. I used Pecan Pie for the "trunk" mask, Copper Clay for mask #2, and Cajun Craze for mask #3. These are so fun to do!
- First, stamp the tree (if desired, you don't have to) in Black. Next, take the mask marked #1, and line up over stamped image. I held both the cardstock and mask down with Painters Tape, or Washi Tape. You will also want to mark the "V" placement cut from the mask onto your worksheet. Now take a Blending Brush and burnish in some color with Pecan Pie.
- Remove that mask, and go to mask #2 (most of the tree foliage). Line it up over the stamped tree, as well as the "V" placement mark. You can use the same brush, and just add the next layer in Copper Clay.
- Remove that mask, and go to mask #3. This one is optional, but I like the additional detail. Line it up, with the previous color, as well as the "V" placement mark, and add the final detail with Cajun Craze (or, you can just use another layer of Copper Clay!).
- Remove that mask, and voila, you have your fall tree!
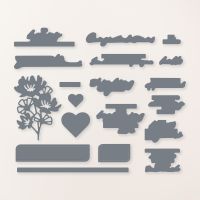
- Now, die cut with corresponding die, and attach to front of card as shown.
- Stamp sentiment onto scrap of Copper Clay in Copper Clay ink, and die cut with die. Add to card front with Dimsneionals.
- To finish the inside, add a White piece and strip of DSP. I also stamped birds in Copper Clay in the 2 corners.
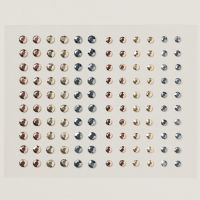
- Finish with scattered Gold Metallic Gems (new). I also added a little Wink of Stella to the darker details on the tree.







No comments:
Post a Comment