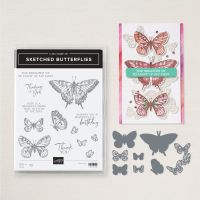
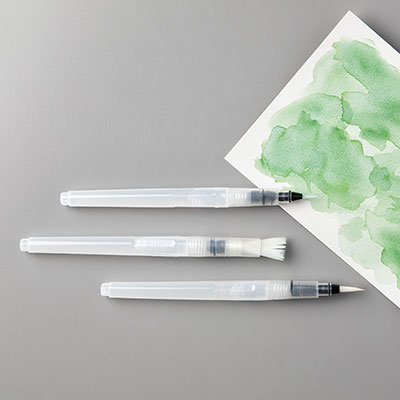
So, I saw a version of this fold that DIDN'T use a panoramic or border DSP! It used the Sketched Butterflies, which I had, but hadn't used, yet. I absolutely LOVE this version, which is truly my own (especially the colors!!). If you saw the original...well, it's a stretch! I water colored the butterflies with ink and a Water Painter, so the coloring did go pretty fast. And, no fussy cutting, as there are dies! Just lovely. Give it a try!
Measurements:
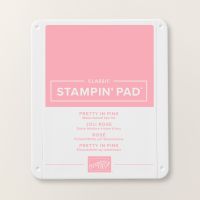
- Pretty in Pink: 1/2 sheet, 4 3/4" x 8", scrap
- Basic White: 4" x 5 1/4" (inside), 3 3/4" square (circle), scraps (butterflies)
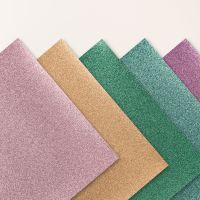
- 2024-26 InColor Shimmer Paper (N): Pretty in Pink, Summer Splash scraps
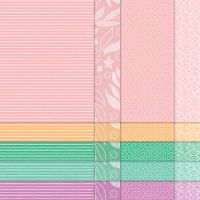
- 2024-26 InColor DSP paper pack (N): 4 sheets (2 small print - cut both to 4" x 5 1/4", 2 larger floral - will cut below) - Pretty in Pink
To Make This Card:
- Score 4 3/4" x 8" every 2".
- Place a pencil mark 2" from the bottom on the right side of this piece.
- Diagonally cut from upper left side to pencil mark. Toss the top part.
- Now, to cut the DSP for this diagonal piece. (This is actually pretty neat use of both 6x6 pieces!) Your piece needs to measure 4 3/4" x 7 1/2". (And, the DSP is 6".) So, cut one piece 4 3/4" x 5 5/8". Take the other piece and trim off 1 7/8" from the right side. (For this version, you will NOT need the rest of this piece.)
- Temporarily attach this piece to the right end of the 5 5/8" piece, loosely matching up the pattern. Trim both ends equal with larger piece.
- Next, make a pencil mark 1/4" from upper left edge. And, make another pencil mark UP 1 7/8" from lower right corner. Cut diagonally between pencil marks. Set top part of DSP aside. You will not need this.
- And, lastly, remove the 1 7/8" piece from the far right side. Then, take the larger piece and cut into 3-1 7/8" strips.
- Now, match and adhere these 4 pieces to the panels of the diagonal base, keeping the pattern intact. This piece is done.
- Back to the card base. Adhere the White piece to the inside.
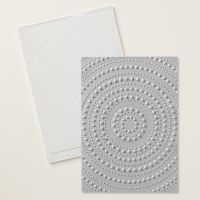
- Run one of the "small print" pieces through the Dotted Circle 3D Embossing Folder, and attach to the front.
- Take the other "small 'print" and attach to the left side of the inside.
- Now, let's attach the diagonal piece to the inside! Place Tear n Tape on the 2 outside panels of the diagonal piece. Line up the center score line with the center of the card base, leaving an 1/8" edge above layers, and adhere either end to card base.
- Now it's time to decorate!
- Die cut decorative circle from the Spotlight on Nature dies in white. Add to front over dotted circles.
- Stamp 4 small butterflies and sentiment in Memento Black on the inside White piece as shown.
- Next, stamp 1 large, 1 medium, and 1 small butterfly in Memento Black ink onto scraps of White. Die cut with corresponding dies.
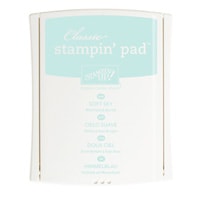
- Take Pretty in Pink ink and Summer Sky ink and a Water Painter and watercolor all butterflies as shown!
- Now, die cut smaller, detailed butterflies from Glimmer paper.
- Take all butterflies and arrange as desired onto outside and inside of card! I attached them with Dimensionals.
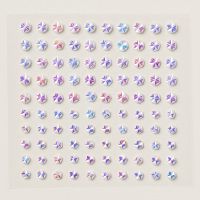
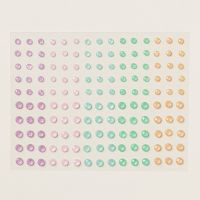
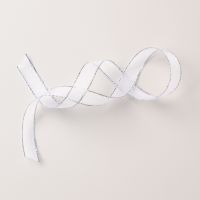
- Finish with butterfly "heads" of Iridescent Faceted Gems, scattered 2024-2026 Shimmer Gems on the front, and Wink of Stella on all butterflies. Oh, and a bow of Silver and White ribbon.






No comments:
Post a Comment