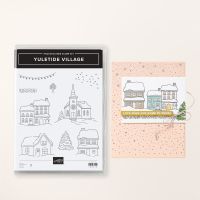
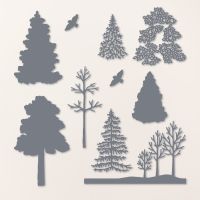
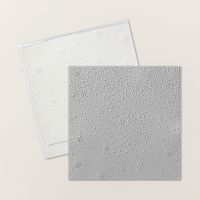
I just love this stamp set!! I originally created this card thinking I would use it for class this month, however, there was just too much "fussy cutting"! (Guess I need to get out my Scan n Cut!) I originally saw this card that used the "lamp" sheet from the Sentimental Christmas DSP for the background circle and the buildings in Balmy Blue. But the colors just fought for me. So, I switched the colors to Lost Lagoon and really like it better! (I will have to find another background for the blue buildings!) Add a nice background using the Snowy Sky 3D Embossing Folder, and some glittery trees from the Frosted Forest Dies, and you have an awesome card!
Measurements:
- Thick Basic White: 1/2 sheet
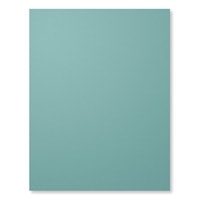
- Lost Lagoon: 4" x 5 1/4"
- Basic White: 3 3/4" x 5", scraps
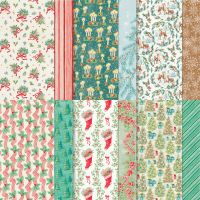
- Sentimental Christmas DSP (N):3 5/8" square ("trees" with lamp)
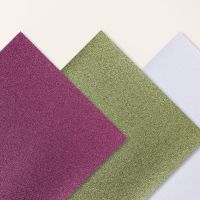
- White Glimmer Paper (OE): 3" square
To Make This Card:
- Attach Lost Lagoon layer to folded THICK Basic White card base.
- Run smaller White layer through Snowflake Sky 3D Embossing Folder. Adhere to Lost Lagoon layer.
- Die cut circle background using die from Spotlight on Nature Dies and DSP piece. Set aside.
- Die cut just the 3 trees from Frosted Forest Dies out of the White Glimmer Paper. Attach to lower edge of circle and trim off extending edges. Attach circle to card front with Dimensionals.
- Stamp church and 2 houses and 2 single evergreens in Memento Black ink onto White scraps.
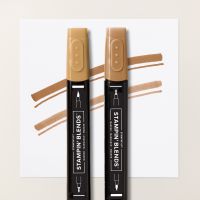
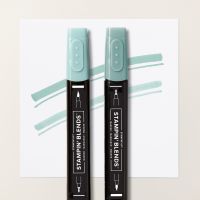
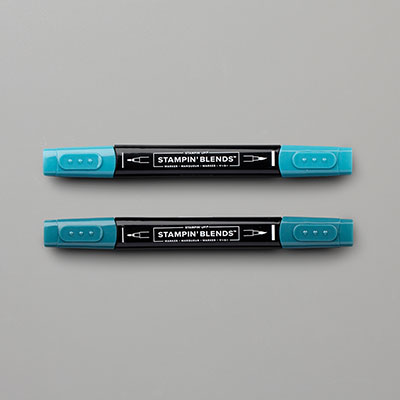
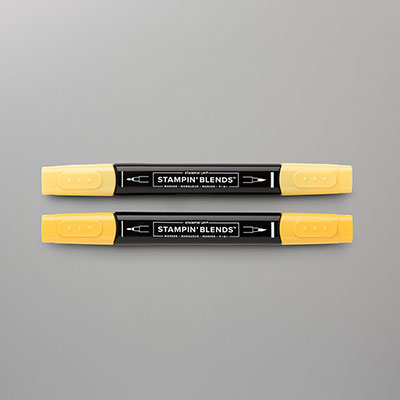
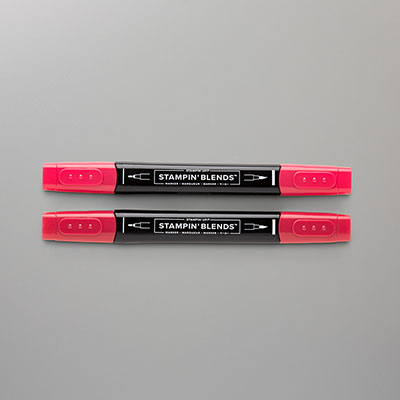
- Color with Blends as shown, and fussy cut, eliminating most of the "snow". Add Wink of Stella, and arrange and attach to card, as shown. Some are popped up with Dimensionals.
- Finish with scattered Iridescent Faceted Gems.








No comments:
Post a Comment