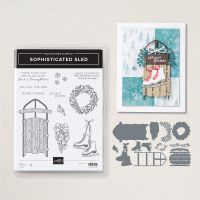
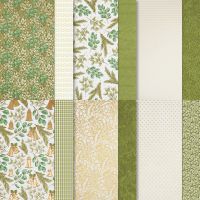
I was looking for a Fun Fold card using the Sophisticated Sled. I found several, which I hope to still do, but decided on this one for class this week! I love that it, not only, used the gorgeous, detailed sled, but the awesome Online Seasons of Green and Gold DSP, with Textured Gold accents and contrasting Navy Blue layer.
Measurements:
- Old Olive: 1/4 sheet, scrap
- Mossy Meadow: 4" x 11", scrap
- Basic White: 3 7/8" x 5 1/8" (inside) scraps
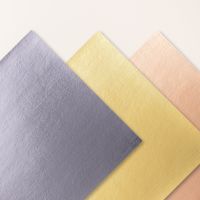
- Textured Gold Foil (N): 2 3/4" x 3 7/8" (lower flap), 2 5/8" x 3 7/8" (upper flap), 1 3/4" x 4" (sled runners, skate blades)
- Seasons of Green and Gold DSP (N) (OE): 2 1/2" x 3 5/8" (print, lower flap), 2 3/8" x 3 5/8" (olive stripe, upper flap)
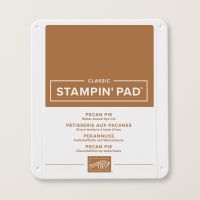
- Pecan Pie: 3" square
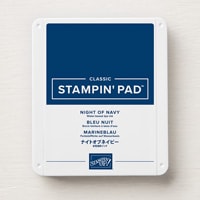
- Night of Navy: 3" x 4 1/4"
- Real Red: scraps
To Make this Card
- Score Mossy Meadow base at 2 7/8" - 8 1/4". Crease well. (Note: It will overlap about 1/4", the shorter flap over the longer, with the longer being on the bottom!)
- Attach the "base" of this piece to the 1/4 piece of Old Olive.
- Match the correct DSP layer to its' corresponding Textured Gold piece. Match and adhere to the "base" accordingly.
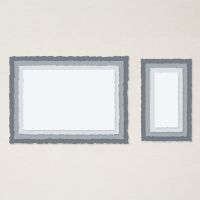
- Next, die cut Deckled Rectangle from the Night of Navy piece.
- Now, for the sled. Die cut the runners/base and ice skate blades from the larger piece of Textured Gold.
- Die cut the ice skates from White, and the "laces" from Real Red. (this is so cool!) Also, die cut 2 "sprigs" - one from Old Olive and one from Mossy Meadow. Now you're ready to assemble!
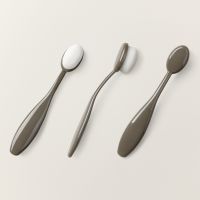
- Oops, still need the sled! Take the sled die and burnish Copper Clay ink directly on to it with a Blending Brush (cool huh!). Now run it through with the Pecan Pie cardstock. This enhances the detailed grain!! You can also use wood grain paper, you have so many options!
- Now, to assemble!! Put "green" glue onto the runners and cross pieces. Adhere the sled, and the top "rail". (I worked on my silicone sheet. Worked great!)
- Glue the "blades" to the right side of the ice skates. Then, add glue to the "laces" and tuck in to the slit on the ice skates, too cool!!)
- Glue the 2 sprigs together. I put the darker one on the bottom, but you do whatever you like. I also staggered them a little bit. Glue to the sled as shown.
- Tie a double bow from Real Red twine. Add to the sled with a Mini Glue Dot.
- I added the ice skates to the tails of the bow, using good old scotch tape! Make them different lengths and then adhere to the sled.
- Now you're ready to add the sled to the Navy layer. And then the upper half to the top, stripe flap!
- You're almost done! Finish the inside with the White layer, and stamped sentiment and a few snowflakes in Night of Navy Ink.
- Finish the outside with our new Berries on the "sprigs", and gold Metallic Gems scattered on the Navy layer.





No comments:
Post a Comment