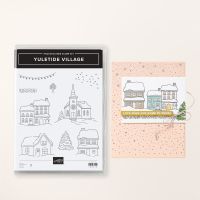
I was looking for a card for class that used the darling Yuletide Village stamp set, that didn't require the buildings to be fussy cut (takes too much time in class!) I fell in love with this one, designed by one of our Artisans. Her directions were limited (and in Dutch), so I had to figure out a lot of this on my own...to share with you! The church from the stamp set, is stamped and colored inside, but is visible through the opening from the Encircled in Nature dies, found in the Online Store! It really wasn't a huge challenge, just several steps! I LOVE how it turned out!
Measurements:
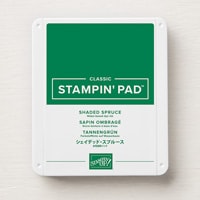
- Shaded Spruce: 1/2 sheet, 4" square (wreath) scraps
- Basic White: 4" x 5 1/4" (inside), scraps
To Make This Card:
- Stamp new Falling Snow background stamp in Shaded Spruce ink on front of folded Shaded Spruce card base. (Note: to make it easier to stamp, I brought out my trusty Stamparatus!)
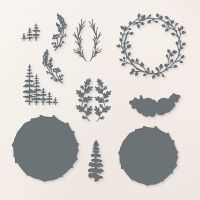
- Now, die cut circle in the front, a little higher than center, using the Encircle in Nature Dies. (I used the larger circle, which then made it a little more difficult to add the "wreath". Hopefully, you can use either).
- Next, add White layer to inside of card.
- Take a pencil and lightly mark the circle opening directly onto the white inside layer.
- Open the card and stamp the "curved" trees as shown in Shaded Spruce ink.
- Also, stamp the "church" in Memento Black ink, inside the circle as well. Add the sentiment to the inside as well in Shaded Spruce.
- Color the church as shown. Add a little Wink of Stella to look like glistening snow!
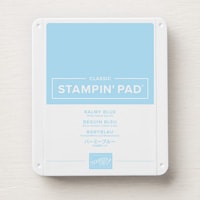
- Next, stamp "snow" in Balmy Blue ink, then burnish a little additional color with a small Blending brush. The inside is done!
- To finish the outside, die cut the "leafy wreath" from square of Shaded Spruce cardstock.
- Also, the large and small "grove of trees" from both Shaded Spruce and Basic White scraps.
- Attach the "wreath" to the card with "green" glue.
- Layer the "groves of trees" together, one white to one Spruce, off setting them just a bit. Then, glue to card, as shown.
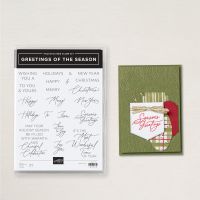
- On scrap of paper, stamp "Christmas" from the Greetings of the Season in the Online Store in Shaded Spruce ink, then add "Merry" as shown. Fussy cut around words and add to card, as shown, with Dimensionals.
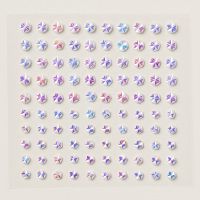
- Finish with additional Wink of Stella in the trees, a bow from Iridescent Ribbon, and scatter Iridescent Faceted Gems.
Product List








No comments:
Post a Comment