I hadn't done one of these folds in a LONG time, so when I saw a sample using the Sentiment Christmas DSP, I had to give it a try! I really like how it turned out!
Measurements:
- Basic Beige: 1/2 sheet cut LENGTHWISE, 1" x 4 1/4" (bridge)
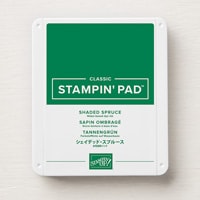
- Shaded Spruce: 7/8" x 4 1/8" (bridge), 2 1/8" x 5 3/8", 2 pcs @ 7/8" x 5 3/8"
- Basic White: 2 1/4" x 5 3/8", scrap
- Sentimental Christmas DSP (N): 2 pcs @ 1" x 5 3/8"(inside), 2 pcs @ 3/4" x 5 3/8" (front) (Shaded Spruce Stripe)
To Make This Card:
- Fold Basic Beige card in half. Crease well. Now, cut from cut edge to fold 1" on each side.
- Attach narrow Shaded Spruce strips to outside edges, then add narrower DSP strips.
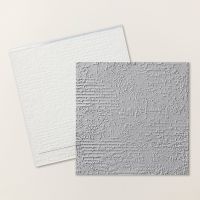
- Run larger Shaded Spruce piece through Embossing Folder of your choice. I used the Exposed Brick.
- Attach this to the center section.
- Attach smaller Shaded Spruce piece to the Basic Beige "bridge".
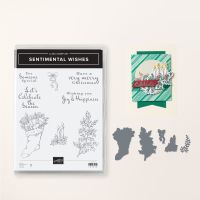
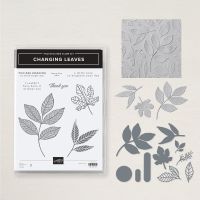
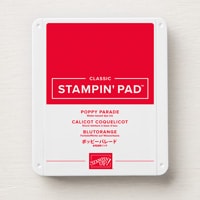
- Ink up the bottom portion of the sentiment from the Sentimental Wishes stamps with Poppy Parade ink. Stamp onto scrap of White and die cut with long die from the Changing Leaves Dies.
- Add to front of card. Adhering only the areas that will touch the outside sides. Voila you have your Bridge Span.
- For the inside of your card, first adhere the White piece, then attach the wider DSP pieces so they butt up to the White piece as shown.
- Die cut (or stamp) a bow, and then stamp sentiment inside with Shaded Spruce ink.
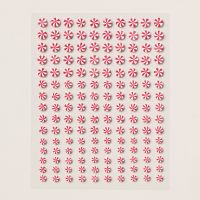
- Finish the outside with a die cut "Stocking" from the DSP, attached with Dimensionals, and scattered Peppermints!







No comments:
Post a Comment