Showing posts with label garden meadow dies. Show all posts

Wednesday, July 10, 2024

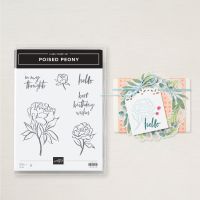
Elegant Poised Peony in an Arch

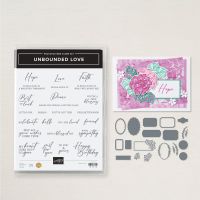
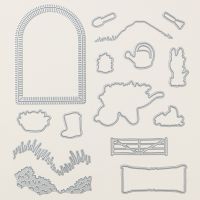
 I've been making so many cards with this Peony in Petal Pink, that I spotted this one in a little different color (still a pink) and decided to give it a try! Plus it also uses one of my favorite, arch, dies from the Garden Meadow Dies! I put my own touch on it by adding a little coordinating Glimmer Paper.

Measurements:  

  • Pretty in Pink: 1/2 sheet
  • Basic White: 4" x 5 1/4", 3 1/4" x 4 3/4" (arch), scap
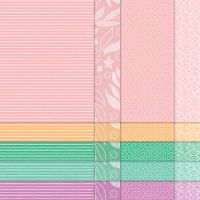
  • 2024-2026 InColor Paper Assortment (N): 1 1/2" x 4" (Pretty in Pink Stripe)
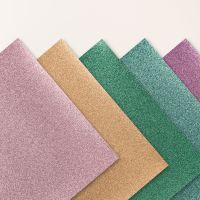
  • 2024 InColor Glimmer Paper (N): 2 pcs @ 3/8" x 4", scraps (Pretty in Pink)
To Make This Card:
  • Run the White layer through Distressed Tile Embossing Folder. Attach to folded Pretty in Pink card.
  • Take smaller, White piece and die cut the gorgeous "Arch" from the Garden Meadow Dies.
  • Stamp largest Peony in Memento black ink in the center of "arch". Color with Blends as shown.
  • Adhere strips of Pretty in Pink Glimmer to the back of the DSP piece. Attach to card front, using the "arch" as a guide for desired placement.
  • Then, attach the "arch" to the card, over the DSP, with Dimensionals.
  • Next, stamp narrow sentiment in Memento black ink onto scrap of White. I used one from the new Unbounded Love stamps, so I die cut it with its' coordinating die.
  • I also cut a layering piece from the same die in a scrap of Pretty in Pink Glimmer paper.  Split this piece, and attach behind sentiment.  
  • Then, attach this to the card, near the bottom of the "arch" with Mini Dimensionals.
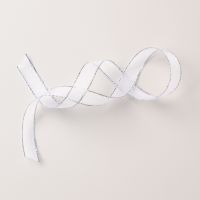
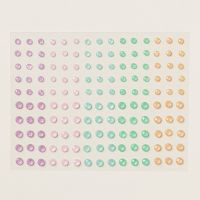
  • Finish with scattered, Pretty in Pink Shimmer Gems and a bow from Silver and White ribbon.
Product List

Tuesday, June 11, 2024

Arched Magnolia

 Here is another gorgeous card using the new, Online Exclusive, Magnolia Mood. I paired it with the dies also from the, Online Exclusive,  Garden Meadow Dies. This time I added a touch of color to the die cut with Blending Brushes and a little ink.  You should really give this one a try!  Don't forget to check out the awesome offerings in the Online Exclusive Store!! There are some wonderful items there!


Measurements:  

  • Petal Pink: 1/2 sheet
  • Very Vanilla: 3 7/8" x 5 1/8", 1/4 sheet 
  • Flowering Zinnias DSP (N) (OE): 3 1/2" x 4 3/4"  
To Make This Card:

  • Die cut "arch: from front, Very Vanilla layer. (I saved the insert for my sentiment.)
  • Next, emboss this piece with the "cross-hatch" Basics 3D Embossing Folder with the "arch" removed. Add to the folded Petal Pink card with Dimensionals.
  • Now, die cut the "arch", again, from the dotted DSP.  You will use the INSIDE of this piece. Adhere this, flush, with the card on the inside of the Vanilla "arch".
  • Now, die cut the large, detailed "magnolia" from the 1/4 sheet of Vanilla.
  • Add a little Petal Pink ink to the "flower", and a little Old Olive ink to the leaves with a Blending Brush.  I uses the larger size, but you won't have so much stray ink with the smaller one.  Lesson learned!!  Add a little Wink of Stella to the "flower".
  • Add Dimensionals behind the "flower" petals and attach to the card, as shown.
  • Cut a rectangle from the Vanilla insert.  Stamp sentiment in Basic Gray ink.  Attach to card as shown.
  • Finish with a Petal Pink Stripe bow, and scattered Champagne Rhinestones.

Product List