Friday, September 13, 2024

More Pretty Pumpkins

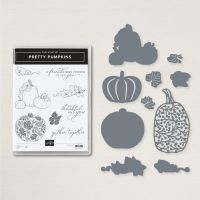
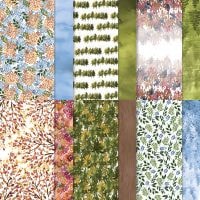
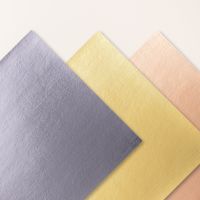
 This is the more "stepped-up" pumpkin card for my stampers in Independent Living at the Senior Center!  It uses more retired items that I found in my "stash", but I loved the end result, and so did they!  I uses my favorite die from the retired Scalloped and Contour DIes paired with the retired, SAB DSP - Peaceful Prints, and of course the Pretty Pumpkins bundle. Oh, I also used the retired Dazzle paper for the detailed pumpkin die. That was a challenge!  After cutting, I ran it through my Xyron label maker!!


Measurements:  

  • Early Espresso: 1/2 sheet
  • Basic White: 1/4 sheet, 4" x 5 1/4" (inside) 2 1/4" x 2 3/4" (pumpkins), 1 1/4" strip (vines)
  • Peaceful Prints DSP (ret): 3 3/8" x 4 3/4", 1/2" x 4"
  • Dazzle: 2" x 3 3/4"
To Make this Card
  • Die cut Scalloped rectangle from White piece. Attach to folded Early Espresso card. Add plaid DSP to top
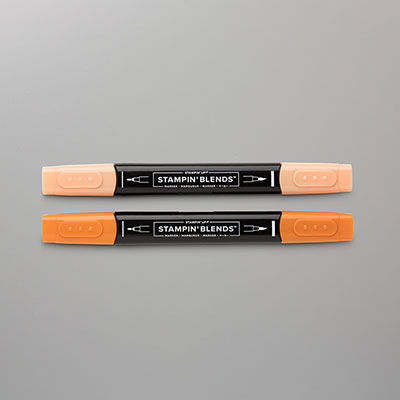
  • Stamp 3 pumpkins, and 2 "vine" pieces onto White scraps/pieces in Memento Black ink..  Color with Blends as shown. (tall pumpkin is Lt Pumpkin Pie, medium pumpkin is Dk Pumpkin Pie, small pumpkin is 2 shades of Daffodil Delight).
  • Die cut "detailed" pumpkin from Dazzle Specialty Paper (ret). (Note: I found it best to cut this with cutting edges UP).
  • I ran this piece through a Xyron sticker maker, but our sticker sheets would work well, too.
  • Attach this die to card front.
  • Stamp sentiment in upper Right Corner in Early Espresso.
  • Next, add the 3 colored pumpkins, next to Dazzle pumpkin, and then the 2 "vines" on either side.
  • Finish with White piece and DSP strip inside, and scattered Crumb Cake Speckled Dots.

Wednesday, September 11, 2024

Pretty Pumpkins Split Card

 So, my stampers at my Senior Center requested pumpkins! I had already used the Scenic Pumpkin Patch (and will use it, again), so I went into my "archives" and found one of my favorite, retired "pumpkin" sets - Pretty Pumpkins,  Some of you may have it!  So, I pulled it out, did some research and came up with 2 different cards for my gals - one for Assisted and one for Independent.  They LOVED them!  So, here is the first one, for Assisted.  They love to color! And, yes, I let them use my blends!


Measurements:  

  • Basic White: 1/2 sheet, 2 1/8" x 5 1/2", 2 7/8" x 3 1/8", 2 1.4" x 2 3/4"
  • Beauty of the Earth DSP (ret): 2 1/8" x 5 1/2", 1/2" x 5 1/2" (inside)
  • Misty Moonlight: 3 1/8" x 3 3/8"
  • Mossy Meadow: 3/8" x 5 1/2"
To Make this Card
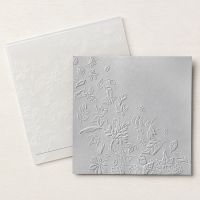
  • Emboss White piece with Leaf Fall 3D Embossing Folder now in the Online Exclusives.  Attach to the top of folded White card base, even with top fold and cut edges.
  • Next, attach DSP to bottom of card, even with bottom and side cut edges.  It may overlap the embossed piece, or it may line up next to it!
  • Now, attach Mossy Meadow piece over edges, as shown.
  • Stamp sentiment in Mossy Meadow ink onto upper right corner.  Then, add this piece to the Misty Moonlight light, being aware of direction of layers!
  • Stamp trio of pumpkins in Memento Black ink onto scrap of White.  Color with Blends, as shown.  Die cut with corresponding die, and attach to piece with Dimensionals.
  • Then, add this piece to card front with Dimensionals.
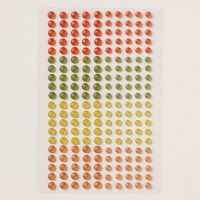
  • Finish inside with strip of DSP, and add green Speckled Dots (ret).


Product List

Monday, September 9, 2024

Seasons of Green & Gold Accordion Z Fold

 I love the Seasons of Green & Gold DSP in the Online Exclusives! And, I love the new Accordion Z Fold cards. So, I found a card that combines the 2 together! It is just stunning! I did adjust the length and width of the Z fold strip. 


Measurements:  

  • Very Vanilla: 5 1/2" x 11", 2" x 6", 1 1/2" x 2 1/2" (label), 3 5/8" x 5" (inside), 3" square (sprig)
  • Gold Foil: 3 3/4" x 5 1/4"
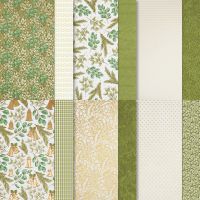
  • Seasons of Green & Gold DSP (N) (OE): 5 1/4" x 6" - cut into 4 pcs 1 1/2" ea, fussy cut bells
To Make This Card:
  • Score Very Vanilla base at 1 3/4" - 3 1/2"- 5 1/4" - 7". Accordion fold and set aside.
  • Cut DSP into 4 - 1 1/2" pieces, if you haven't already done so.  Keep in order if there is a pattern, otherwise random order is fine. Attach to the accordion folds.
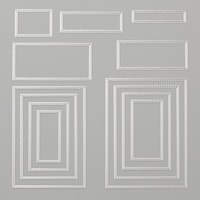
  • Take the Gold Foil layer and cut a frame. I used my Stitched Rectangle dies to do this. You will use the inside of the "frame" for the label layer! i.e. cut it to 1 3/4" x 2 3/4".
  • Attach the Gold Foil frame to the "inside" of the card. Add  the Vanilla piece on top. Covering the "frame".
  • Now, for the Z fold piece.  Fold the 6" strip in half. Crease well.
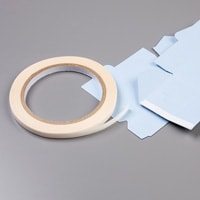
  • Adhere to card/accordions with Tear n Tape centering onto card front. (see photo)
  • Stamp and emboss sentiment in Gold Embossing Powder onto small Vanilla "label" piece. Attach to Gold Foil piece, and then to front Z strip.
  • Die cut "sprig" from Vanilla square and adhere to "inside" of card.
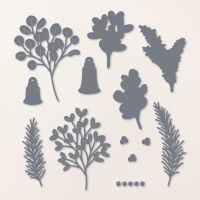
  • Fussy cut double bells from DSP and attach to "label".
  • Finish with new Berries embellishments found in the Online Exclusive Store.
Product List

Friday, September 6, 2024

Fall In the Grove Card Modified Joy Fold

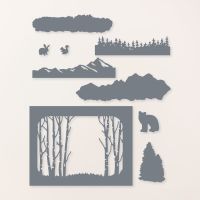
One of my customers directed me to Julie Davison's video for her (and her Mom's) ideas using the In the Grove Bundle. This was one of her samples, that I did tweak a bit. I love it, and think it will be perfect for my Senior Center girls!  This one uses the In the Grove dies and Thoughtful Journey DSP! I added the Leaf Fall 3D Embossing folder now in the Online Exclusives to the front, base, as well as the darling little critters from the dies!


Measurements:  

  • Pretty Peacock: 1/2 sheet
  • Very Vanilla: 2 3/4" x 4 1/4" (inside)
  • Wild Wheat: 4 1/2" x 6", scraps
  • Mossy Meadow: 4" x 5 1/4"
  • Thoughtful Journey DSP (N): 2 3/4" x 4 1/4", 1/2" x 5 1/2"
To Make This Card:

  • Fold Pretty Peacock card base in half. Trim 1" from front.  
  • Emboss remaining front with Leaf Fall 3D Embossing Folder.
  • Fold Wild Wheat "card" in half so measures 3" x 4 1/2".
  • Attach Vanilla piece to inside, 
  • Die cut "grove" of Birch trees onto Mossy Meadow piece. 
  • Attach left side of this piece to DSP layer with Multipurpose Glue. Trim even with the DSP.
  • Attach this to the Wild Wheat card.
  • Next, attach to Pretty Peacock card base so that crease of smaller card is flush with the cut edge of the card base. Centering along cut edge.
  • Add 1/2" DSP strip to bare, outside edge.
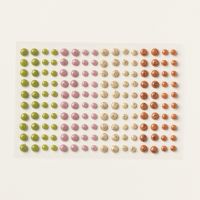
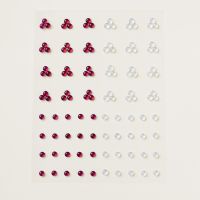
  • Finish with small critters cut from In the Grove dies, and scattered, new Faux Glass gems.

Product List

Wednesday, September 4, 2024

Splendid Autumn Accordion Z Fold

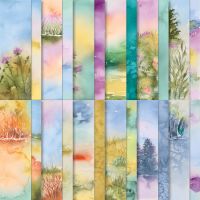
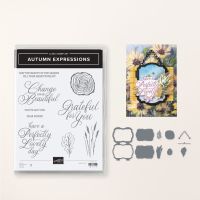
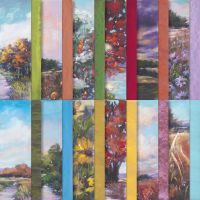
 As I was looking for additional fun folds using the Autumn Expressions Bundle and Splendid Autumn DSP, I found this awesome series of Accordion Z Folds by Tami White!  She always is so thorough with tons of ideas!! I liked this one because it used one of the scenic pieces of the DSP combined with the stamps, dies and accessories of the suite! It is really fun and easy to do. So much so, I've already done 2 more! (stay tuned).


Measurements:  

  • Blackberry Bliss: 5 1/2" x 11", 2" x 7 7/8", 
  • Very Vanilla: 3 3/4" x 5 1/4" (inside), 3" x 4" (embossed "label")
  • Textured Metallic Paper: 3" x 4" (copper)
  • Scenic Autumn DSP (N): 1 sheet of lavender daisies
To Make This Card:
  • Score Blackberry Bliss base at 1 3/4" - 3 1/2"- 5 1/4" - 7". Accordion fold and set aside.
  • Cut DSP, first, down to 5 1/4" (i.e. remove 3/4") and then cut into 4 - 1 1/2" pieces keeping the scenery in order. Attach to the accordion folds.
  • Attach the Vanilla piece to the inside. 
  • Now, for the Z fold piece.  Fold the 7 7/8" strip in half. Crease well.
  • Stamp and emboss sentiment in Copper Embossing Powder. Die cut with the label that fits the best. (one sentiment/label side is larger than the other. The die cuts 2 parts, the center, and the frame.
  • Next, die cut the same frame with Textured Copper. The inside piece will be used for the 3 die cut leaves. You can cut those, now. You will also need to trim the "tabs" from the outside of the "frame".
  • Scotch tape the insert to the frame.
  • Adhere the strip to the card with Tear n Tape. Centering on the card, and lining up to the inside fold, and outside edge. The accordion folds should be between the Z.
  • Attach one Copper leaf to lower right corner, add 2 Woven Golden leaves, too. I also added one Copper leaf to upper left corner to the sentiment label.
  • Center, and attach to Z piece.
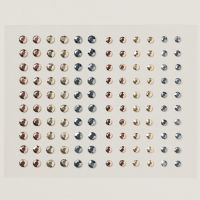
  • To finish, I added the other Copper leaf and 2 Woven Golden leaves inside, so the don't show when the card is closed, and scattered, copper Metallic Gems.

Product List