Tuesday, October 29, 2024

Rustic Humble Home

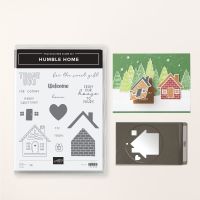
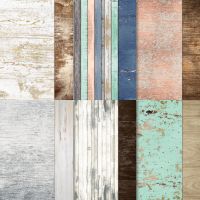
 I hadn't played with the new Humble Home Bundle, yet.  I thought it would make a good card for my classes at the Senior Center on Monday. While I've seen some awesome fall or Christmas cards, I loved this one with a more "rustic" look! It uses the Country Woods DSP from the Annual Catalog, along with a fun color combination! I experimented with stamped or cut out doors and windows, size of sentiment label, and heart vs wreath.  Which one would you make?


Measurements:  

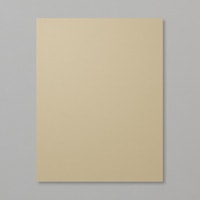
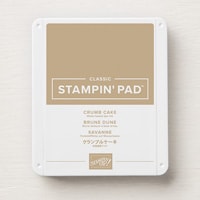
  • Crumb Cake: 1/2 sheet, 3" x 4 1/4", scrap
  • Country Woods DSP (AC): 4" x 5 1/4", 1/2" x 5 1/4" (colorful stripe); 2 3/4" x 4" (white weathered wood)
  • Basic White: 4" x 5 1/4" (inside), scraps
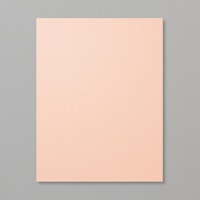
  • Petal Pink: scraps
To Make This Card:
  • Attach Stripe DSP piece to folded Crumb Cake card.
  • Adhere other DSP to smaller Crumb Cake layer, and set aside.
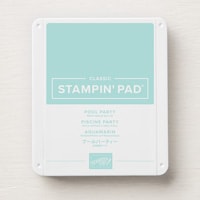
  • Stamp "brick" house in Pool Party ink, onto scrap of White.  Punch out with coordinating punch. (Note: Punching before stamping roof gives you a guide!)
  • Now, line up and stamp "roof" in Crumb Cake ink.
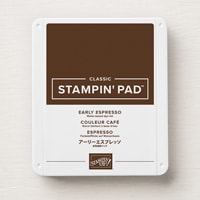
  • Next, stamp "windows/door" in Early Espresso ink on scrap of White.  Punch the "windows" using the coordinating punch, and fussy cut the door.  Adhere these to the punched house with Mini Glue Dots. (Or, stamp directly onto punched house with Early Espresso ink - see wreath house.)
  • Attach house to card layer with Dimensionals, as shown.
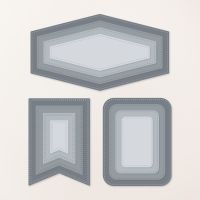
  • Decide your sentiment and select a label die cut accordingly. My "To You and Yours" uses the banner from the Stylish Shapes dies.  The "wreath" card, uses the banner die from the Nested Essentials dies. 
  • Stamp sentiment in Early Espresso ink, and add to layer card front.
  • Wrap cord or twine around card, between sentiment and house.
  • Now, you can attach this piece to front of card, with Dimensionals.
  • Punch a heart in Petal Pink, and add with Mini Glue Dot.
  • To finish inside, add White piece, and strip of DSP.
  • Finish with scattered Swirl Dots from the Online Store.
Product List

Monday, October 28, 2024

Darling Reindeer Fun Die Cut Card

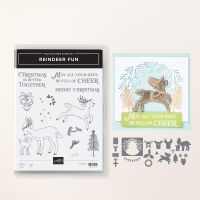
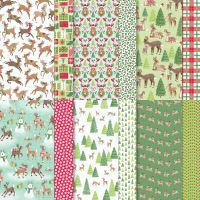
 I just love the Reindeer Fun bundle!  You have so many choices - die cut images from the DSP, as I have done here; die cut the pieces and build your own reindeer, and then there's the fun evergreen "wreath"! So many possibilities!!  This one uses the DSP, a darling die cut, and the fun "wreath" cut from DSP in the Meandering Meadow DSP in the Online Store! We are doing this one today in my Senior Center Class!!


Measurements:  

  • Crumb Cake: 1/2 sheet cut LENGTHWISE
  • Basic White: 4" x 5 1/4" (inside), 3 3/8" x 3 7/8" (for burnishing & snowflakes)
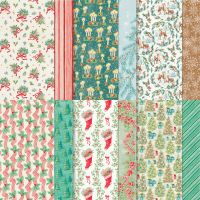
  • Reindeer Days DSP (N): 4" x 5 1/4", 1/2" x 4" (evergreen trees), die cut 2 reindeer
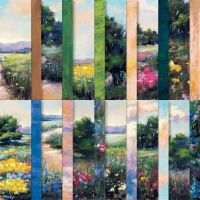
  • Meandering Meadow (OE): 3 1/2" x 4" (watercolor green - for wreath)
  • Garden Green: scrap
To Make this Card

  • Attach Evergreen trees to folded Crumb Cake card.
  • Adhere White layer to inside of card & 1/2" DSP to the bottom, as shown.
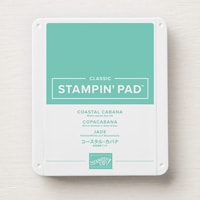
  • Now, take the smaller White piece and burnish Coastal Cabana ink onto it with Blending Brush. You don't want it solid! Then, follow up with scattered "snowflakes". Set aside.
  • Die cut "wreath" from Watercolor Green DSP piece. Attach "snow" piece behind the opening of this piece, then adhere to card front, a little higher than center.
  • Die cut double deer from DSP.  Add to card, in front of opening with Dimensionals.
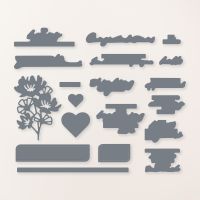
  • Emboss sentiment from bundle in White onto piece of Garden Green. Then die cut with die from the Wonderful Thoughts Dies.
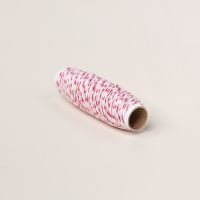
  • TIe bow from Red & White Bakers Twine, add where desired.
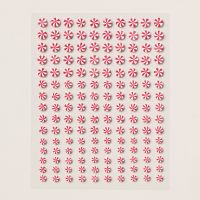
  • Finish with scattered Peppermints!
Product List

Thursday, October 24, 2024

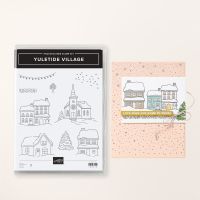
Monochromatic Yuletide Village

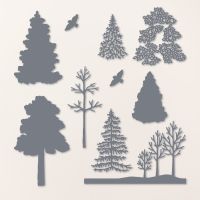
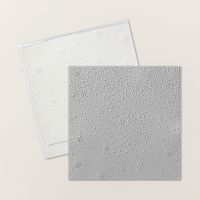
I just love this stamp set!!  I originally created this card thinking I would use it for class this month, however, there was just too much "fussy cutting"! (Guess I need to get out my Scan n Cut!) I originally saw this card that used the "lamp" sheet from the Sentimental Christmas DSP for the background circle and the buildings in Balmy Blue. But the colors just fought for me.  So, I switched the colors to Lost Lagoon and really like it better! (I will have to find another background for the blue buildings!)  Add a nice background using the Snowy Sky 3D Embossing Folder, and some glittery trees from the Frosted Forest Dies, and you have an awesome card!


Measurements:  

  • Thick Basic White: 1/2 sheet
  • Lost Lagoon: 4" x 5 1/4"
  • Basic White: 3 3/4" x 5", scraps
  • Sentimental Christmas DSP (N):3 5/8" square ("trees" with lamp)
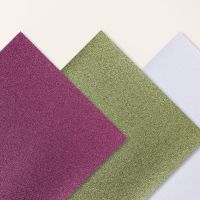
  • White Glimmer Paper (OE): 3" square
To Make This Card:
  • Attach Lost Lagoon layer to folded THICK Basic White card base.
  • Run smaller White layer through Snowflake Sky 3D Embossing Folder. Adhere to Lost Lagoon layer.
  • Die cut circle background using die from Spotlight on Nature Dies and DSP piece. Set aside.
  • Die cut just the 3 trees from Frosted Forest Dies out of the White Glimmer Paper. Attach to lower edge of circle and trim off extending edges. Attach circle to card front with Dimensionals.
  • Stamp church and 2 houses and 2 single evergreens in Memento Black ink onto White scraps.
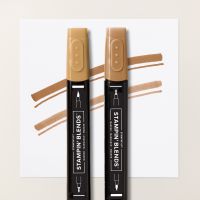
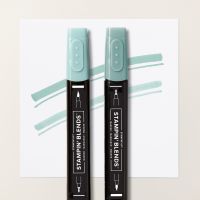
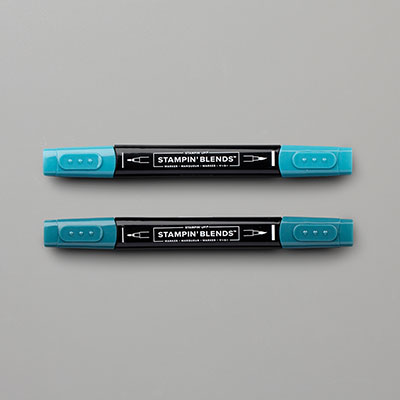
  • Color with Blends as shown, and fussy cut, eliminating most of the "snow".  Add Wink of Stella, and arrange and attach to card, as shown.  Some are popped up with Dimensionals.
  • Finish with scattered Iridescent Faceted Gems.

Product List