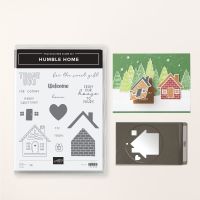
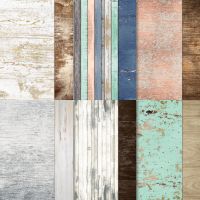
I hadn't played with the new Humble Home Bundle, yet. I thought it would make a good card for my classes at the Senior Center on Monday. While I've seen some awesome fall or Christmas cards, I loved this one with a more "rustic" look! It uses the Country Woods DSP from the Annual Catalog, along with a fun color combination! I experimented with stamped or cut out doors and windows, size of sentiment label, and heart vs wreath. Which one would you make?


Measurements:
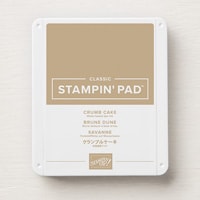
- Crumb Cake: 1/2 sheet, 3" x 4 1/4", scrap
- Country Woods DSP (AC): 4" x 5 1/4", 1/2" x 5 1/4" (colorful stripe); 2 3/4" x 4" (white weathered wood)
- Basic White: 4" x 5 1/4" (inside), scraps
- Petal Pink: scraps
To Make This Card:
- Attach Stripe DSP piece to folded Crumb Cake card.
- Adhere other DSP to smaller Crumb Cake layer, and set aside.
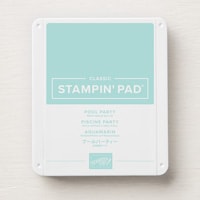
- Stamp "brick" house in Pool Party ink, onto scrap of White. Punch out with coordinating punch. (Note: Punching before stamping roof gives you a guide!)
- Now, line up and stamp "roof" in Crumb Cake ink.
- Next, stamp "windows/door" in Early Espresso ink on scrap of White. Punch the "windows" using the coordinating punch, and fussy cut the door. Adhere these to the punched house with Mini Glue Dots. (Or, stamp directly onto punched house with Early Espresso ink - see wreath house.)
- Attach house to card layer with Dimensionals, as shown.
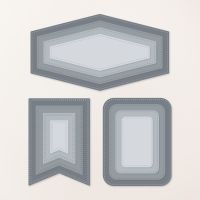
- Decide your sentiment and select a label die cut accordingly. My "To You and Yours" uses the banner from the Stylish Shapes dies. The "wreath" card, uses the banner die from the Nested Essentials dies.
- Stamp sentiment in Early Espresso ink, and add to layer card front.
- Wrap cord or twine around card, between sentiment and house.
- Now, you can attach this piece to front of card, with Dimensionals.
- Punch a heart in Petal Pink, and add with Mini Glue Dot.
- To finish inside, add White piece, and strip of DSP.
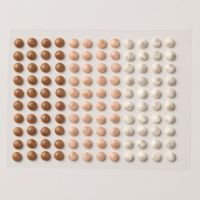
- Finish with scattered Swirl Dots from the Online Store.