Showing posts with label reindeer fun. Show all posts

Saturday, November 16, 2024

Pieced Reindeer

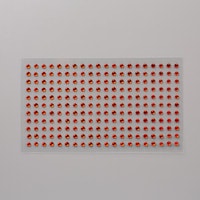
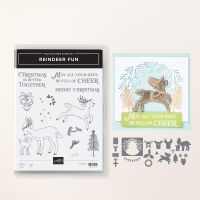
Well, it's time to get in gear for Christmas and start using all those stamps and bundles that I have yet to play with! I had, yet, to try the darling pieced reindeer from the Reindeer Fun Bundle.  Oh, my did SU! think of everything!!  So easy to cut and assemble!  The possibilities are endless! This one makes use of the Take a Bow DSP and tons of small red rhinestones!  I just LOVE it! We will be doing this one in my November classes!


Measurements:  

  • Cherry Cobbler: 1/2 sheet, scrap
  • Basic White: 3 7/8" x 5 1/8" (outside), 4" x 5 1/4" (inside), 1/2" x 3" strip, 2" square (reindeer), 3 3/8" square (die cut circle)
  • Garden Green: 1 3/4" square
  • Crumb Cake: 2" square
  • Early Espresso: 2" square
  • Granny Apple Green: 1 1/2" x 3 1/4"
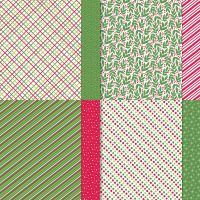
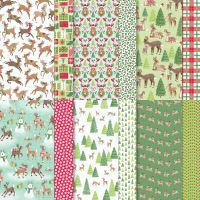
  • Take a Bow (N): 3 different patterns @ 1 1/8" x 4 7/8" (front), 1/2" x 5 1/4" (inside)
To Make This Card
  • Attach White layer to folded Cherry Cobbler card.
  • Attach 2 DSP pieces to either side, and then add the one to the middle.
  • Lay all the different pieces of cardstock on your die cutting machine base, match the coordinating dies, and cut all at one time!! (this makes it so easy)
  • Die cut largest circle from the Stylish Shapes Dies.
  • Add Circle to front of card.
  • Assemble "reindeer" from the bottom up, starting with the Early Espresso "antlers".
  • Attach the string of "lights over the circle with Multipurpose Glue.
  • Add small rhinestones to the "lights" NOW, if desired.
  • Slip "wreath" around neck of "reindeer" and adhere.  Then, add to card front with Dimensionals.
  • Stamp sentiment in Memento Black ink onto label strip.  Attach to card as shown.
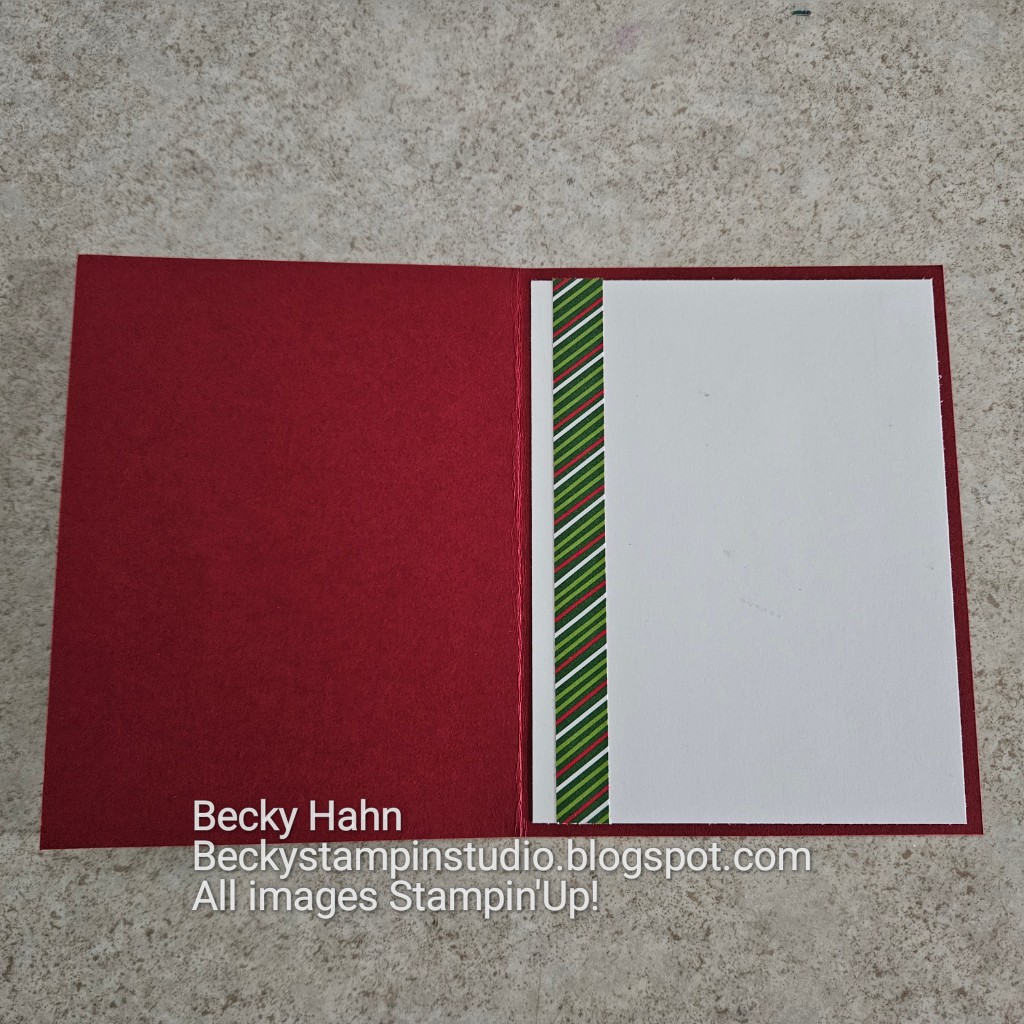
  • Finish inside with larger white layer, and strip of DSP
  • Finish outside with more Red Rhinestones!
Product List

Monday, October 28, 2024

Darling Reindeer Fun Die Cut Card

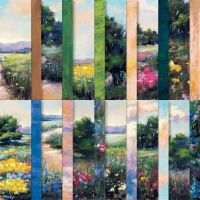
 I just love the Reindeer Fun bundle!  You have so many choices - die cut images from the DSP, as I have done here; die cut the pieces and build your own reindeer, and then there's the fun evergreen "wreath"! So many possibilities!!  This one uses the DSP, a darling die cut, and the fun "wreath" cut from DSP in the Meandering Meadow DSP in the Online Store! We are doing this one today in my Senior Center Class!!


Measurements:  

  • Crumb Cake: 1/2 sheet cut LENGTHWISE
  • Basic White: 4" x 5 1/4" (inside), 3 3/8" x 3 7/8" (for burnishing & snowflakes)
  • Reindeer Days DSP (N): 4" x 5 1/4", 1/2" x 4" (evergreen trees), die cut 2 reindeer
  • Meandering Meadow (OE): 3 1/2" x 4" (watercolor green - for wreath)
  • Garden Green: scrap
To Make this Card

  • Attach Evergreen trees to folded Crumb Cake card.
  • Adhere White layer to inside of card & 1/2" DSP to the bottom, as shown.
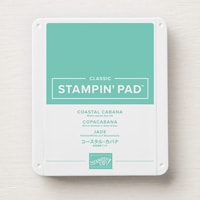
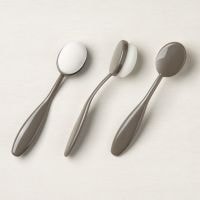
  • Now, take the smaller White piece and burnish Coastal Cabana ink onto it with Blending Brush. You don't want it solid! Then, follow up with scattered "snowflakes". Set aside.
  • Die cut "wreath" from Watercolor Green DSP piece. Attach "snow" piece behind the opening of this piece, then adhere to card front, a little higher than center.
  • Die cut double deer from DSP.  Add to card, in front of opening with Dimensionals.
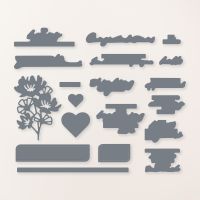
  • Emboss sentiment from bundle in White onto piece of Garden Green. Then die cut with die from the Wonderful Thoughts Dies.
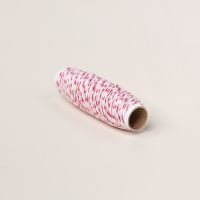
  • TIe bow from Red & White Bakers Twine, add where desired.
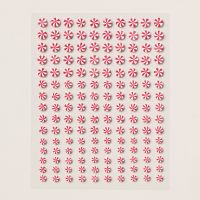
  • Finish with scattered Peppermints!
Product List