
Well, it's time to get in gear for Christmas and start using all those stamps and bundles that I have yet to play with! I had, yet, to try the darling pieced reindeer from the Reindeer Fun Bundle. Oh, my did SU! think of everything!! So easy to cut and assemble! The possibilities are endless! This one makes use of the Take a Bow DSP and tons of small red rhinestones! I just LOVE it! We will be doing this one in my November classes!

Measurements:
- Cherry Cobbler: 1/2 sheet, scrap
- Basic White: 3 7/8" x 5 1/8" (outside), 4" x 5 1/4" (inside), 1/2" x 3" strip, 2" square (reindeer), 3 3/8" square (die cut circle)
- Garden Green: 1 3/4" square
- Crumb Cake: 2" square
- Early Espresso: 2" square
- Granny Apple Green: 1 1/2" x 3 1/4"
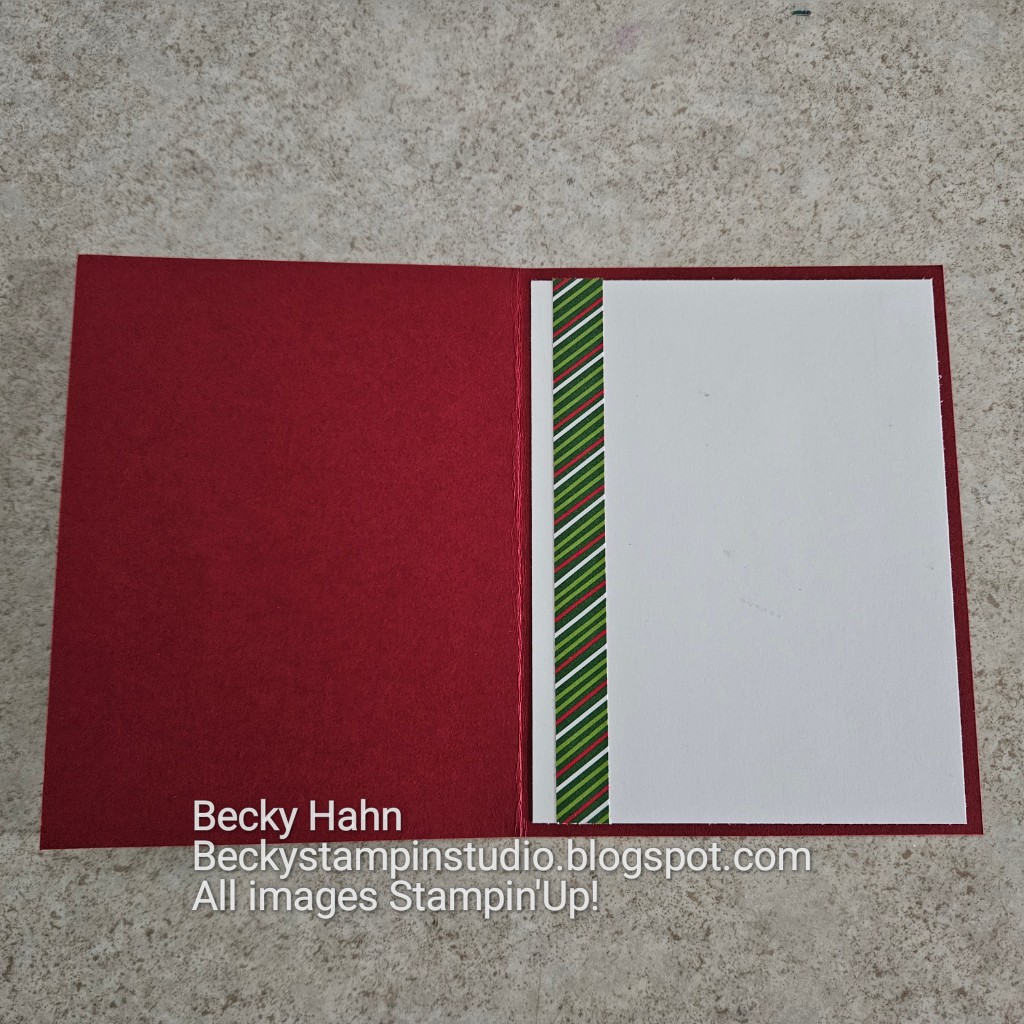
- Take a Bow (N): 3 different patterns @ 1 1/8" x 4 7/8" (front), 1/2" x 5 1/4" (inside)
To Make This Card
- Attach White layer to folded Cherry Cobbler card.
- Attach 2 DSP pieces to either side, and then add the one to the middle.
- Lay all the different pieces of cardstock on your die cutting machine base, match the coordinating dies, and cut all at one time!! (this makes it so easy)
- Die cut largest circle from the Stylish Shapes Dies.
- Add Circle to front of card.
- Assemble "reindeer" from the bottom up, starting with the Early Espresso "antlers".
- Attach the string of "lights over the circle with Multipurpose Glue.
- Add small rhinestones to the "lights" NOW, if desired.
- Slip "wreath" around neck of "reindeer" and adhere. Then, add to card front with Dimensionals.
- Stamp sentiment in Memento Black ink onto label strip. Attach to card as shown.
- Finish inside with larger white layer, and strip of DSP
- Finish outside with more Red Rhinestones!
")
 Designer Series Paper")


No comments:
Post a Comment