Showing posts with label floral delight dsp. Show all posts

Saturday, April 5, 2025

Delightful Wishes Side Tower Pop Up Card

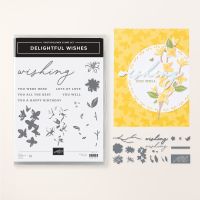
 Here is one of Susan Campfields' original designs using the Delightful Wishes Bundle. This sample uses an embossing folder for some of the decorative layers, as well as I die cut flower from the coordinating vellum. I just love the cheery yellow color!


Measurements:   

  • Basic White:: 1/4 sheet, 4 1/4" x 5" (tower), 3 1/2" x 6" (pop up) 3 3/4" x 4" (back) scraps;  2 pcs @ 7/8" x 4 1/8" (tower), 1 1/2" x 4 1/8" (right side) - will be embossed
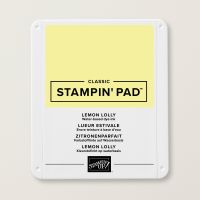
  • Lemon Lolly: 3 3/8" x 3 7/8" (pop up), 4" x 4 1/8" (back)
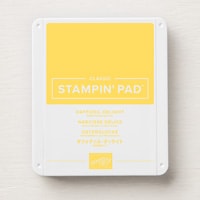
  • Daffodil Delight:  3 1/4" x 3 3/4" (pop up), 1" x 3 3/4" (pop up)
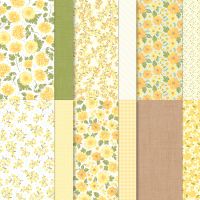
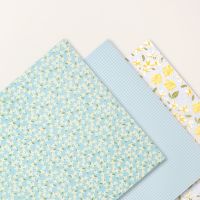
  • Floral Delight DSP (N): 3" x 3 1/2" (pop up - blue floral) 7/8" (pop up - yellow gingham)
  • Floral & Gingham Vellum (N): 2 pcs @ 5/8" x 4 1/8" (blue print - back); die cut flower/leaf
To Make This Card:
  • Score the "tower" piece at 1" - 2" - 3" - 4". Crease well, making all creases "mountain" folds! (This will create 5 - 1" sections).
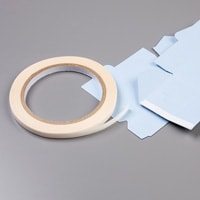
  • Place Tear n Tape on last 1" section, and adhere together, making "tower". Once, formed, lay flat (it WILL lay better one direction), and place Tear n Tape on one of the other 1" sections. Remove backing, and attach to "postcard" base placing folded edge with the Tear n Tape even to cut edge.
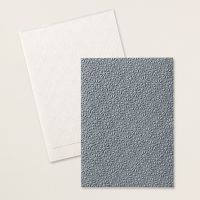
  • Emboss 2 "tower" pieces and right side piece of White with Embossing Folder of your choice. Adhere the 2 "tower" pieces to the "tower".  Save the other embossed piece for later.
  • Score the "pop up" piece at 1" - 2". Crease well. These are both "mountain" folds as well.
  • Place Tear n Tape on the last 1" section of the "pop up".
  • Now, pop the "tower" into place. Flatten the 2 "pop up" sections of the "pop up" piece back behind top.  
  • Next, line up the left, cut edge of the "pop up" to the crease of the tower, as shown. lay flat, into mailing mode, and stick back piece into place.
  • Now, place Tear n Tape on the wrong side of the left edge, and adhere this to the "tower". And, voila!
  • Now, you can add the last embossed strip to the right side of the card base.
  • Layer all the "square"  "pop up" layers together and add to "pop up" piece.
  • Then, stamp up the "Happy Birthday" only from the Delightful Wishes stamp set and stamp onto scrap of White.  Die cut with included label die.
  • Layer the cross pieces together.  Add sentiment with Mini Dimensionals.  Add to "pop up".
  • Die cut flower & leaf from print vellum piece.  There IS a die that coordinates with this.
  • Also, die cut a "sprig" from a die set of your choice.  Mine is from the Linked Together Dies. 
  • Assemble onto "pop up" piece, as shown.
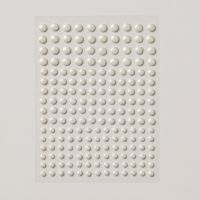
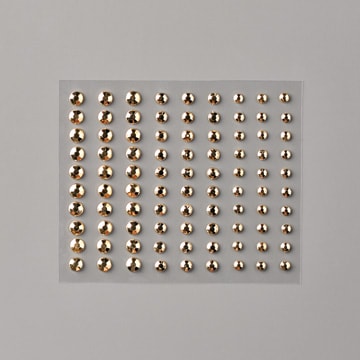
  • Finish front with scattered Antique Pearls
  • To finish the back, adhere the 2 vellum strips on the outside of back, as shown.  Add the 2 layers and stamp a sentiment in Memento Black.
Product List

Friday, February 28, 2025

Floral Delight Accordion Gatefold

I just love this fold! So many options, so many choices to see as well! We are exploring the Floral Delight Suite this month in club, so this was a perfect creation designed, with my own twist, by Tami White. It not only uses the cheerful Floral Delight DSP, but also the Floral & Gingham Vellum. I think they are going to love making this one.


Measurements:   

  • Daffodil Delight: 1/2 sheet, 3" x 10 5/8", 2 pcs @ 1" x 2 3/4", 2" x 3 1/2" (word)
  • Basic White: 5 pcs @ 2" x 2 7/8", scraps (to stamp on)
  • Adhesive Sheet: 2" x 3 1/2"
  • Floral Delight DSP (N): 4" x 5 1/4" (inside) (Yellow Print); 2 pcs @ 1 7/8" x 5 1/4" (inside flaps) (yellow branches); 2 pcs @ 1 7/8" x 5 1/4" (outside flaps)(yellow gingham)
  • Floral & Gingham Vellum (N): 4 pcs @ 1 7/8" x 2 3/4" (blue floral)
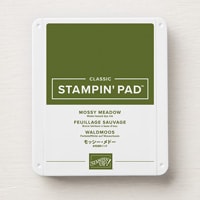
  • Mossy Meadow: 2" x 3 3/4"
To Make This Card:

  • The base of this card is a "gate" fold. Take the 1/2 sheet of Daffodil Delight and score at 2 1/8" from one end. Then, take the other side and match cut edges and crease, creating a "gate" fold.
  • At this point, you are going to make and attach the 2 "strips" that will hold the "accordion" piece to the card base.
  • Take the 2, 1" pieces and score lengthwise @ 1/2". Crease Well.
  • Place Tear n Tape on both sides. Remove backing of one side, and adhere to the inside of a flap, lining up fold to cut edge. Repeat for the other side.
  • To this, adhere the DSP pieces - inside yellow print to base, yellow branch pieces to the inside flaps, and the yellow gingham pieces to the front flaps. Set the base aside.
  • Now, for the "accordion" piece. Score at 2 1/8"- 4 1/4"-6 3/8"-8 1/2", across the piece.
  • To fold, start at the left side and make a "mountain" fold, a "valley" fold, another "valley" fold, and end with a "mountain" fold.  Crease well with a bone folder. Fold up so it all lays on top of each other. (You might need trim, re-crease to make it lay flat. And, try creasing both ways, as one might work better than the other!) Your card can open either way.
  • Next, attach the White pieces to the accordions' panels.
  • Then, add the vellum print pieces to the 2 outside panels on each side, leaving the center panel White.
  • Next, adhere the decorative DSP pieces to the 2 outside panels of the accordion piece, leaving the center panel, for now.
  • Now, stamp a sentiment in basic black ink onto center section.  I also added some Daffodil Delight filler images - (I think they are supposed to be flower centers!)
  • Now, you're ready to insert the "accordion" piece! 
  • Fold the "accordion" piece into place. Place Tear n Tape on the wrong side of the center section, the one with the sentiment.
  • Open the card base, and center and adhere the "accorion" piece to the inside on the large decorative DSP. Press well.
  • Now, for the 2 outside panels/tabs. Take one of the "tabs" and lay out flat, so it looks like an extension of the front flap. Remove the tape backing, and fold the panel into place. Repeat for the other side. Voila! It is done! 
  • Oops! At some point you need to wrap ribbon around the 2 layers of the front panel. Or, tie a knot and stick it in place.
  • Place adhesive sheet to Daffodil Delight piece.  Die cut with narrower word.
  • Die cut larger word in Mossy Meadow.  Remove backing on yellow word and adhere to Mossy Meadow base. Carefully add to front of first panel (edges will hang off).
  • Next, stamp 2 "flowers" in yellows, and 2 leaves in Mossy Meadow. Die cut from corresponding dies. Attach to front panels as shown.
  • Finish with one Tiny Bee on the front panel, and 2 retired Gilded Gems for the flower centers.

Product List

Wednesday, January 22, 2025

Floral Delight Unique Trifold Card

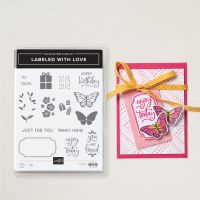
This is my version of the card that started my quest to learn how to do this fold!  As you know, I love cheerful yellow, and this one does not disappoint! I paired the Floral Delight DSP from the new mini with the Labeled with Love stamps in the Annual Catalog!  I had a lot of fun creating my version!


Measurements:   

  • Lemon Lolly: 5 1/2" x 6 1/2" (base), 3 1/2" x 10 1/2" (insert)
  • Basic White: 4" x 5 1/4", 2 pcs @ 2" x 5 1/4", 2 1/4" x 3 1/4", 1 3/4" x 3 1/4" 
  • Floral Delight DSP (N): 2 1/4" x 3 1/4", 1 7/8" x 5 1/8", 3 7/8" x 5 1/8" (yellow print); 3/4" x 3 1/4",  2 pcs @ 2 1/4" x 3 1/4" (Blue Floral); 1 7/8" x 5 1/8" (White Floral)
To Make This Card:

  • Score Lemon Lolly "base" along 6 1/2" side at 4 1/4". Crease well, and set aside.
  • Score Lemon Lolly "insert" at 2"-3"-5 1/2"-8". Start at the 2" end, and make a "mountain" fold, and another "mountain" fold, and then a "valley" fold, and then another "valley" fold.
  • Let's create the "base" first. Adhere the largest White layer and the largest Yellow Print layer to the inside flap.. Attach the 2 White strips to the front and back of the front flap. Adhere the Yellow Print to the front, and the White Floral to the back. Set aside.
  • On the insert piece, we'll work from the left to the right on the top of the piece.  
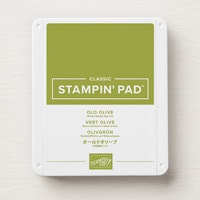
  • On the White, front layer, stamp the sentiment in Old Olive ink near the top, as shown. Stamp the "leaves" several times in Old Olive below the sentiment.  Then, add Lemon Lolly flowers (This is a 2-step stamp). Attach to front flap of insert.
  • Let's continue along insert. Next, attach add the 7/8" Blue Floral strip to the narrow area.
  • Next, attach the final Yellow Print piece.
  • The next area will be a White, stamped piece.  Stamp the lower, right corner with the leaves in Old Olive ink. (only one)  Again, add Lemon Lolly flowers, and sentiment in Old Olive as well.  Then, attach to the next panel.
  • Then, add one Blue Floral piece.
  • Finish this insert strip with the last Blue Floral on the back of the last panel (which will end up on the "outside" when folded.
  • Now, we are ready to adhere the insert into the card base.
  • Place Tear n Tape on the front, narrow panel. Matching the crease with the front cut edge, adhere to the front.
  • Tri fold the rest of the insert, with the 1" panel extended, exposing the back panel (opposite your stamping).  Place Tear n Tape onto this piece. 
  • Flip the card over exposing this piece, and close the card base. 
  • And, Voila! It is done!!
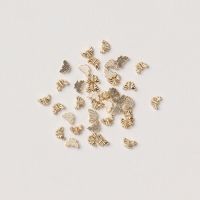
  • Finish the card with scattered Brass Butterflies on the White stamped pieces, Lemon Lolly Rainbow Dots on the front flowers, and White SAB Sequins on the inside flowers.

Product List