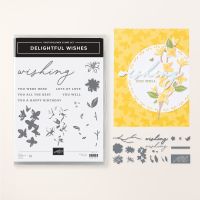
Here is one of Susan Campfields' original designs using the Delightful Wishes Bundle. This sample uses an embossing folder for some of the decorative layers, as well as I die cut flower from the coordinating vellum. I just love the cheery yellow color!
Measurements:
- Basic White:: 1/4 sheet, 4 1/4" x 5" (tower), 3 1/2" x 6" (pop up) 3 3/4" x 4" (back) scraps; 2 pcs @ 7/8" x 4 1/8" (tower), 1 1/2" x 4 1/8" (right side) - will be embossed
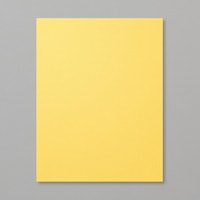
- Lemon Lolly: 3 3/8" x 3 7/8" (pop up), 4" x 4 1/8" (back)
- Daffodil Delight: 3 1/4" x 3 3/4" (pop up), 1" x 3 3/4" (pop up)
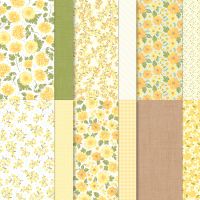
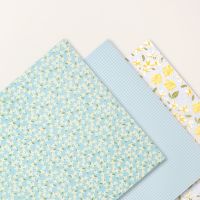
- Floral Delight DSP (N): 3" x 3 1/2" (pop up - blue floral) 7/8" (pop up - yellow gingham)
- Floral & Gingham Vellum (N): 2 pcs @ 5/8" x 4 1/8" (blue print - back); die cut flower/leaf
To Make This Card:
- Score the "tower" piece at 1" - 2" - 3" - 4". Crease well, making all creases "mountain" folds! (This will create 5 - 1" sections).
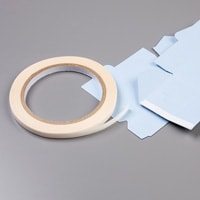
- Place Tear n Tape on last 1" section, and adhere together, making "tower". Once, formed, lay flat (it WILL lay better one direction), and place Tear n Tape on one of the other 1" sections. Remove backing, and attach to "postcard" base placing folded edge with the Tear n Tape even to cut edge.
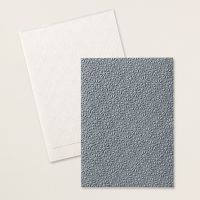
- Emboss 2 "tower" pieces and right side piece of White with Embossing Folder of your choice. Adhere the 2 "tower" pieces to the "tower". Save the other embossed piece for later.
- Score the "pop up" piece at 1" - 2". Crease well. These are both "mountain" folds as well.
- Place Tear n Tape on the last 1" section of the "pop up".
- Now, pop the "tower" into place. Flatten the 2 "pop up" sections of the "pop up" piece back behind top.
- Next, line up the left, cut edge of the "pop up" to the crease of the tower, as shown. lay flat, into mailing mode, and stick back piece into place.
- Now, place Tear n Tape on the wrong side of the left edge, and adhere this to the "tower". And, voila!
- Now, you can add the last embossed strip to the right side of the card base.
- Layer all the "square" "pop up" layers together and add to "pop up" piece.
- Then, stamp up the "Happy Birthday" only from the Delightful Wishes stamp set and stamp onto scrap of White. Die cut with included label die.
- Layer the cross pieces together. Add sentiment with Mini Dimensionals. Add to "pop up".
- Die cut flower & leaf from print vellum piece. There IS a die that coordinates with this.
- Also, die cut a "sprig" from a die set of your choice. Mine is from the Linked Together Dies.
- Assemble onto "pop up" piece, as shown.
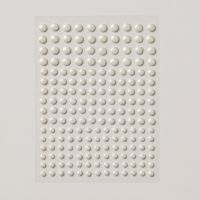
- Finish front with scattered Antique Pearls
- To finish the back, adhere the 2 vellum strips on the outside of back, as shown. Add the 2 layers and stamp a sentiment in Memento Black.





No comments:
Post a Comment