Friday, November 15, 2024

A Little Bit Festive Book Binder Card

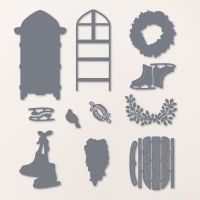
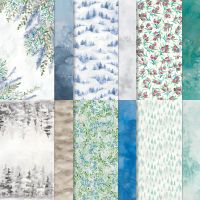
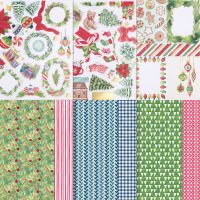
 This is an original idea using the A Little Bit Festive DSP! The wreaths in this "kit" are perfect for a Book Binder Fold Card!  So, ANY of the wreaths could be used for this card design!  


Measurements:  

  • Real Red: 1/2 sheet cut LENGTHWISE
  • Basic White: 4" square (outside), 4" square (inside), 2 3/4" square (circle behind wreath)
  • A Little Bit Festive (N): Wreath Die Cut of your choice, bow?, 1" x 4" stripe piece from paper strip on die cut sheet.
To Make This Card:

  • Fold Real Red card in half. Score at 4 1/4" - 5 1/2".  Crease well.
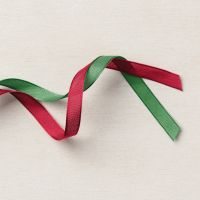
  • Attach 1" DSP strip to "binding" area. Take 6 1/2" piece of Real Red ribbon and wrap around "binding" area and adhere to the back.
  • Now, attach "binding" area to card with Tear n Tape.
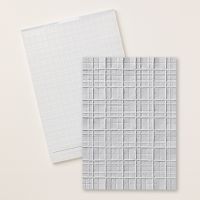
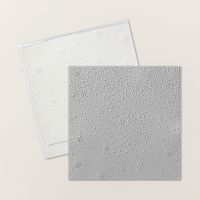
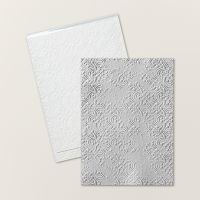
  • Run one White layer through new, Forever Plaid 3D Embossing Folder. Adhere to front of card.
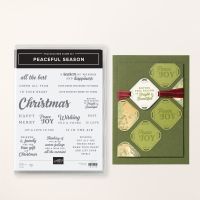
  • Die cut circle from Stylish Shapes, adhere to back of chosen "wreath". Stamp sentiment of your choice in Garden Green. Adhere to card front.
  • Add one of the die cut bows, if desired. I added a little Wink of Stella, too!
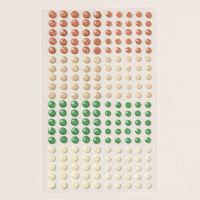
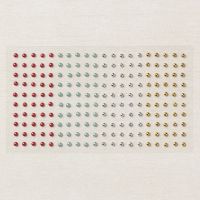
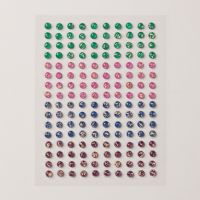
  • Finish with White Earth Tones Shimmer Gems on the ribbon, and Garden Green Earth Tones Shimmer Gems on the corners of the front layer.
Product List

Wednesday, November 13, 2024

Double Gate Fold

I'm getting ready for my  A Little Bit Festive "Kit" class, where I try to create a card using most of the die cuts and DSP from the package!  This was my first creation!  Most of the ideas are pretty basic, and not many folds, but this first one is!  


Measurements:  

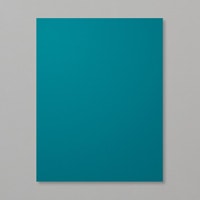
  • Pretty Peacock: 5 1/2" x 11"
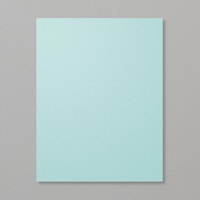
  • Pool Party: 3 1/2" x 5 1/4" (inside), 2" x 4 1/4"
  • Basic White: 3 1/4" x 5" (inside), 2 pcs @ 1 5/8" x 5 1/4", 1 3/4" x 4" (front layer)
  • A Little Bit Festive DSP (N): 2 pcs @ 1 1/2" x 5" (branches w/ornaments)
To Make this Card
  • Score Pretty Peacock base at 1 7/8" & 3 5/8" from each end. Carefully, accordion fold into a double gate, adjusting if necessary (I did!) Crease well with bone folder.
  • Attach Pool Party and White layers to inside.
  • Attach White and DSP pieces to outside gate folds.
  • Run White front layer through Snowflake Sky 3D. Adhere to Pool Party layer. Attach to left front "gate".

  • Select desired die cut - I liked the "stocking". And add to layer with Dimensionals.
  • Finish the front with a double Real Red twine bow, on the "stocking", and scattered red Festive Pearls (ret).

Product List

Tuesday, November 12, 2024

Blueberry Bushel Sled

 I loved this blue version of the Sophisticated Sled!  I added my own touches, of course, but I love it!  It uses the Winter Meadow DSP on Blueberry Bushel base, along with silver accents.  I just love the little silver berries, from the Festive Pearls (retired)!


Measurements:  

  • Blueberry Bushel: 1/2 sheet
  • Winter Meadow: 3 3/8" x 5", 1/2" x 5 1/4"
  • Brushed Silver: 2" x 4" (sled runners), scrap
  • Basic White: 4" x 5 1/4", 2 3/4" x 4 1/4" (label), scrap (skates)
  • Pecan Pie: 2 1/4" x 2 3/4"
  • Boho Blue: scraps
  • Shaded Spruce: scraps
  • Lost Lagoon: scraps
To Make this Card
  • Cut DSP into 3 pcs - each 1 1/8" wide.  Space evenly onto folded Blueberry Bushel card and adhere.
  • Die cut "label" from Countryside Corners dies.  Emboss with Distressed Tile 3D Embossing folder. Set aside.
  • Now, for the sled. Die cut the runners/base and ice skate blades from Brushed Silver. (OE)
  • Die cut the ice skates from White, and the "laces" from Boho Blue. (this is so cool!) Also, die cut 2 "sprigs" - one from Shaded Spruce and one from Lost Lagoon. Now you're ready to assemble!
  • Die cut the sled from Pecan Pie.
  • Now, to assemble!! Put "green" glue onto the runners and cross pieces.  Adhere the sled, and the top "rail". (I worked on my silicone sheet.  Worked great!)
  • Glue the "blades" to the right side of the ice skates. Then, add glue to the "laces" and tuck in to the slit on the ice skates, too cool!!)
  • Glue the 2 sprigs together.  I put the darker one on the bottom, but you do whatever you like.  I also staggered them a little bit. Glue to the sled as shown.
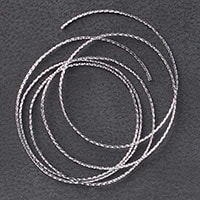
  • Tie a double bow from silver cord. Add to the sled with a Mini Glue Dot.
  • I added the ice skates to the tails of the bow, using good old scotch tape!  Make them different lengths and then adhere to the sled.
  • Now you're ready to add the sled to the White label. The sled is flush to the label, but I added the label to the card with Dimensionals.
  • Finish the inside with White piece and strip of DSP.
  • Finish the outside with clusters of silver beads from the Festive Pearls.
Product List

Monday, November 11, 2024

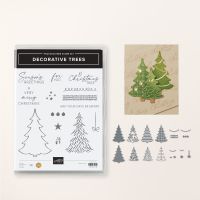
Red & Gold Decorative Trees

 I just love this bundle!  It's really popular and has gone out of stock several times!  I understand why, because there is so much you can do with it! Sadly, right now it is unavailable to order, again. This version uses some gorgeous foil papers.  Love it paired with the Cherry Cobbler color! 


Measurements:  

  • Thick Basic White: 1/2 sheet
  • Cherry Cobbler: 4" x 5 1/4", 2 1/2" x 3 1/2" (tree), scrap (label)
  • Regal Distressed Patterns Specialty Paper (N): 3 3/4" x 5" (white plaid)
  • Gold Foil: 2 1/4" x 4" (embossed); 2 1/2" x 3 1/2" (solid tree), 2" x 3" (detail)
  • Adhesive sheet: 2" x 3" (Gold foil detail)
To Make This Card:
  • Attach Cherry Cobbler layer to folded White card.
  • Then, add the DSP layer.
  • Run the larger Gold Foil piece through new Forever Plaid 3D Embossing Folder. Adhere to the card front as shown.
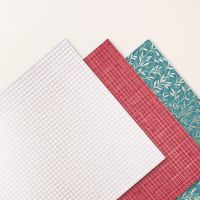

  • Die cut Cherry Cobbler tree from dotted die. Mount onto solid Gold foil tree.
  • Adhere adhesive sheet to the Gold Foil piece for the "tree detail". Die cut, and stick to tree base as shown.
  • Add "tree" to card front with Dimensionals.
  • Emboss sentiment, from the Decorative Trees stamps, in gold.  Punch out with retired Wide Oval Punch. Add to card with Dimensionals.
  • Tie and adhere bow.
  • Finish with Regal Foiled Dots on the cross parts of the "tree detail".
Product List