Showing posts with label decorative trees. Show all posts

Monday, November 11, 2024

Red & Gold Decorative Trees

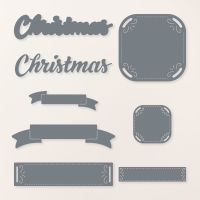
 I just love this bundle!  It's really popular and has gone out of stock several times!  I understand why, because there is so much you can do with it! Sadly, right now it is unavailable to order, again. This version uses some gorgeous foil papers.  Love it paired with the Cherry Cobbler color! 


Measurements:  

  • Thick Basic White: 1/2 sheet
  • Cherry Cobbler: 4" x 5 1/4", 2 1/2" x 3 1/2" (tree), scrap (label)
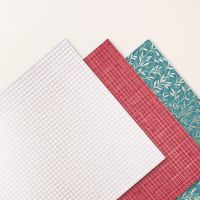
  • Regal Distressed Patterns Specialty Paper (N): 3 3/4" x 5" (white plaid)
  • Gold Foil: 2 1/4" x 4" (embossed); 2 1/2" x 3 1/2" (solid tree), 2" x 3" (detail)
  • Adhesive sheet: 2" x 3" (Gold foil detail)
To Make This Card:
  • Attach Cherry Cobbler layer to folded White card.
  • Then, add the DSP layer.
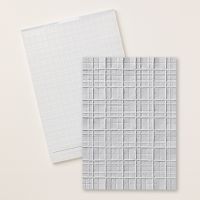
  • Run the larger Gold Foil piece through new Forever Plaid 3D Embossing Folder. Adhere to the card front as shown.
  • Die cut Cherry Cobbler tree from dotted die. Mount onto solid Gold foil tree.
  • Adhere adhesive sheet to the Gold Foil piece for the "tree detail". Die cut, and stick to tree base as shown.
  • Add "tree" to card front with Dimensionals.
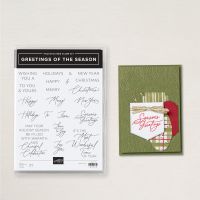
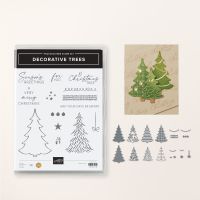
  • Emboss sentiment, from the Decorative Trees stamps, in gold.  Punch out with retired Wide Oval Punch. Add to card with Dimensionals.
  • Tie and adhere bow.
  • Finish with Regal Foiled Dots on the cross parts of the "tree detail".
Product List

Decorated Trees

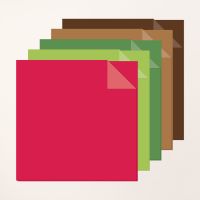
 I saw a version of this gorgeous card, that highlights many of the components of this lovely bundle! What I also liked, is that it highlights our 2-tone papers! The trees are a combination of the Garden Green and Granny Apple Green papers! Notice the subtle color changes in the layers? It also makes for a thinner, lighter weight card. My one suggestion is to be sure to make use of our Adhesive Sheets for all the intricate layers and decorations! That was so helpful!


Measurements:  

  • Thick White: 1/2 sheet cut LENGTHWISE
  • Basic White: 4 1/8" square (largest decorative circle), 1 1/4" x 4" (words), 3/8" x 2"
  • Real Red: 2 1/2" x 3 1/2" (tree base), 1 1/4" x 4" (words), 3/4" x 2 3/4" (label)
  • Reindeer Memories 2-Tone cardstock (N)(SB): 2 pcs @ 2 1/2" x 3 1/2" (Garden Green),      2 1/4" x 2 3/4" (Garden Green); 2 1/2" x 3 1/2" (Granny Apple Green)
  • Take a Bow (N): 4" x 5 1/4", (diagonal stripe); 2 3/4" x 5 1/4", 1/2" x 5 1/2" (dots)
  • Gold Foil: scraps
  • Adhesive Sheet: scraps
To Make This Card:
  • Attach DSP pieces to folded White card.
  • Die cut the largest decorative circle from the Spotlight on Nature dies. Attach to card front as shown, just a little higher off center.
  • Die cut "solid" tree from Real Red and 2 from Garden Green 2-tone.
  • Attach Adhesive sheet to the corresponding cardstocks and die cut "plaid" tree from Granny Apple Green, "dots" & "holly" from Garden Green 2-tone.
  • Attach to the corresponding bases. (Note: you will need to trim the "holly" base to fit the top.)
  • Add Adhesive sheet to back of Gold scrap. Die cut "decorations", and attach to the "trees" as shown.
  • Now assemble the trees onto the White circle, centering the "dots" tree near the top.
  • Next, Die cut base of sentiment in White.  Attach Adhesive sheet to the back of the Real Red piece, and die cut the detailed sentiment. Adhere the 2 together, and add to card.
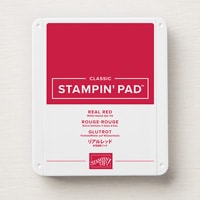
  • Die cut small "label" in Real Red. Stamp sentiment in Real Red ink, and attach to labe.
  • Then attach "label" to card front, over trees, with Dimensionals.
  • Finish inside with strip of DSP
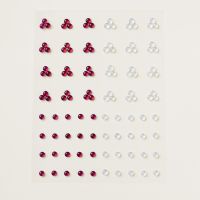
  • Finish outside with small red rhinestones, as shown.

Product List

Tuesday, November 5, 2024

Embossing on Glimmer Paper - Decorative Trees

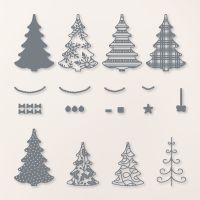
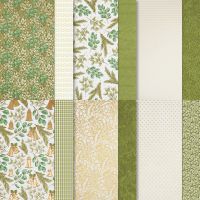
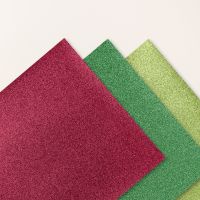
 Sara Douglass, our CEO, shares some fun things every Tuesday afternoon! If you haven't watched her, she really has some fun things to share!  A couple of weeks ago, she demonstrated heat embossing on Glimmer (glitter) Paper! She used the Decorative Trees, shown here, and did another sample as well.  This is so new, that I had to come up with my own card, as I was not finding any inspiration on any other websites!  So, enjoy this full card version using the Festive Glimmer Paper in the new mini catalog, along with DSP from the Seasons of Green and Gold DSP in the Online Store.


Measurements:  

  • Thick White: 1/2 sheet
  • Basic White: 3 3/4" x 5", 1 1/4" x 4" ("Christmas"), 3/8" x 2" ("Merry")
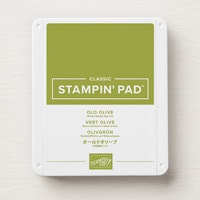
  • Old Olive: 4" x 5 1/4", 1 1/4" x 4" ("Christmas"), scrap
  • Real Red: 1 7/8" x 5"
  • Festive Glimmer Paper (N): 2 1/2" x 3 1/2" (lt green)
  • Seasons of Green & Gold DSP (N): 1 7/8" x 5" (green plaid)
  • Adhesive Sheet: 1 1/4" x 4" (white "Christmas")
  • Gold foil: small scrap
To Make This Card:
  • Attach Old Olive layer to folded White card.
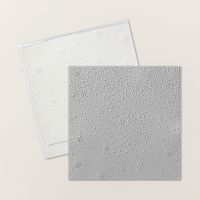
  • Run Basic White layer through Snowflake Sky 3D Embossing Folder.  Attach to card front.
  • Adhere plaid DSP to Real Red piece, then add to card as shown.
  • Die cut tree from Glimmer Paper.
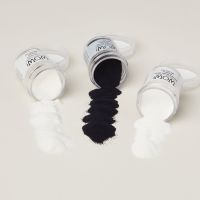
  • Stamp and emboss "tree" in White Embossing Powder.  Cool, huh!
  • Die cut larger "Christmas" from Old Olive.  
  • Attach adhesive sheet to White piece for words. Die cut with more detailed "Christmas". Peel back adhesive and attach to Old Olive layer.
  • Now, attach this to card, as shown. 
  • Die cut smallest tag from Old Olive. Stamp "merry" in Old Olive ink onto narrow strip, and attach to tag, then attach to card.
  • Die cut a star from Gold Foil.  Attach to top of tree. 
  • Add "tree" to card with Dimensionals.
  • Finish with scattered "berries".

Product List

Monday, November 4, 2024

Trio of Decorative Trees

 This is a version of the card from the Mini Catalog using the Decorative Trees bundle! It combines cardstock and glimmer paper with gold foil decorations to make a beautiful card.  I made mine a little less "rustic" by putting the trees on a base with gold flecks from the Seasons of Green and Gold DSP in the Online Store. The results are just stunning, and so much fun to do!

Measurements:  

  • Very Vanilla: 1/2 sheet
  • Garden Green: 4" x 5 1/4", 2 1/2" x 3 1/2" (plaid tree)
  • Old Olive: 2 pcs @ 2 1/2" x 3 1/2" (stamped tree base & trimmed scroll tree base)
  • Pecan Pie: small scraps
  • Festive Glimmer Paper (N): 2 1/2" x 3 1/2" (lg base), 2 1/8" x 3" (scroll) (lt green)
  • Seasons of Green & Gold DSP (N): 3 3/4" x 5" (Vanilla fleck)
  • Adhesive Sheet: 2 1/8" x 3" (scroll), 2 1/2" x 3 1/2" (plaid tree), 2" x 2 1/4" (details)
  • Gold foil: 2" x 2 1/4"
To Make This Card:
  • Attach Garden Green layer to folded Vanilla card.
  • Then, add the DSP layer.
  • First, we'll die cut all the basic tree pieces, and then assemble them!
  • Cut 1 tree base from lt green (Granny Apple Green) Glimmer Paper, and one from Old Olive cardstock (we'll cut the other one after we stamp)
  • Place adhesive sheet on the back of the Garden Green cardstock, then cut out with the "plaid tree die". Peel off back, and attach to the Lt Green Glimmer tree.
  • Place adhesive sheet on the back of the small Glimmer piece, the die cut with scroll die.
  • Before attaching the "Glimmer Scroll" to the tree, take the Old Olive tree base and burnish in some Garden Green ink, with a Blending Brush, to the bottom of the tree, leaving the top the true color. Set aside to dry.
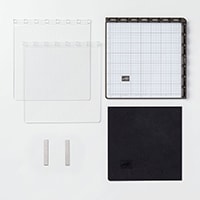
  • I used my Stamparatus for the stamped tree.  Take the piece of cardstock and stamp the outline in Garden Green ink, then stamp the "sprigs". Remove from the Stamparatus, and die cut with corresponding die.
  • Now, we'll die cut all the decorations. Place the adhesive sheet on the back of the Gold Foil piece.  Die cut the 3 ornaments and 4 garlands. Set aside.
  • Die cut 3 "trunks" from Pecan Pie cardstock.
  • Ok. Now we're ready to assemble!
  • You can now attach the scroll to the burnished tree. Notice the tree is bigger than the "scroll". You'll need to trim off the excess.  Now you have a smaller tree! Add trunk to the bottom. (I used a narrow strip of Tear n Tape.
  • Decorate the stamped tree with the "garland" as shown.  Also, add a trunk to the bottom of this tree. (You may need to adjust it later.)
  • Attach a trunk to the "plaid" tree.
  • Next I arranged the trees onto the card front, so that the "scroll" tree ends up in the center of the card, and popped up with Dimensionals.
  • Now, you can add the "ornaments" to the "plaid" tree.  I also added the new Drusy Embellishments to the ornaments and a smaller one to the top of the tree.

Product List