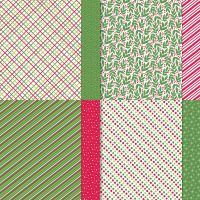
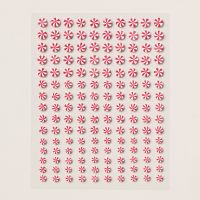
This fold is just so much FUN! Usually the inside accordion fold is created with a long, pleated piece of DSP, but you can just use cardstock, too, as with this idea from Lisa Cursio. I love the whole warm drink theme, which includes the peppermint stripe of the the Take a Bow DSP on the pleats, and those cute little Peppermints that embellish it. Both are still available!! We will be doing this card in class this week.
Measurements:
- Real Red: 1/2 sheet, 3 1/2" square (decorative circle)
- Basic White: 5 1/4" x 10", 3 3/8" square (backing for circle), 1/2" x 1 3/4" (label), scraps
- Take a Bow (OE): 4" x 5 1/4", scrap (green sparkle), 6 pcs @ 7/8" x 5 1/8", scrap (stripe)
To Make This Card:
- Let's start with creating the outside base, first. Fold Real Red card in half. Adhere "green sparkle" DSP piece to front
- Die cut decorative circle using the Spotlight on Nature dies, from the Real Red Square. I wanted to be able to see the decoration on this circle, so I adhered it to a slightly larger square of White. (There was no circle die that I could find for this purpose). After you have done this, take a pair of Paper Snips, and trim the White to fit. You'll want to try to "undercut" this piece, so you can't see the White from the edges. Attach this to the card front with Dimensionals.
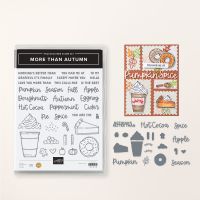
- Next, stamp 2 "coffee cups", 2 tiny "gingerbread men", 2 "candy canes", 2 "marshmellow bundles", and one "whipped topping" onto White scraps.
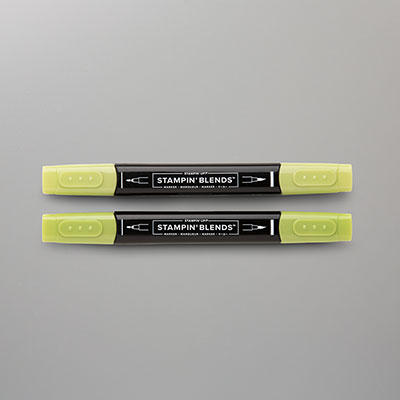
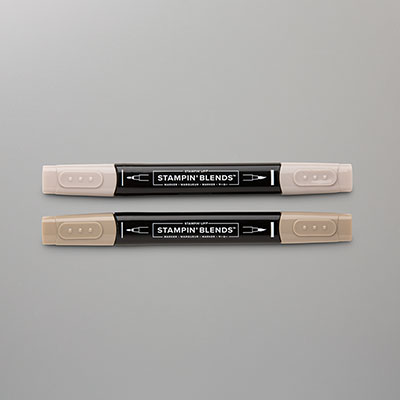
- I like to color, before I die cut! Color the "gingerbread men" in Crumb Cake, color the "candy canes" in Real Red, color one cup in Granny Apple Green, and one cup in Real Red. Now, you can die cut these.
- Before assembling, you will also need to fussy cut 2 "coffee cup sleeves". Stamp one cup "center" onto "green sparkle" scrap, and one onto the "peppermint stripe". Now fussy cut these out (no, there is no die), and attach to corresponding "cup".
- Add "gingerbread man" to "sleeve" with Mini Dimensional. Cut small slit in "whipped topping" for "candy cane", insert "candy cane" and add "whipped topping" to top of Green cup. Add to red circle with Dimensionals. This will need to be close to the top, cut edge of circle.
- Stamp sentiment in black ink, onto small White label. Add, flush, below "cup".
- Now, for the inside accordion piece.
- Carefully score White insert at 2" - 3" - 4" - 5" - 6" - 7" - 8".
- Make an accordion starting with a "valley" fold. Crease well.
- Next, add "candy stripe" pieces to 1" accordion folds.
- Now, place adhesive onto the outside 2" areas. Adhere to inside of card as shown.
- Now for the additional pieces I did the left, or "front" side first, then "hoped" the other side worked as well! Haha - it did!
- To finish/decorate, the inside. Assemble the Red "cup". Add green "sleeve" and "gingerbread". Add one "bundle" of marshmellows, to front of "cup", clear to the left, then add the "candy cane", and then ,lastly the other "bundle" of marshmellows. Add, flush, to left side of inside card.
- Stamp sentiment in black, on right.
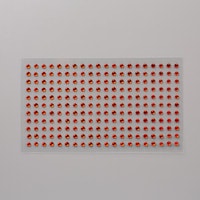
- Finish inside with Peppermints and Red Rhinestones, as desired.
- For the outside, add Peppermints to the "whipped topping", and you're done!






No comments:
Post a Comment