Monday, October 7, 2024

Sentimental Wishes Spanner Card

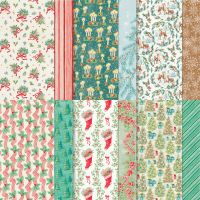
I hadn't done one of these folds in a LONG time, so when I saw a sample using the Sentiment Christmas DSP, I had to give it a try! I really like how it turned out!


Measurements:   

  • Basic Beige: 1/2 sheet cut LENGTHWISE, 1" x 4 1/4" (bridge)
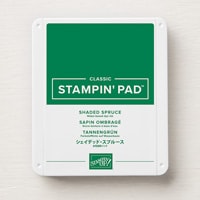
  • Shaded Spruce: 7/8" x 4 1/8" (bridge), 2 1/8" x 5 3/8", 2 pcs @ 7/8" x 5 3/8"
  • Basic White: 2 1/4" x 5 3/8", scrap
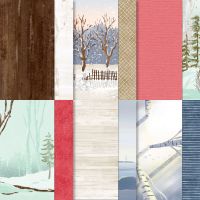
  • Sentimental Christmas DSP (N): 2 pcs @ 1" x 5 3/8"(inside), 2 pcs @ 3/4" x 5 3/8" (front) (Shaded Spruce Stripe)
To Make This Card:

  • Fold Basic Beige card in half.  Crease well.  Now, cut from cut edge to fold 1" on each side. 
  • Attach narrow Shaded Spruce strips to outside edges, then add narrower DSP strips.
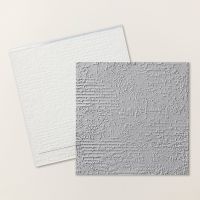
  • Run larger Shaded Spruce piece through Embossing Folder of your choice. I used the Exposed Brick.
  • Attach this to the center section.
  • Attach smaller Shaded Spruce piece to the Basic Beige "bridge".
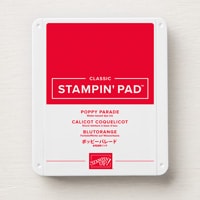
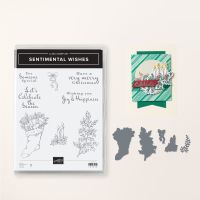
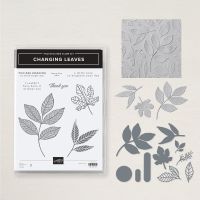
  • Ink up the bottom portion of the sentiment from the Sentimental Wishes stamps with Poppy Parade ink. Stamp onto scrap of White and die cut with long die from the Changing Leaves Dies.
  • Add to front of card. Adhering only the areas that will touch the outside sides. Voila you have your Bridge Span.
  • For the inside of your card, first adhere the White piece, then attach the wider DSP pieces so they butt up to the White piece as shown.
  • Die cut (or stamp) a bow, and then stamp sentiment inside with Shaded Spruce ink.
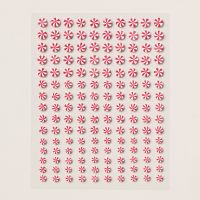
  • Finish the outside with a die cut "Stocking" from the DSP, attached with Dimensionals, and scattered Peppermints!
Product List

Saturday, October 5, 2024

Layered Deer

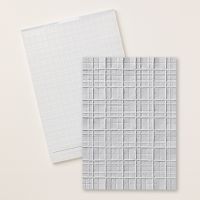
There are so many things that I love about this card!  Love the colors working together, obviously love the DSP, love the new Forever Plaid Embossing Folder, as well as the Spotlight on Nature dies, and I love the little deer!!


Measurements:  

  • Crumb Cake: 1/2 sheet, 4" x 5 1/4", 3 5/8" (decorative circle)
  • Basic White:4" x 5 1/4" (inside) 
  • Lost Lagoon: 3" square (radiating circle)
  • Sentimental Christmas DSP (N): 2 3/4" x 4 1/2", 1/2" x 5 1/4" (trees), 2 deer cut inside a circle
To Make this Card
  • Run Crumb Cake layer through new Forever Plaid Embossing Folder. Attach to folded Crumb Cake card.
  • Adhere tree DSP to card front, at an angle, as shown.
  • Die cut 3 1/4" decorative circle from the Spotlight on Nature dies from Crumb Cake square. 2 3/4" radiating circle from Lost Lagoon square, and select 2 deer w/ trees to cut from 2 1/2" stitched circle from the Stylish Shapes dies.
  • Attach all together and adhere to card front with Dimensionals.
  • Complete inside with Basic White layer, and strip of DSP.
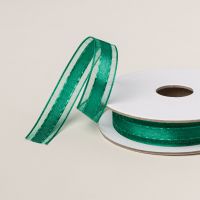
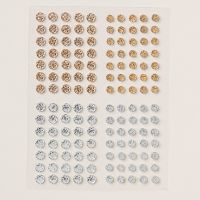
  • Finish the outside with a narrow bow of Shaded Spruce Ribbon and Scattered Gems from the 3-pack Tinsel Gems.

Product List

Thursday, October 3, 2024

Double Card with Window

This fun fold card is a version of one I saw on Julie and Susan's Sunday Stamping Video.  These are fun videos that you really do need to watch sometime! I was prepping for Stamp Club this Saturday, and was looking for a Fun Fold using this bundle!  This was really unique.  So I put my own twist on it, and Voila, here it is!  This DSP is truly gorgeous!  Stay tuned for more inspiration!


Measurements:  

  • Poppy Parade: 1/2 sheet
  • Basic Beige: 5" x 7 1/2" (inside card), 2" x 3 1/2" (image) 1" x 2 1/2" (sentiment), 
  • Sentimental Christmas DSP: 2 1/2" x 3 5/8" (stripe ribbon)
To Make this Card
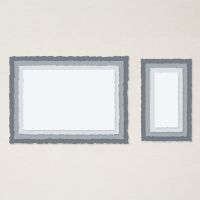
  • Fold Poppy Parade outside card base in half. Cut window from front using the 1 3/4
     x 3 1/8" Decked Edge Rectangle. Center it onto the front, making sure it is approx 5/8" from right side of front. (The stamped imaged needs to land onto the inside card!).
  • Fold Basic Beige inside card base in half.  Center and adhere to inside of Poppy Parade card.
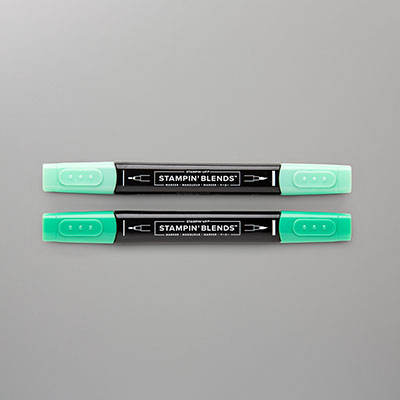
  • Stamp "holly" in Memento Black onto piece of Basic Beige. Color with Poppy Parade and Shaded Spruce Blends.  Die cut with corresponding die. 
  • Attach to card, with Dimensionals, through "window".
  • Next, add DSP to card front.  Centering on the space provied.
  • Stamp sentiment onto Basic Beige label piece, on the right side.  
  • Tie a piece of Shaded Spruce Sheer Ribbon around label.
  • Adhere to the DSP piece.
  • Let's finish the Beige card.  Stamp sentiment in Memento Black on Left side of "front".
  • Stamp sentiment and "bow" inside. I think I should color the bow in Poppy Parade.  You could also add a strip of the DSP, as well, as I frequently do!
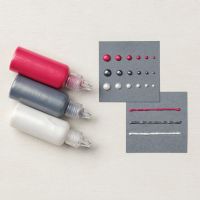
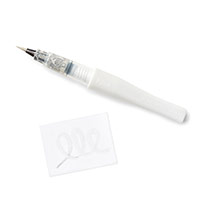
  • Finish the "holly" with Wink of Stella on the "leaves", and Red Pearlized Enamel Dots on the "holly berries".
  • Finish the rest of the card front with scattered Drusy gems.
Product List

Tuesday, October 1, 2024

Sophisticated Sled

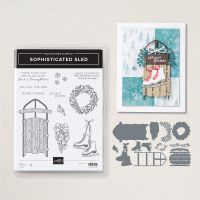
 I have several swaps from my stamp club ladies, that use current products. I'll be sharing these with you the next couple of days! Whenever possible I'll add products used, otherwise just enjoy the inspiration! The first one was made by Carmen Miyoshi.  This card inspired many of us to order this bundle from the Online Exclusives! (myself included!) Thanks for sharing, Carmen!!


Product List