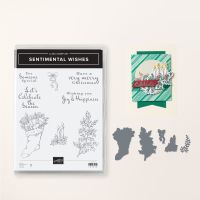
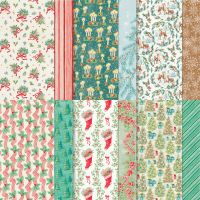
I saw this awesome card made by Mary Deatherage using the gorgeous Sentimental Christmas DSP, and knew I had to give it a try! I love the extra images on the accordion folds. This really is much easier than you think. I can't wait to find, or create, another one!


Measurements:
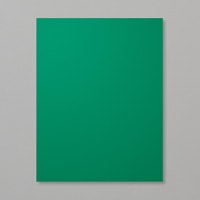
- Shaded Spruce: 1/2 sheet, 1 1/4" x 4" (label)
- Basic Beige: 2 5/8" x 5 1/8" (front), 3" largest stitched circle, 2" strip for 3 smaller stitched circles, 2 pcs @ 2" x 3" (holly), scrap for "candles"
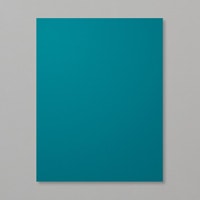
- Pretty Peacock: scraps
- Sentimental Christmas DSP (N): 5 1/4" x 10" (candy cane border), 2 3/8" x 4 7/8" (Shaded Spruce stripe),1 stocking die cut, 1 holly berry bouquet die cut
To Make This Card:
- Fold Shaded Spruce card in half.
- Next, take the "Candy Cane" DSP and score carefully at 2" - 3" - 4" - 5" - 6" - 7" - 8".
- Make an accordion starting with a "valley" fold, set aside.
- Let's work on the card front.
- Mount the Shaded Spruce Stripe to the Basic Beige layer. Attach to left side of card front, as shown.
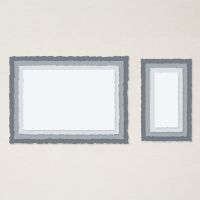
- Die cut Basic Beige circle from the 2nd to the larges Stylish Shapes Dies.
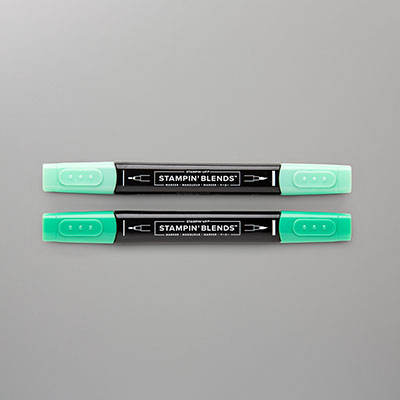
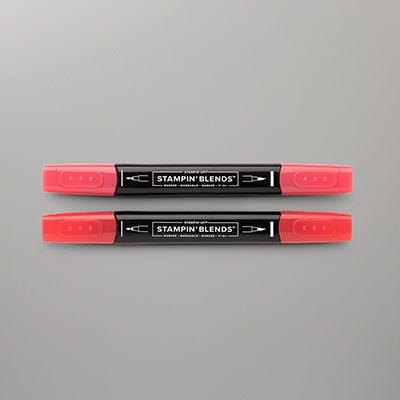
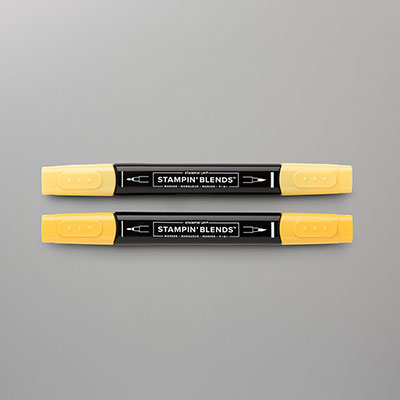
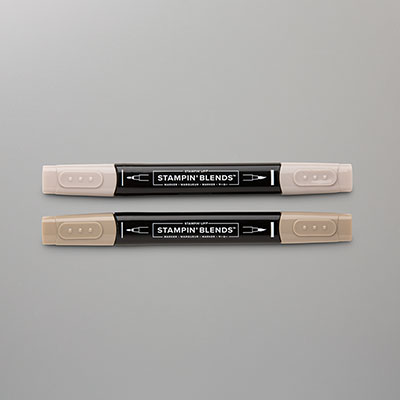
- Stamp 2 "holly sprigs" in Memento Black onto the 2" x 3" pieces. Color with Blends as shown, then die cut with corresponding die.
- Die cut 3 "sprigs" from Pretty Peacock.
- Emboss sentiment in White, and die cut with largest banner die in the Stylish Shapes Dies.
- Now, to arrange it all.
- Attach the circle to the front of card. Add one "holly sprig". Tuck the Peacock Sprigs where desired. Add the other "holly sprig" with Dimensionals.
- Lastly adhere the "banner", as shown, also with Dimensionals.
- Next, let's work on the inside.
- Take the accordion piece, and stamp sentiment onto far right, last panel in Black Ink.
- Now, place adhesive (or glue - mine made a mess) onto the outside 2" areas. Adhere to inside of card as shown.
- Now for the additional pieces
- Die cut 3 small stitched circles.
- Die cut one "stocking" from the DSP, fussy cut one "holly bouquet" from the DSP, and stamp and color the candles onto a scrap of Basic Beige.
- Adhere all images to a circle with Dimensionals.
- Now, let's add them to the card.
- The first circle, with the "holly bouquet", got on the front, top accordion.
- Then, I added the "candles", to the bottom, back accordion.
- And, lastly I added the "stocking" centered in between the other 2.
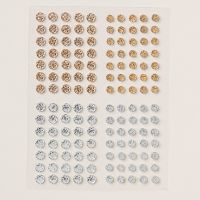
- To finish, I scattered a few, new, silver Drusy Gems.