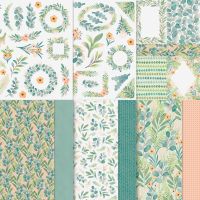
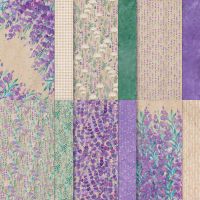
I've now tried many of the Puzzle Slider Cards, with varying strips! This was the last one that Sue Campfield shared, with sketchy direction! I thought it turned out really well, after one failure!! This one utilizes a scenic sheet from the Thoughtful Journey DSP on the inside (she used the thistle) and the gorgeous Thoughtful Designs DSP in Mossy Meadow (she used Pretty Peacock) on the front. If was a fun challenge, and I liked how it turned out!
Measurements:
- Basic White: 4 1/4" x 9 1/2", 4 pcs @ 1 1/16" x 5 1/2", 2 1/2" x 4" (sprig), scraps
- Thoughtful Designs (N): 4 pcs @ 7/8" x 5"
- Thoughtful Journey DSP (N): 4" x 5 1/4" (scenic piece)
To Make This Card:
- Score card base at 1" - 2" - 7 1/2" - 8 1/2" (or 1" & 2" from each :end) Accordion fold each end well. Set aside.
- Layout 4 White strips (puzzle pieces) on the table.
- Take the top one and cut @ 1 1/4", leaving 4 1/4". Set back onto table.
- Take the next piece and cut @ 2 1/4", leaving 3 1/4". Set back onto table.
- Take the next piece and cut @ 3 1/4", leaving 2 1/4". Set that on the table,
- And, lastly take the bottom piece and cut at 4 1/4", leaving 1 1/4". Replace.
- Now, take DSP for the front, and cut as follows. The idea is to keep the pattern matched AFTER you cut it apart, hence the "puzzle" aspect of this card.
- Take the top strip and remove 1", leaving 4". Lay on top of coordinating White pieces.
- Take the next piece and remove 2", leaving 3".
- The next piece, remove 3", leaving 2".
- And the bottom piece, remove 4", leaving 1".
- Now, adhere the DSP pieces to the corresponding White layer. I took mine one at a time and placed them back in place on my table.
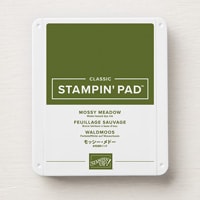
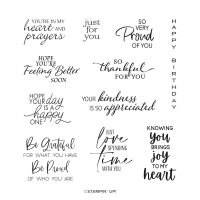
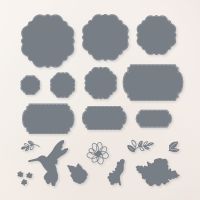
- Let's finish the inside next. Add the the scenic piece of Thoughtful Journey DSP to the inside.. Stamp sentiment in Mossy Meadowt ink onto piece of White and die cut with narrow banner die from the Stylish Shapes Dies. Attach to inside of card.
- Now, back to the front of the "base". Add Tear n Tape to the top 1" on each side.
- Starting with the upper left "puzzle piece", add to 1" piece, matching upper corner, top and sides of the flap.
- Repeat with all strips, and then go to the other side and finish. The pieces might overlap slightly, that is not a problem!
- For the outside, stamp sentiment onto scrap of White. Die cut with wider banner die, as shown.
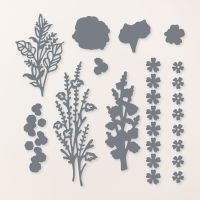
- I also cut a "sprig" in white, from Flowers of Beauty dies.
- Attach "sprig" to front as shown. Add sentiment to card with Dimensionals.
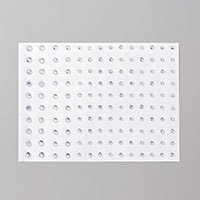
- Finish with scattered, gold Sparkle Gems.
Product List


