Showing posts with label frames and flowers. Show all posts

Thursday, August 1, 2024

Clean & Simple Frames & Flowers Wreath

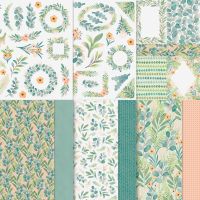
 As I started playing with the die cuts in this fabulous Specialty Paper, Frames & Flowers, I "got to know" the different elements - i.e. "wreaths" - for one. This is the smallest of the wreaths, and has a solid center (the rest have punch outs with small punch out flowers). I added circles to the center in coordinating colors, along with an embossed piece, and a piece of the DSP!  This inspiration came from Brian King - of course, my take on it!


Measurements:  

  • Basic White: 1/2 sheet cut LENGTHWISE, scrap
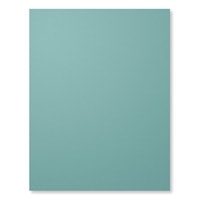
  • Lost Lagoon: 3 1/8" x 4 1/4"
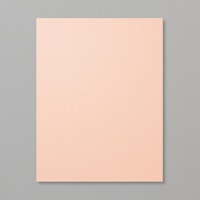
  • Petal Pink: scrap
  • Frames and Flowers (N): Smallest "wreath", 4" x 5 1/4" Petal Pink DSP
To Make This Card:
  • Attach the Petal Pink DSP layer to folded White card.
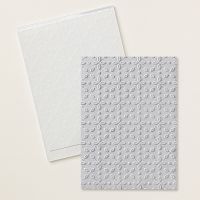
  • Run the Lost Lagoon piece through Eyelet 3D Embossing Folder. Attach to center of card.
  • Add small wreath to the center of the card with Dimensionals..
  • Die cut Petal Pink stitched circle from 3rd largest Stylish Shapes circle dies. Die cut White stitched circle from 4th largest Stylish Shapes circle dies. 
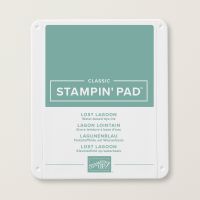
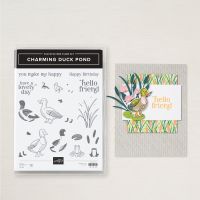
  • Stamp sentiment (from Charming Duck Pond) in Lost Lagoon ink. 
  • Layer circles together, and add to center of "wreath" with Dimensionals.
Product List

Monday, July 29, 2024

Frames and Flowers Oval Die

 Hold on to your hats!  I've been preparing for my Frames and Flowers "kit" class this week, so I have TONS of ideas to share using that awesome "kit". My goal was to keep them simple, and to use minimal, or repeated, supplies! I grabbed a variety of embellishments, ribbons, and sentiments, two or three coordinating colors of ink, a variety of basic dies, and off I went!  I can't wait to share with my customers!! (and with you)


Measurements:  

  • Pretty Peacock: 1/2 sheet
  • Basic White: 2 pcs @ 4" x 5 1/4"
  • Frames and Flowers (N): Oval frame die, Oval floral die
To Make This Card:
  • Attach the White layer to folded Pretty Peacock card.
  • Scotch tape the "insert" into the "frame". Attach this to the White layer.
  • Add the Oval floral frame to the "frame" with Dimensionals. 
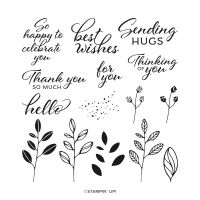
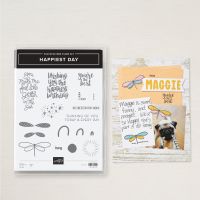
  • Stamp sentiment from the Happiest Day (only odd ball sentiment I used, but it fit in the opening!) in the center of oval with Pretty Peacock ink.
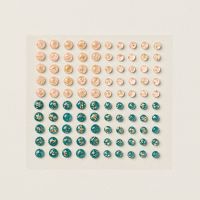
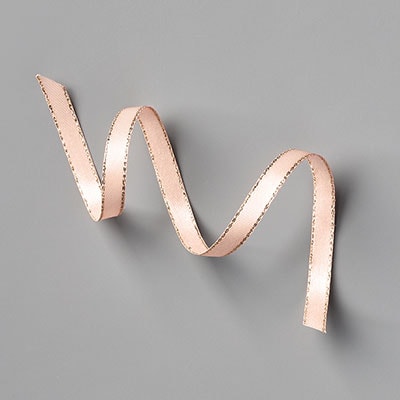
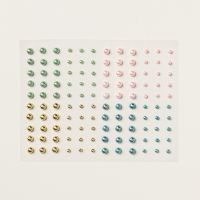
  • Finish with a bow of Petal Pink ribbon (mine is retired) and scattered Petal Pink Foiled gems
Product List

Wednesday, July 17, 2024

Flowers and Frames Cut and Flip

 I'm still making cards from the Frames and Flowers DSP!  I love, love, love this DSP!! And, I'm just getting started, as I am having a "kit" class the end of the month!! This version is what I refer to as a Cut and Flip card design.  You cut off half of the front, flip it, and reattach to the front flap!  I just love this!!  So, I used the wonderful DSP patterns and a die cut to make this card!


Measurements:  

  • Pretty Peacock: 1/2 sheet cut LENGTHWISE, 
  • Basic White: 3" x 4 3/8" (inside)
  • Frames and Flowers DSP (N) ): 2 1/2" x 4", 4" x 5 1/4" (larger print), 2 1/2" x 4" (Petal Pink print), die cut
To Make This Card:

  • Fold Pretty Peacock card base in half.  Cut off 2 3/4" from the front flap, set aside to be used later!
  • Attach smaller DSP to remaining front flap, and larger DSP to the "inside" of card.
  • Attach the Petal Pink print to the piece your removed, and attach HALF to the remaining front flap.
  • Attach chosen die cut to left side of flipped piece with Dimensionals.
  • Stamp sentiment in Pretty Peacock.
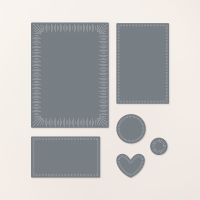
  • Die cut White piece with Radiating Stitches Rectangle, and mount inside behind flipped piece.
  • Finish with scattered Blooming Pearls and Lost Lagoon bow.

Product List

Tuesday, July 16, 2024

Calypso Coral Peony

I was tired of coloring Petal Pink peonies, so I found this one that was a gorgeous Coral, paired with the Lost Lagoon DSP in the Frames and Flowers DSP. It's a really awesome color combination.  Only drawback, having to "fussy cut" the peony!


Measurements:  

  • Basic White: 1/2 sheet, 1 3/4" x 4", scrap
  • Frames and Flowers (N): 4" x 5 1/4" (Lost Lagoon background), die cut sprig
To Make This Card:
  • Attach background DSP to folded White card.
  • Add White strip, to front as well.
  • Stamp "peony" onto scrap of White.  Color with Blends as shown! Fussy cut out with Paper Snips.
  • Attach die cut "sprig" to card over White strip with Multipurpose Glue, Then attach cut "peony".
  • Stamp sentiment in Pretty Peacock to the left of images.
  • Finish with scattered Blooming Pearls

Product List

Friday, July 12, 2024

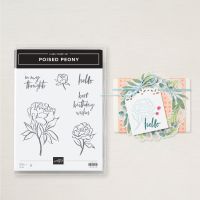
Clean & Simple Poised Peony

 I found this design using a background piece from the Frames & Flowers DSP. I wanted to try a different color for the Peony, so I opted to try our new Peach Pie color. I do really like this color combination! It was really quick to make!


Measurements:  

  • Granny Apple Green: 1/2 sheet, 2 7/8" x 4 1/8"
  • Basic White: 2 5/8" x 3 7/8", 2 pcs @ 4" x 5 1/4" (one for inside)
  • Frames and Flowers (N): Green background piece
To Make This Card:
  • Layer one White piece and the DSP together.  Wrap 6 1/2" of Peach Pie ribbon around the center of this piece and tape to the back.
  • Now, you can add this piece to the folded Granny Apple Green card.
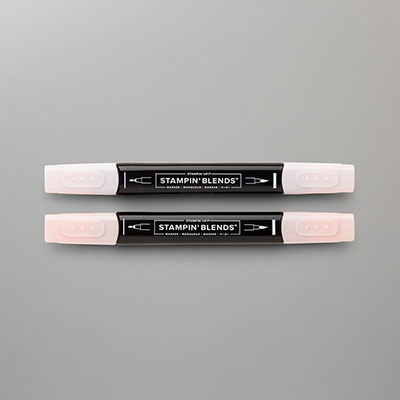
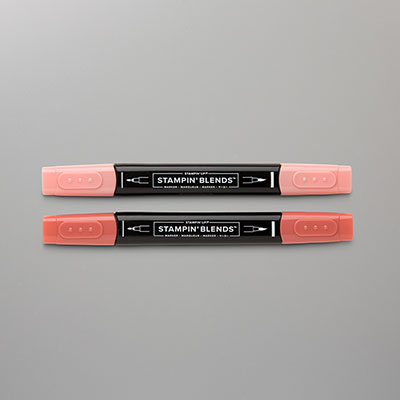
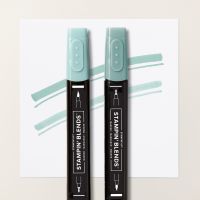
  • Stamp "peony" as shown onto smaller White piece in Memento Black ink.  I colored with Peach Pie and Granny Apple Green Blends.
  • Stamp sentiment of your choice in Memento Black.  Mount onto smaller Granny Apple Green piece.  Attach to card front with Dimensionals.

  • Finish with scattered Peach Pie Shimmer Gems.
Product List