
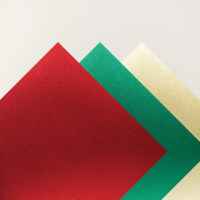
I just love poinsettias, (although they don't like me). Didn't see this one?? Check out the Online Exclusives from JULY!!! I love the rich colors in the Timeless Metallic Specialty DSP and thought the red would be perfect for a "traditional" Pretty Poinsettia! And, of course it's just stunning when "embossed" with the Impressions Mat! I paired it with the Scalloped Christmas Cheer die in the Shimmering Stripes Specialty Paper (it might be gone?) and the Gold background Embossed with the Swirls of Magic Embossing Folder. So pretty, and so fast & easy to do!


Measurements:
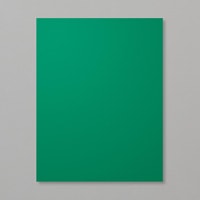
- Shaded Spruce: 1/2 sheet
- Basic White: 4" x 5 1/4" (inside)
- Shimmering Stripes Specialty Paper (OE): 3 1/2" x 4 1/2"
- Timeless Metallic Specialty Paper (N): 4" x 5 1/4", scrap (gold); 2 5/8" strip (red), 2 3/4" strip (green)
To Make this Card:
- Run the Gold Metallic piece through the Swirls of Magic embossing folder. Note: I used my "looser" die cutting machine, because the backing of this DSP is not very strong, (and this folder is NOT 3D)so the pattern has a tendency to "break through".
- Adhere this piece to folded Shaded Spruce card.
- Next, die cut the 2nd from the largest Scalloped Rectangle from the Scalloped Christmas Cheer dies from the Shimmering Stripes DSP. Center and adhere to front of card.
- Now, die cut the 4 pieces of the poinsettia from the Red Metallic piece. Also, die cut an additional 2 smallest "petals" for the inside, if desired. To make the most of the detail of these petals, keep them in the die, and then "Impress" them with the Impressions Mat, and #4 plate.
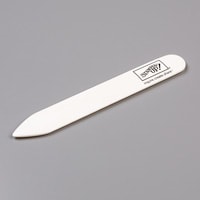
- If desired, carefully shape each petal with a bone fold. Note: Again, I say "carefully" as this detailed petal is very fragile, the the shaping is worth it!
- Next, die cut the "sprig", twice, from the Green Metallic piece. You will cut this into pieces as you create your poinsettia. This also gets "Impressed"! The detail is just gorgeous!
- I then "arranged" the petals first, starting with the larger, 4-petal piece first. I put mine together with Mini Glue Dots, and assembled on a Silicone Sheet! Top it off with Gold "centers".
- Adhere this to the upper corner of the Scalloped White Layer with Dimensionals.
- Now, add in the "leaves". I cut off the top of both sprigs first, and tucked them in adhereing them with Mini Glue Dots. Cut the remaining sprig into pieces, too, saving one piece for inside.
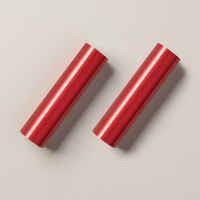
- The sentiment if from the Magical Christmas Hot Foil Dies in Red Foil. (Mine is the reversed foil version.) It is popped up with Dimensionals.
- Finish with Gold Metallic Dots on the front, and finish the inside with a 2-petal poinsettia and leaf.







No comments:
Post a Comment