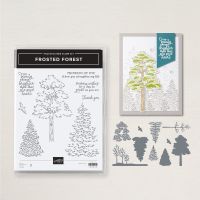
I'm always on the lookout for easy, neat fun folds! Sue Campfield shared this Double Arrowhead Fold, and a sample using the Frosted Forest Bundle. This time she just used the masks, without stamping the tree first, in lovely fall colors, combined with this neat fold! It creates a nice free-standing card. I'll have to pursue this one further! Stay tuned!
Measurements:
- Basic Beige (N): 1/2 sheet cut LENGTHWISE, 2 pcs @ 4 1/4" x 5" (arrowheads), 4 pcs @ 1/2" x 4", 2 pcs @ 2" x 4", 2 1/4" x 4", scrap
- Very Vanilla: 4" x 5 1/4" (inside), 4" x 4 1/2" (tree)
- Pecan Pie: scrap
To Make This Card:
- We're going to make the "arrowheads" first!
- Score both "arrowhead" pieces at 1 1/2"-3"-3 3/4"-4 1/2".
- Crease as follows: 1st, wider section is a mtn fold, next wider section is also a mtn fold, the next, narrower, is a valley fold, and then the narrow end, is a mtn fold. Crease well.
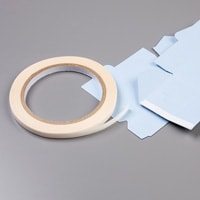
- Join into an "arrow" shape, by placing Tear n Tape along the crease of the last, smaller mtn fold. Repeal for the other "arrow".
- I would finish the inside of the card before attaching the "arrowheads" to the front. In this case, add a Vanilla piece to the inside of folded Basic Beige card. Stamp inside in Pecan Pie, now, too.
- OK. To add the "arrowheads" to the front. The "points" will point to the center of the card, and the back "arrow" will line up with either the fold of the card or the outside cut edge.
- Sue recommended adhering this to the card front with Multipurpose Glue, so it will give you time to slide it into place. (I used tape)
- Now your card base is complete!
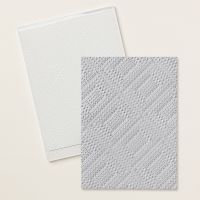
- Take all the Basic Beige layering pieces and emboss with the new, Dashing Designs 3D Embossing Folder.
- Adhere these pieces to the appropriate areas. (See photos)
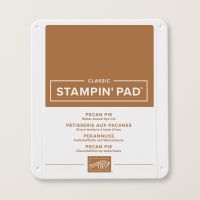
- Now, for the tree. I decided NOT to stamp the tree first for this one. So, take the piece of Very Vanilla cut for the tree. Tape to worksheet. Add the "trunk" mask and tape that into place. You'll also want to mark the "V" on the mask, in order to line up the next one. Burnish the color with Pecan Pie ink and a blending brush. Remove mask #1.
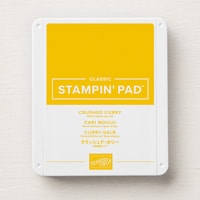
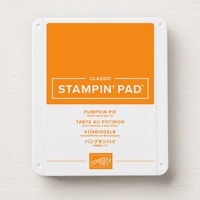
- Tape Mask #2 into place, and burnish with Crushed Curry ink. Repeat with mask #3 and Pumpkin Pie ink.
- Die cut the tree, and add to the center area with Dimensionals.
- Now, take scrap of Basic Beige and stamp sentiment in Pecan Pie ink. Mount onto scrap of Pecan Pie cardstock as shown. Cut to 2 1/2" and mount over tree, with Dimensionals, and between "arrows" as shown.
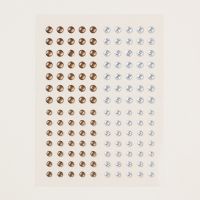
- Finish with scattered Pecan Pie Gems.





No comments:
Post a Comment