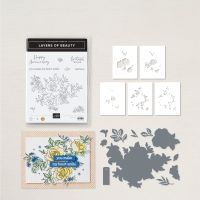
I told you that I am loving these decorative masks to "paint" our images, so I dug out another set that I hadn't used, yet, Layers of Beauty! A gorgeous rose! My customers will attest to how much fun these masks really are, and, how EASY they are to use! So, easy, that I am doing this with my Senior Stampers!! Now, I did start the ones for Assisted Living, but I intend to have Independent do it all!! Once completed, they look so real!! Love that we have some awesome colors that blend so well together! So, have inks and a Blending Brush and give it a try!!
Measurements:
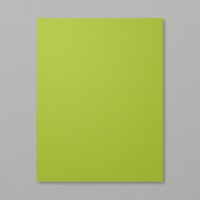
- Granny Apple Green: 1/2 sheet
- Basic White: 3 3/4" x 5" (front); 4" x 5 1/4" (inside)
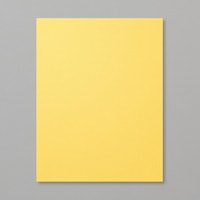
- Daffodil Delight: 2 3/4" square
To Make This Card:
- Diagonally cut the Daffodil square into 2 pieces. Attach one piece to opposing corners. Set aside.
- Next, you'll create the rose image!
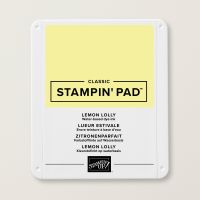
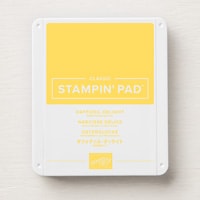
- First, stamp the flower bouquet (if desired, you don't have to, I didn't) in Black (this just fits!). Next, take the mask marked #1, and line up over stamped image. I held both the cardstock and mask down with Painters Tape, or Washi Tape. You will also want to mark the "V" placement cut from the mask onto your worksheet. Now take a Blending Brush and burnish in some color with Lemon Lolly.
- Remove that mask, and go to mask #2 Line it up over the stamped bouquet image, as well as the "V" placement mark. You can use the same brush, and just add the next layer in Daffodil Delight.
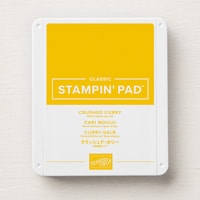
- Remove that mask, and go to mask #3 which is the flower detail. Line it up, with the previous color, as well as the "V" placement mark, and add the final detail with Crushed Curry.
- Remove that mask, and voila, the flowers are done! But wait, you still have the leaves! There are 2 masks for the leaves, too!
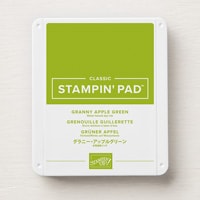
- So, now, you will line up mask #4, over the leaf images, and also lining up the "V" placement. I found you also need to look to make sure it is lined up! Burnish in some color with Granny Apple Green. Remove mask.
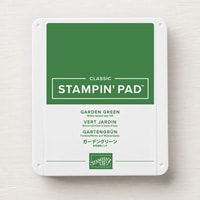
- Next, finish up with #5 mask (yes, 5) and add the leaf detail with Garden Green ink! Remove the mask and voila - you have a stunning Rose Bouquet!
- Now, add this to the front of your card.
- I stamped the sentiment, from the stamp set, directly to the White panel in Garden Green ink.
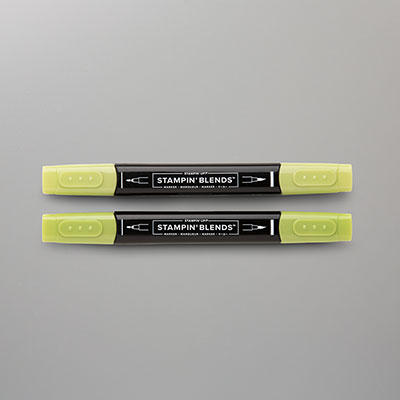
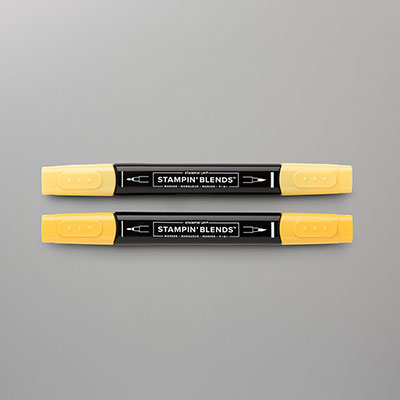
- The inside, has a White panel with stamped rose images, that I colored with Blends.
- Finish with retired Granny Apple Green Glimmer Dots and Wink of Stella on the flowers.






No comments:
Post a Comment