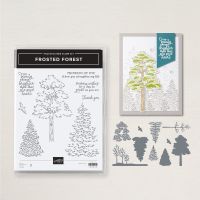
I'm still playing with the Frosted Forest bundle - i.e. masks! I saw this design from Terri Gaines and loving this combo fold (Book Binding and Z-fold), I gave it a try! I love how it turned out! And, so easy to do. The masks are a lot faster to do than I thought! I with a quick swish under the sink, I'm ready to switch colors! We WILL be doing masks, for sure, in class in the future!!
Measurements:
- Very Vanilla: 1/2 sheet, 2 3/4" x 5 1/2" (center base), 2 3/8" x 5 1/8" (embossed top, center panel), 2 pcs @ 3" x 4 1/2" (2 trees), 2 1/4" x 3" (inside label), scrap
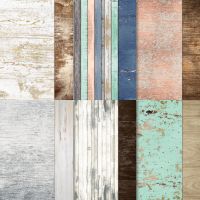
- Country Woods DSP (N): 3/4" x 5 1/4" (left side), 3" x 5 1/4" (right side)
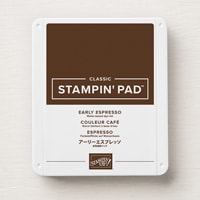
- Early Espresso: 2 1/2" x 5 1/4" (middle base)
To Make This Card:
- Score Vanilla front at 4 1/4" - 5 1/4" - 6 3/4". Create "book binder" fold, and "Z" fold with score lines.
- Place Tear n Tape on the 1 1/4" area, near crease. Press together creating a Book Binding Fun Fold.
- Place "left" DSP onto the "book binding" area.
- Place "right" DSP onto the right, inside, as shown.
- Place the "center" Vanilla onto the "Z" lining up left cut edge, and top & bottom.
- Attach Expresso piece on top of that.
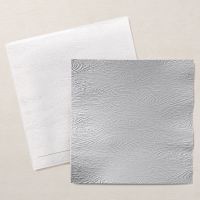
- And, the last Vanilla piece gets embossed with the Timber 3D Embossing Folder. Then, attach to the Early Expresso.
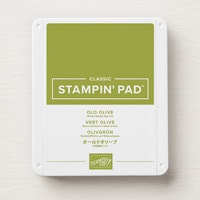
- Next, you'll create the tree. I used Early Espresso for the "trunk" mask, Old Olive for mask #2 and mask #3. These are so fun to do!
- First, stamp the tree (if desired, you don't have to) in Black. You will need 2 for this card. Next, take the mask marked #1, and line up over stamped image. I held both the cardstock and mask down with Painters Tape, or Washi Tape. You will also want to mark the "V" placement cut from the mask onto your worksheet. Now take a Blending Brush and burnish in some color with Early Espresso.
- Remove that mask, and go to mask #2 (most of the tree foliage). Line it up over the stamped tree, as well as the "V" placement mark. Use a different brush, and add color with Old Olive.
- Remove that mask, and go to mask #3. This one is optional, but I like the additional detail. Line it up, with the previous color, as well as the "V" placement mark, and add the final detail with another layer of Old Olive. This is more subtle, or you could switch to the darker Mossy Meadow.
- Remove that mask, and voila, you have your tree!
- Now, die cut your trees, and they are ready to add.
- I placed the first tree flush on the Z panel, and popped up the second tree with Dimensionals.
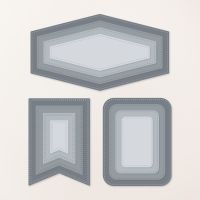
- The front label with stamped with sentiment from bundle in Early Expresso, then cut out with "banner label" from Stylish Shapes die. I cut off the right "flag" and tucked it under the popped up tree.
- I die cut a rounded rectangle for the inside from the Nested Essentials dies.
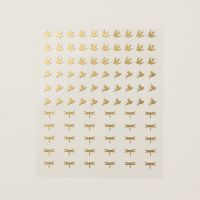
- Finish with a brass bird from the Dragonflies and Birds from the Online Exclusives.







No comments:
Post a Comment