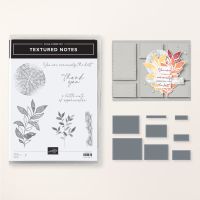
I saw this sample by Mary Deatherage and fell in love! I LOVE arches! Originally I had just ordered the dies of the Textured Notes bundle, but I went back and ordered the stamps, too. This is such a neat design. I'm thinking of other ideas!
Measurements:
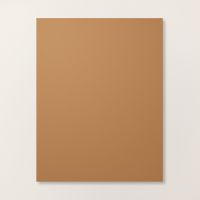
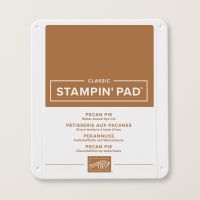
- Pecan Pie: 3 1/2" x 10 1/2"
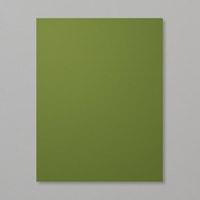
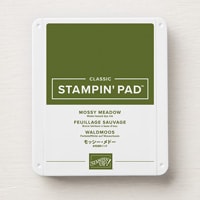
- Mossy Meadow: 3 pcs @ 3 3/8" square
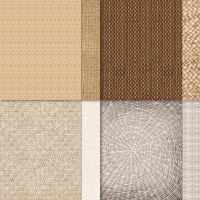
- Woven Textures DSP (N): 3 pcs @ 3 1/4" square (I used the same DSP and flipped over one)
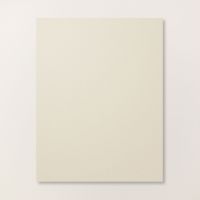
- Basic Beige: 4 pcs @ 3 1/4" x 4 1/2", scraps
To Make This Card:
- Score Pecan Pie base at 3 1/2" - 7". Accordion fold and crease well.
- Attach DSP pieces to Mossy Meadow layers and adhere to card base, as shown.
- Die cut 3 arches (you'll cut the 4th after you stamp the sentiment). I used the 3rd from the largest, which is what she suggested using, however, I think the 4th from the largest would be better!
- Stamp sentiment of your choice in Pecan Pie ink, and then die cut the final arch!
- Now, for the rest of the stamping!
- Take the "wicker" circle and stamp off onto 3 of the arches, including the one with the sentiment, as shown.
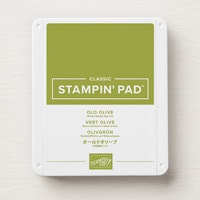
- Next, add 2 smaller "branches" in Old Olive ink - full strength. Also stamp the bottom corner of the "solid", back piece.
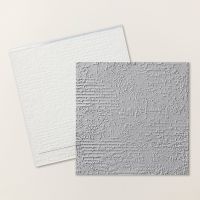
- Run the 2 arches without the sentiment and not the backing, through the Exposed Brick Embossing folder. Set aside.
- Now, stamp 2 larger "branches" in Mossy Meadow ink - full strength, onto scrap of Basic Beige. These will need to be fussy cut.
- Also, stamp sentiment, for the front, in Pecan Pie ink. Die cut with smallest Textured Notes die.
- Now, to assemble!
- Lay the Pecan Pie base onto your grid paper. Place a mark 5 1/4" from bottom edge. Take one embossed piece, line it up to the 5 1/4" mark and adhere to base. Repeat with sentiment arch in the center and last Embossed arch on the final area.
- Then, adhere the smooth, back arch to the back of the final arch for signing.
- Now, to finish the arches.
- Place adhesive over the Old Olive "branches", and adhere some looped Linen Thread. Add this to the first and last arches.
- Place the fussy cut pieces over the Linen Thread. She added them with Dimensionals, but after mine was finished, I decided that makes the card a little bulky, if you're going to send it. So, I would just adhere them flat. (Then, do you even need to fussy cut them? Hmmm)
- Add the sentiment to the first panel with Dimensionals. (That does work!)
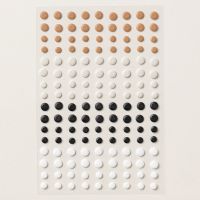
- Finish with scattered, new Neutral Matte Dots on the Online Exclusives that coordinate with this bundle.







No comments:
Post a Comment