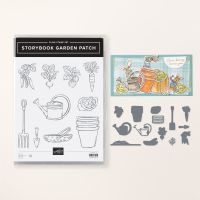
I was needing to do more with the Storybook Garden Patch Bundle. I originally thought that I might use this card for one of my Senior classes. But there was just too much fussiness with the "dirt". So perhaps with my experienced group! I love the slits in the "dirt" die for the veggies! Too cute!! And, the planter and watering can, whose dies are quite detailed, too! Makes for an interesting card!
Measurements:
- Misty Moonlight:: 1/2 sheet, 2" x 2 1/2"
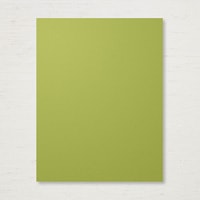
- Old Olive: 4 1/8" x 5 3/8"
- Boho Blue: 2" x 2 1/2"
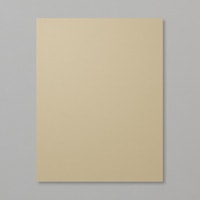
- Crumb Cake: 2 1/4" x 4"
- Pecan Pie: 1 3/4" x 4"
- Cajun Craze: 1 1/2" x 2 1/4"
- Copper Clay: 1 1/3" x 1 3/4"
- Basic White: 4" x 5 1/4" (inside) scraps (veggies)
- Timeless Plaid (N): 4" x 4 1/4", 1/2" x 4" strip (Misty Moonlight plaid)
To Make This Card:
- Adhere Old Olive layer to folded Misty Moonlight card. Also, attach DSP to upper half, making sure the 4" side fits correctly onto the card front.
- Die cut the top edge of the "dirt" from both the Crumb Cake and Pecan Pie pieces.
- Take paper snips and soften the straight edges of both pieces, so the "dirt" is more curved or "mounded" looking! Fit the 2 together, as shown, until you get the desired look. Make sure that the "slits" in the Pecan Pie layer are free to tuck the "veggies" into!
- Next, die cut the 2 "pot" pieces and the 2 "watering can" pieces from the appropriate cardstock colors! Assemble each together.
- Adhere both to the card front as shown.
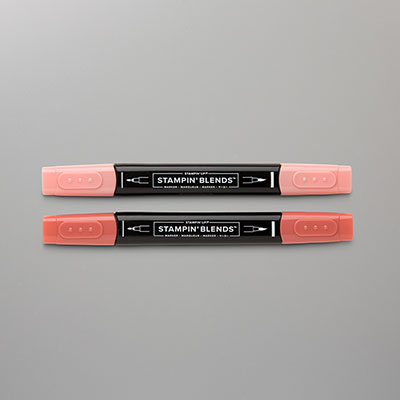
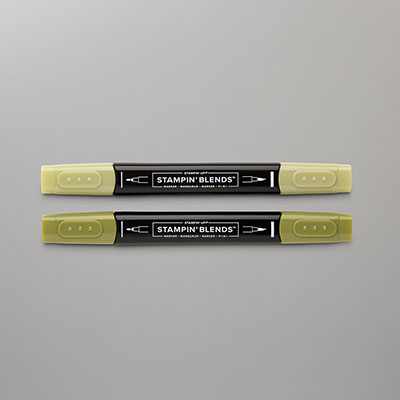
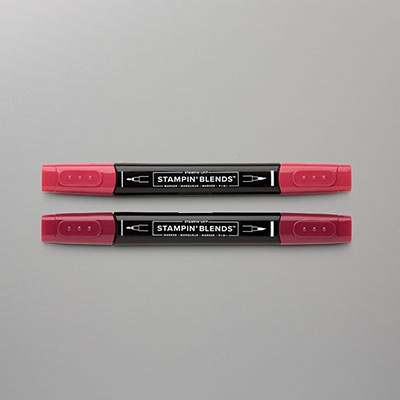
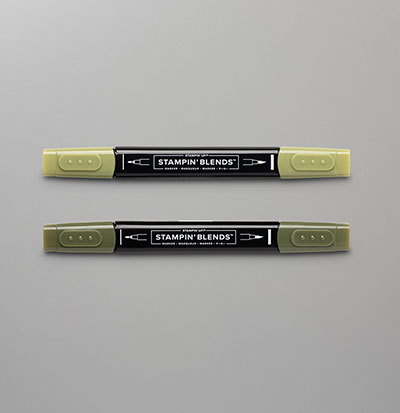
- Now, stamp the 3 "veggies" in Memento Black ink onto White scraps. Color with Blends and die cut with corresponding dies.
- Tuck the "carrot" and "radish" into the slits in the "dirt", and attach the "cabbage" to the front with Dimensionals.
- Stamp sentiment in Black ink and die cut with banner die, straight cutting the left side.
- Finish the inside with the White layer and DSP strip.
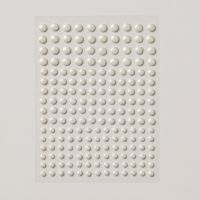
- Finish the front with Antique Pearls.









No comments:
Post a Comment