Showing posts with label storybook garden patch. Show all posts

Friday, March 28, 2025

Storybook Garden Patch Dimensional Garden

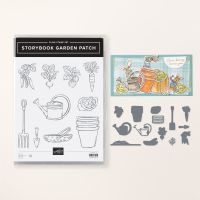
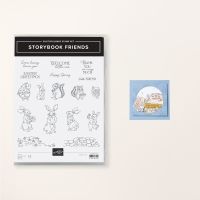
 I was needing to do more with the Storybook Garden Patch Bundle. I originally thought that I might use this card for one of my Senior classes.  But there was just too much fussiness with the "dirt".  So perhaps with my experienced group! I love the slits in the "dirt" die for the veggies!  Too cute!!  And, the planter and watering can, whose dies are quite detailed, too!  Makes for an interesting card!  


Measurements:   

  • Misty Moonlight:: 1/2 sheet, 2" x 2 1/2"
  • Old Olive: 4 1/8" x 5 3/8"
  • Boho Blue: 2" x 2 1/2"
  • Crumb Cake: 2 1/4" x 4"
  • Pecan Pie: 1 3/4" x 4"
  • Cajun Craze: 1 1/2" x 2 1/4"
  • Copper Clay: 1 1/3" x 1 3/4"
  • Basic White: 4" x 5 1/4" (inside) scraps (veggies)
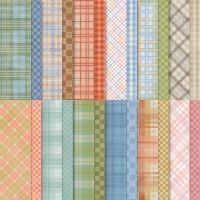
  • Timeless Plaid (N): 4" x 4 1/4", 1/2" x 4" strip (Misty Moonlight plaid)
To Make This Card:
  • Adhere Old Olive layer to folded Misty Moonlight card. Also, attach DSP to upper half, making sure the 4" side fits correctly onto the card front.
  • Die cut the top edge of the "dirt" from both the Crumb Cake and Pecan Pie pieces.
  • Take paper snips and soften the straight edges of both pieces, so the "dirt" is more curved or "mounded" looking!  Fit the 2 together, as shown, until you get the desired look.  Make sure that the "slits" in the Pecan Pie layer are free to tuck the "veggies" into!
  • Next, die cut the 2 "pot" pieces and the 2 "watering can" pieces from the appropriate cardstock colors! Assemble each together.
  • Adhere both to the card front as shown.
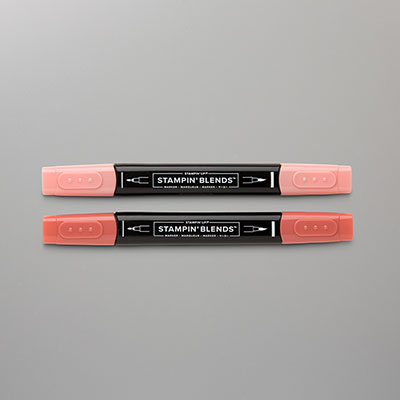
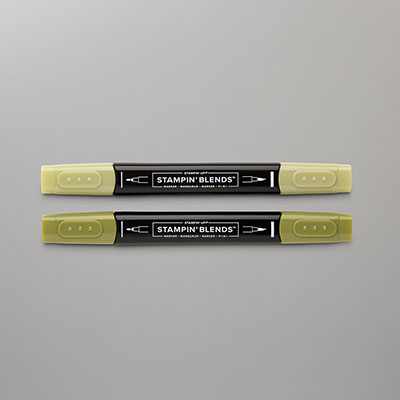
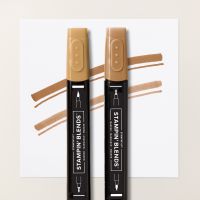
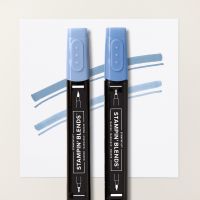
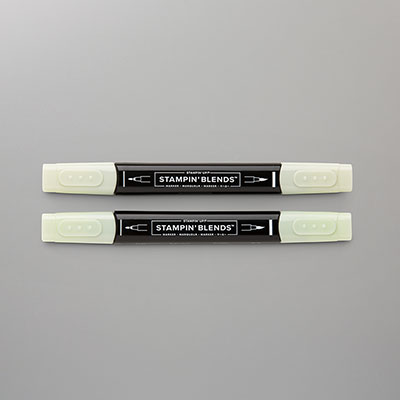
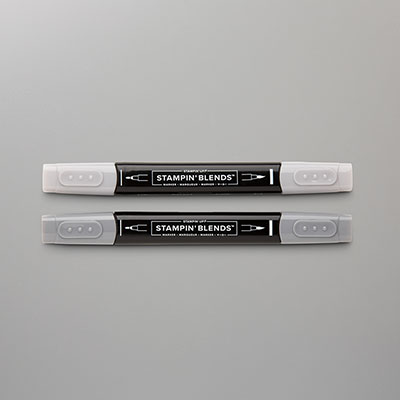
  • Now, stamp the 3 "veggies" in Memento Black ink onto White scraps. Color with Blends and die cut with corresponding dies.
  • Tuck the "carrot" and "radish" into the slits in the "dirt", and attach the "cabbage" to the front with Dimensionals.
  • Stamp sentiment in Black ink and die cut with banner die, straight cutting the left side.
  • Finish the inside with the White layer and DSP strip.
  • Finish the front with Antique Pearls.
Product List

Storybook Garden Patch Clean & Simple Card

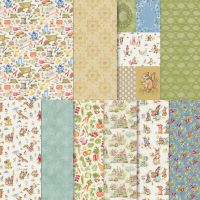
 I really have yet to create very much with the Storybook Garden Patch bundle. So I set out to try a possible card for the Senior Center. This clean & simple card uses the gardening print from the Storybook Moments DSP along with the stamps and dies from the Storybook Garden Patch bundle.

Measurements:   

  • Basic White:: 1/2 sheet, 2 7/8" square, scraps
  • Timeless Plaid: 1 1/8" x 4" (Misty Moonlight plaid)
  • Misty Moonlight: 4 1/8" x 5 3/8", 1 1/4" x 4"
  • Storybook Moments DSP (N): 4" x 5 1/4" (Garden print)
To Make This Card:

  • Adhere Misty Moonlight layer and DSP to folded White card.
  • Attach Plaid DSP to Misty Moonlight strip, then add to front of card.
  • Die cut fairly large circle from the Stylish Shapes dies from White.
  • Stamp sentiment in Misty Moonlight ink, in the center of the circle and to the right.
  • Next, stamp 2 "carrots" in Memento Black ink onto scrap of White. Color with Blends and die cut with corresponding dies.
  • Add to die cut circle, placing one flat, and popping up the other.  
  • Attach circle to card front over Misty Moonlight strip.
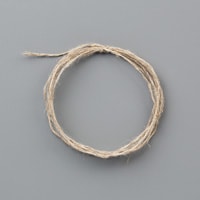
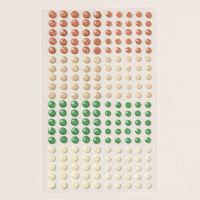
  • Finish with double Linen Thread bow, and scattered Earth Tones Shimmer Gems.

Product List

Thursday, March 6, 2025

Storybook Garden Patch Hinge Card

 I just saw this darling card using the Storybook Garden Patch bundle by Lisa Curcio. She also has a cute sample using the Umbrella Days bundle in the Online Exclusives. She calls it a "Hinge" card. (I've done similar folds, but I don't remember what I called it!) It utilizes the stamps in the Storybook Garden Patch bundle, along with the Storybook Moments DSP in a pleasing, easy fun fold.  I hope to do this one with my Advanced Senior Gals this month!


Measurements:   

  • Old Olive: 1/4 sheet (base), 4 1/4" x 8 1/2" (card)
  • Basic White:4" square (inside card), scraps
  • Boho Blue: 1 1/2" x 8 1/4"
  • Soft Sea Foam: 4" x 5" both arches
  • Storybook Moments DSP (N): 2 pcs @ 1 1/4" x 4 ", 1/2" x 4" (strawberry print), 4 1/8" square (Old Olive "medallion)
To Make This Card:

  • Attach DSP strips to either side of Old Olive base. (I used strips instead of a full piece of DSP to save on paper!)
  • Fold Old Olive card in half. Decide which direction you would like to have your "card" open. Lisa's opened to the left, mine opens from the top. This makes a difference as the DSP layer is a directional print.  Add the DSP to the front of the card.
  • Attach the White layer inside, along with the DSP strip.  You can stamp your sentiment in Black ink now, as well. Set this aside for the moment.
  • Next, fold the Boho Blue "hinge" in half. Crease well. 
  • Attach the "hinge" to the BACK of the Old Olive card, with the crease lining up to the cut edge, leaving the top free. 
  • Cut a "flag" from the top "hinge" piece.
  • Attach the card to the card base with Tear n Tape.
  • Now cut to different sized arches from the Soft Sea Foam piece. 
  • The larger arch is adhered to the "hinge", with the cut edge matching the fold of the "hinge". (Note: You might want to stamp the sentiment onto the largest arch before attaching it to the "hinge".)
  • The smaller arch is attached underneath, and directly to the Old Olive card.
  • Now, for the images.  Stamp the "watering can", 2 "strawberries", one "basket", and one "trowel" onto scraps of White in Memento Black ink. Color with Blends as shown.
  • Die cut images with corresponding dies.
  • Arrange "watering can" and "strawberries" onto front with Dimensionals.
  • Arrange the "basket", with "strawberries" tucked into it, and trowel flat, as shown, onto the inside, smaller arch.
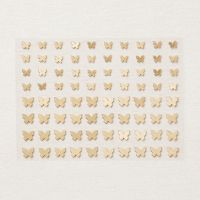
  • Finish with scattered Butterflies.

  • My card didn't want to lay flat, so I used a clear velcro dot to assist in the closure.

Product List