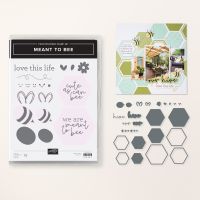
I love these Flip Flaps! They are meant for scrapbooking (and I love interactive things in my scrapbooks) but they also work for cards! I saw this card, and it was just so darn cute! So easy to do! And, in case you haven't notice, I put the cute little bee on a "wobble". How fun is that! All these supplies can be found in the Digital Scrapbook Brochure, or in the Online Store.
Measurements:
- Old Olive: 1/2 sheet cut LENGTHWISE, 3" square
- Daffodil Delight: 4" x 5 1/4", 2 3/4"" square
- Basic White:: 2" square, scrap (bee)
- Pool Party: scrap
- Basic Black: scrap
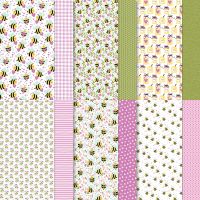
- Cute as Can Bee (N):3 3/4" x 5", 3" square (bee & floral print)
To Make This Card:
- Adhere Daffodil Delight and DSP pieces to folded Old Olive card.
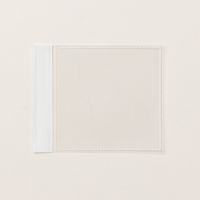
- Place 3" DSP square into 3" Flip Flap. Fold back the adhesive tape and attach to card front with the Olive "honeycomb" side up.
- Die cut Hexagon from Old Olive and Daffodil Delight. This is the same die. It cuts the frame and the inside! Toss the Old Olive center
- Next, using masking tape and Daffodil Delight ink, carefully omit and stamp the 2 words from the long sentiment. Then add the bee "trail" to the top and bottom.
- Now, tape the Daffodil Delight inside the Old Olive "frame".
- Lift up "Flip Flap" and adhere underneath.
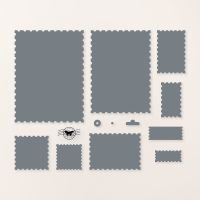
- Next, mask and stamp the "love" from the long sentiment onto a scrap of White in Petunia Pop Ink. Die cut using square "Perennial Postage". Attach to top of Flip Flap with Tear n Tape.
- To make that cute bee, on a scrap of White, stamp the samller Black stripes first, then add the bee "body" in Daffodil Delight (or Lemon Lolly). Don't forget to add a cute face. Die cut with coordinating die. Set aside.
- Stamp the "wings" in Pool Party ink on a scrap of Pool Party cardstock. Die cut with smaller "wing" die.
- Then, die cut one set of "antennae" in black.
- Assemble bee together. (I used glue dots)
- Adhere bee to White square (and, in my case, I added him to the square with a "Wobble"!)
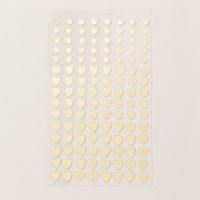
- Finish with scattered Heart Sequins.





No comments:
Post a Comment