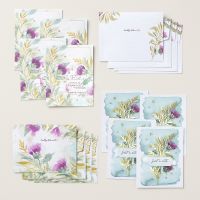
I saw this version of the Accordion Gate Fold designed by Tami White. It uses the ENVELOPES and cards from the gorgeous Expressions in Kindness Kit Collection Kit! This kit really has a lot of potential! You really need to check it out in the Online Store!
Measurements:
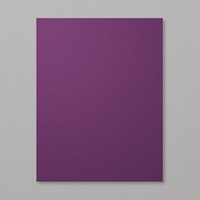
- Blackberry Bliss: 1/2 sheet, 3" x 10 5/8", 2 pcs @ 1" x 2 3/4", scrap
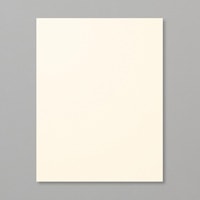
- Very Vanilla: 1 7/8" x 2 3/4"
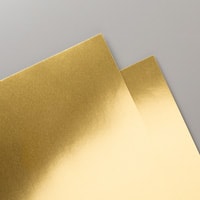
- Gold Foil: 4" x 5 3/8" (inside base), 4 pcs @ 1 7/8" x 5 3/8" (flaps - inside & out), 5 pcs @ 2" x 2 7/8" (accordion panels)
- Expression in Kindness Kit (N): 2 of the "thistle print" envelopes - 3 7/8" x 5 1/4" (inside base), 3 pcs @ 1 3/4" x 5 1/4", 4 pcs @1 7/8" x 2 3/4"; one "thistle" card - cut back @ 1 3/4" x 5 1/4"
To Make This Card:
- The base of this card is a "gate" fold. Take the 1/2 sheet of Blackberry Bliss and score at 2 1/8" from one end. Then, take the other side and match cut edges and crease, creating a "gate" fold.
- To this, adhere the Gold layers to the inside base, and 2 outside "flaps"
- At this point, you are going to make and attach the 2 "strips" that will hold the "accordion" piece to the card base.
- Take the 2, 1" pieces and score lengthwise @ 1/2". Crease Well.
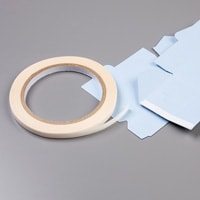
- Place Tear n Tape on both sides. Remove backing of one side, and adhere to the inside of a flap, lining up fold to cut edge. Repeat for the other side.
- Now, you can attach the Gold Foil layers to the inside flaps.
- Here's how to cut the envelopes to use for DSP. First, you'll trim about 1/2" from either side, removing the folds. This cut should run up to the envelope flap, so you now have an even piece of DSP. I also removed the curve of the flap. I cut my base piece first, then the next larger pieces, down to the smaller pieces. It took 2 envelopes to cut most of the pieces. I hated to cut into one more envelope, so I used the back of one of the cards, thinking I could always add the front to a folded Vanilla card base.
- Finish the base by attaching the decorative "DSP" layers to the corresponding Gold Foil pieces. Note: on mine, the largest decorative piece has a mild crease from the "envelope", which is not noticable!
- Now, for the "accordion" piece. Score at 2 1/8"- 4 1/4"-6 3/8"-8 1/2", across the piece.
- To fold, start at the left side and make a "mountain" fold, a "valley" fold, another "valley" fold, and end with a "mountain" fold. Crease well with a bone folder. Fold up so it all lays on top of each other. (You might need trim, re-crease to make it lay flat. And, try creasing both ways, as one might work better than the other!) Your card can open either way.
- Arrange the 5 Gold layers onto the Accordion panels.
- Next, adhere the decorative DSP pieces to the 2 outside panels, leaving the center panel, for now.
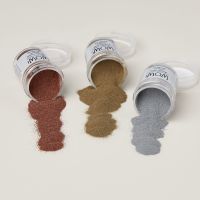
- Now, take the center, Vanilla panel and emboss sentiment, from the kit, in Gold Embossing Powder. Now, you can attach to the center Gold Foil.
- Now, your ready to insert the "accordion" piece!
- Place Tear n Tape on the wrong side of the center section, the one with the sentiment.
- Open the card base, and center and adhere to the inside on the large decorative DSP. Press well.
- Now, for the 2 outside panels/tabs. Take one of the "tabs" and lay out flat, so it looks like an extension of the front flap. Remove the tape backing, and fold the panel into place. Repeat for the other side. Voila! It is done!
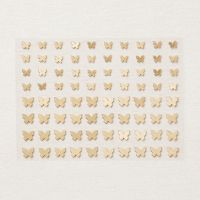
- Finish with scattered Brass Butterflies.





No comments:
Post a Comment