I made a sample of this fold some time back but never got it typed up because it was a little complicated to write. BUT, Susan Campfield came up with a much easier version, that I'll share with you today, and in the next couple of days. (You know me, once I get started...) We will learn how to do this fold in class this month!!
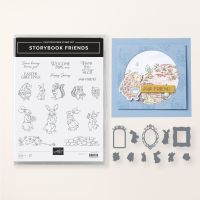
This sample, designed by Tami White, uses the darling Storybook Friends Bundle. This is the first time I stamped, colored, and die cut the little critters in this set, but you could also use any of the included die cuts. These are such fun to do, now that I have easier directions!
Measurements:
- Mossy Meadow: 1/2 sheet, 3" x 10 5/8", 2 pcs @ 1" x 2 3/4"
- Very Vanilla: 2 3/4" x 10", scraps
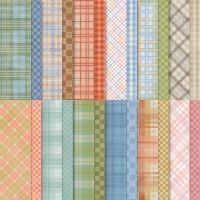
- Timeless Plaid (N): 4 1/8" x 5 3/8" (inside), 2 pcs @ 2" x 5 3/8"
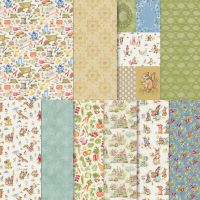
- Storybook Moments DSP (N): 2 pcs @ 2" x 5 3/8" (Lost Lagoon Print)
To Make This Card:
- The base of this card is a "gate" fold. Take the 1/2 sheet of Mossy Meadow and score at 2 1/8" from one end. Then, take the other side and match cut edges and crease, creating a "gate" fold.
- To this, adhere the Lost Lagoon Print to the 2 front flaps.
- At this point, you are going to make and attach the 2 "strips" that will hold the "accordion" piece to the card base.
- Take the 2, 1" pieces and score lengthwise @ 1/2". Crease Well.
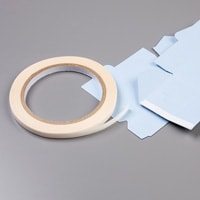
- Place Tear n Tape on both sides. Remove backing of one side, and adhere to the inside of a flap, lining up fold to cut edge. Repeat for the other side.
- Now, you can attach the large plaid piece to the inside, and 2 flaps on either side, over the "extensions". This DOES take 2 6x6 pieces of DSP. I made sure that the stripes in the plaid continue across the inside of the card. (Compliments of my years of sewing and having to match plaids.). Set aside.
- Now, for the "accordion" piece. Score at 2 1/8"- 4 1/4"-6 3/8"-8 1/2", across the piece.
- To fold, start at the left side and make a "mountain" fold, a "valley" fold, another "valley" fold, and end with a "mountain" fold. Crease well with a bone folder. Fold up so it all lays on top of each other. (You might need trim, re-crease to make it lay flat. And, try creasing both ways, as one might work better than the other!) Your card can open either way.
- Now, take the Very Vanilla strip. Cut 2", initially, off of the left side. Then, line it back up and temporarily attach to the wrong side.
- Stamp the "stone wall" so that the "dip" in the wall is near the cut edges. You'll add a little "cottage" there, along the fold. I masked a little of the wall with Washi Tape, so the "cottage" wouldn't have lines through it. Note: As you stamp, some of the "wall" will go onto the end panel, which is what it's supposed to do!
- Stamp the "cottage" onto the created opening in the wall, and continue lining up (as best you can) the wall with the previously stamped image, completely across the rest of the Vanilla strip.
- Now, remove the Washi Tape, and cut the rest of the strip into 4 - 2" pcs, Keeping them in order!
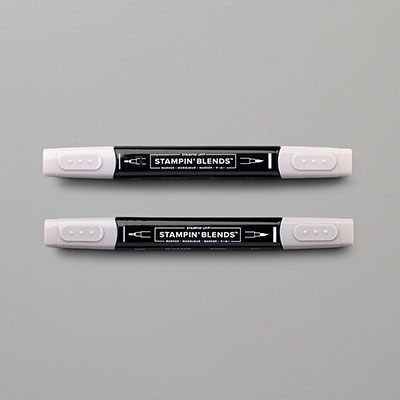
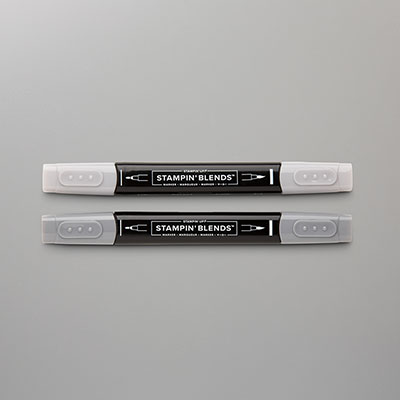
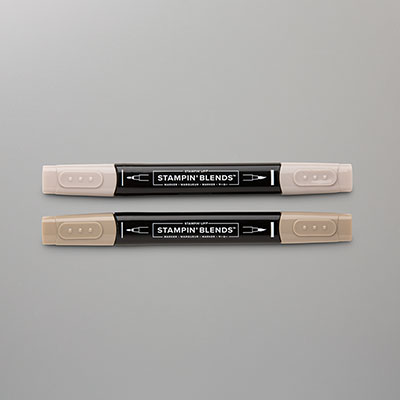
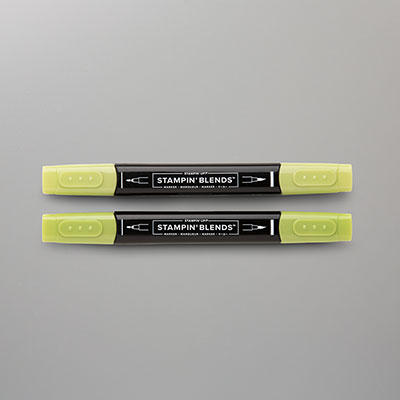
- Color the "wall" and the "cottage" with Blends as shown. There IS some "grass" and bushes near the bottom.
- While you still have them in order, attach to the "accordion" piece, as shown.
- Next, stamp 3 "bunnies" in black ink onto a scrap of Very Vanilla. (Or, choose 3 die cuts to use and save time! - Especially if you don't like to color!)
- Color with Blends and cut out the chosen images.
- On the panel that will be your "front", stamp a sentiment in Memento Black ink. On one of the other panels I added some "birds". I also burnished a little Boho Blue ink on the backgrounds with a Small Blending Brush.
- Add "images", flat to every other panel, as shown.
- Now, your ready to insert the "accordion" piece!
- Place Tear n Tape on the wrong side of the center section. (mine is the one with the bunny with the cabbage).
- Open the card base, and center and adhere to the inside on the large Plaid DSP. Press well.
- Now, for the 2 outside panels/tabs. Take one of the "tabs" and lay out flat, so it looks like an extension of the front flap. Remove the tape backing, and fold the panel into place. Repeat for the other side. Voila! It is done!
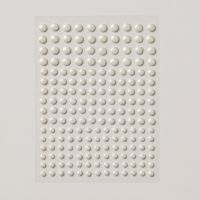
- Finish with scattered Antique Pearls. (Note: If you need more space to write, place a quarter sheet on the back of the Base.





No comments:
Post a Comment