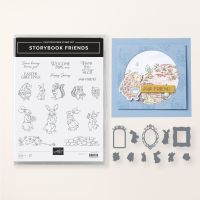
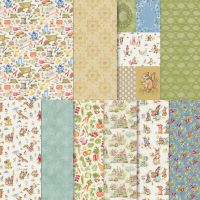
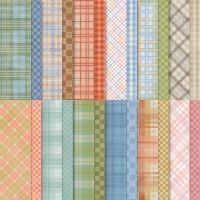
I saw a darling card that used one of the frames in the Storybook Friends Dies as a cute little cottage door! I took that idea and ran with it, and this is the card that I came up with! It uses the "cottage" sheet of the Storybook Moments DSP along with a check from the coordinating Timeless Plaid DSP, along with a Pecan Pie "door" and several die cuts. I just love it!
Measurements:
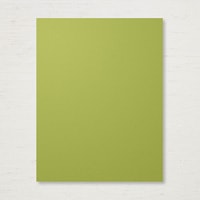
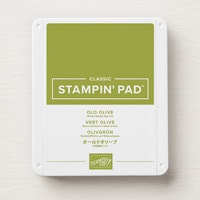
- Old Olive: 1/2 sheet, 3/8" x 5 1/4"
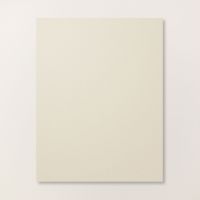
- Basic Beige: 2 1/8" x 3 1/4" (inside door), 4" x 5 1/4", scrap
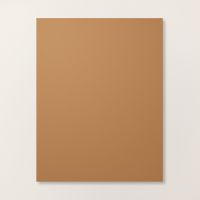
- Pecan Pie: 2 1/4" x 3 3/4"
- Storybook Moments DSP (N): 2 3/4" x 5 1/4" (cottages), die cuts
- Timeless Plaid DSP (N): 1 1/4" x 5 1/4", 3/8" x 5 1/4" (Old Olive check)
To Make This Card:
- Attach DSP pieces to folded Old Olive card as shown. Attach Old Olive cardstock strip over edges where 2 DSP pieces meet (a "Chair rail"!)
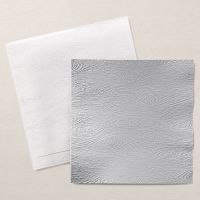
- Die cut "arched frame" from Pecan Pie piece. Run the inside piece (the door) through the Timber 3D Embossing Folder. Set aside.
- Take the smaller Basic Beige piece, and just cut out the center "arch" of the frame die.
- Lay right side of "door" down onto a Silicone sheet. Carefully add a narrow 2 1/4" piece of Scotch Tape to the right side of the door. Remove from Silicone sheet.
- Stack Beige "arch" behind the door, wrapping the remaining Scotch Tape to the back. Tape the tape to the back of the insert!
- Adhere the "frame" to the card front with Multipurpose Glue.
- Now,add the "door" to the inside of the "frame". Your door should freely open and close!
- Next, select smaller animal die cut of your choice to put inside the door. I added mine flush.
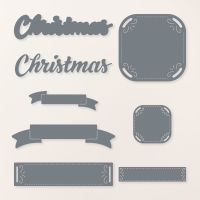
- Stamp sentiment in Old Olive ink onto scrap of Basic Beige. Cut out with small label die. (I used the recently retired, but still available, Peaceful Season Dies.) Attach to card with Dimensionals.
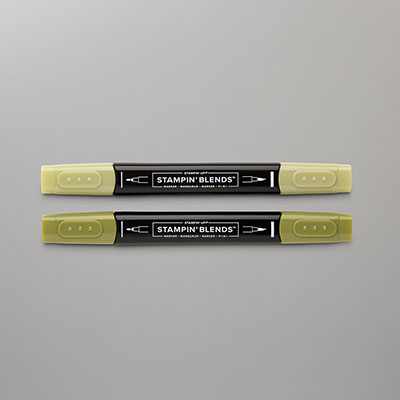
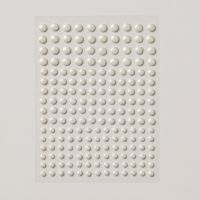
- I added a large, Antique Pearl to "door" as a doorknob, and a Pearl to the top of the "frame". I also colored 2 smaller Pearls with a dark Old Olive Blend to add to the sentiment/label.
- For the inside, I attached a Basic Beige insert with a strip of check DSP. I also added a die cut to the inside, top corner.


No comments:
Post a Comment