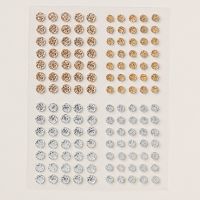
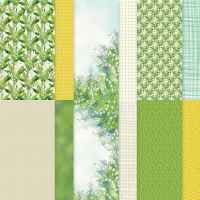
This is the original card that I saw using the Pop Out Slider Fold. It is just stunning IRL! This one was created by Sue Erikson, the Soggy Stamper. It combines the gorgeous, new Botanical Glow Hot Foil Bundle, with the Valley in Bloom DSP (yes, I am STILL using this Suite!). It also uses the Classic Greetings Hot Foil Dies and Gilded Wings Accents. We may just have to do this one in my Monthly Class!!


Measurements:
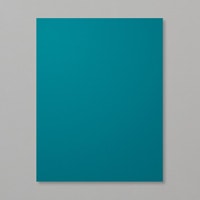
- Lost Lagoon: 1/2 sheet (front), 5 1/2" x 6 1/2" (inside), 3 1/4" x 5 1/2" (back), 2 pcs @ 2" x 3"
- Valley in Bloom DSP: 1 3/4" x 5 1/4" (Corner/border piece), 3 1/2" x 5 1/4" (Corner image)
- Pretty Peacock: 2 3/8" x 5 1/4"
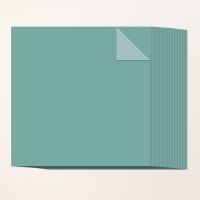
- Lost Lagoon 2-Tone Paper: 3/4" x 12"
- Basic White: 2 pcs @ 1 3/4" x 2 3/4", 2 1/2" x 5 1/4" (inside), 2 3/4" x 3 3/4" (sentiment)
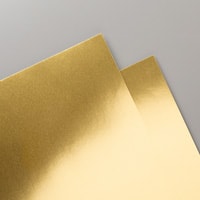
- Gold Foil: 1/4" x 5 1/4"
To Make this Card:
- Score the "front" piece along the 11" side @ 4 1/4" - 5 1/2". Rotate to the shorter side and make the following cuts/slits, to the 5 1/2" score line: 1/2" - 2 1/2" - 3" - 5".
- Next, remove the 1/2" pieces from top, bottom and center, leaving 2 extensions.
- Take the inside piece and score along the 6 1/2" side @ 2 3/4". Crease well.
- Adhere the larger, border DSP piece to the left side, and the White piece to the smaller, right side.
- Next, adhere the left cut edge of the inside piece, to the inside cut edge of the front. I used Multipurpose Glue and only placed glue for about 1" wide. You want the area near the creases free.
- Now, we need to create the "guide" for the moving "extensions".
- Wrap the 12" 2-tone piece around the inside, back of card, for fit. Adhere.
- Remove this from its' current position, and slip it over the "extensions of the outside piece, and adhere to to just the back of the inside piece. Clear as mud, right. It DOES work!
- The final step is to adhere this strip to the outside piece, placing Multipurpose Glue just on the 3/4" 2-tone strip. Lining up the cut edges.
- As you flip over your base, you'll see the whole mechanism exposed. That's where to add the last piece of base color. Again, just add Multipurpose Glue to just the exposed 3/4" strip.
- Try the mechanism, to see that it "works"! The more you move it, the easier it will move.
- Let's work on the front.
- Stamp the image from the Botanical Glow Bundle in Pretty Peacock ink onto the Pretty Peacock piece. Then, foil the corresponding die in Gold Foil.
- Adhere this piece to the left side of the "front".
- Add the Gold Foil strip over the "seam" where the 2 pieces meet.
- Next, foil the sentiment of your choice, and die cut.
- Finish the front with Gold Low Profile Dots.
- For the inside, stamp sentiment of your choice in Pretty Peacock ink onto one of the White layers. Adhere to one of the Lost Lagoon layers.
- Adhere the other White Layer to the last Lost Lagoon piece.
- Adhere to the corresponding "extensions" using Multipurpose Glue, just on the outside edges.
- Try the mechanism, again!
- Finish the inside with Gilded Wings Accents.