Showing posts with label so very merry. Show all posts

Wednesday, September 20, 2023

So Very Merry Angel in Lemon Lolly

 Here is another version of the angel from So Very Merry, this time in Lemon Lolly. (but could be any color combination) on blue. I loved the doily behind the image so much, that I used it, again!


See how different it looks in blues!

Measurements:  

  • Thick Basic White: 1/2 sheet, 4" square (for doily), 2 3/4" square (for angel)
  • Countryside Inn DSP (N): 4" x 5 1/4", cut into 4- 7/8" x 5 1/2" strips
To Make This Card
  • Adhere the DSP strips to the folded thick White card.  I started with the 2 outside strips, and then centered the 2 middle strips.
  • Die cut the larger doily die from White square.  I did not emobss this, but you could. Attach to card front.
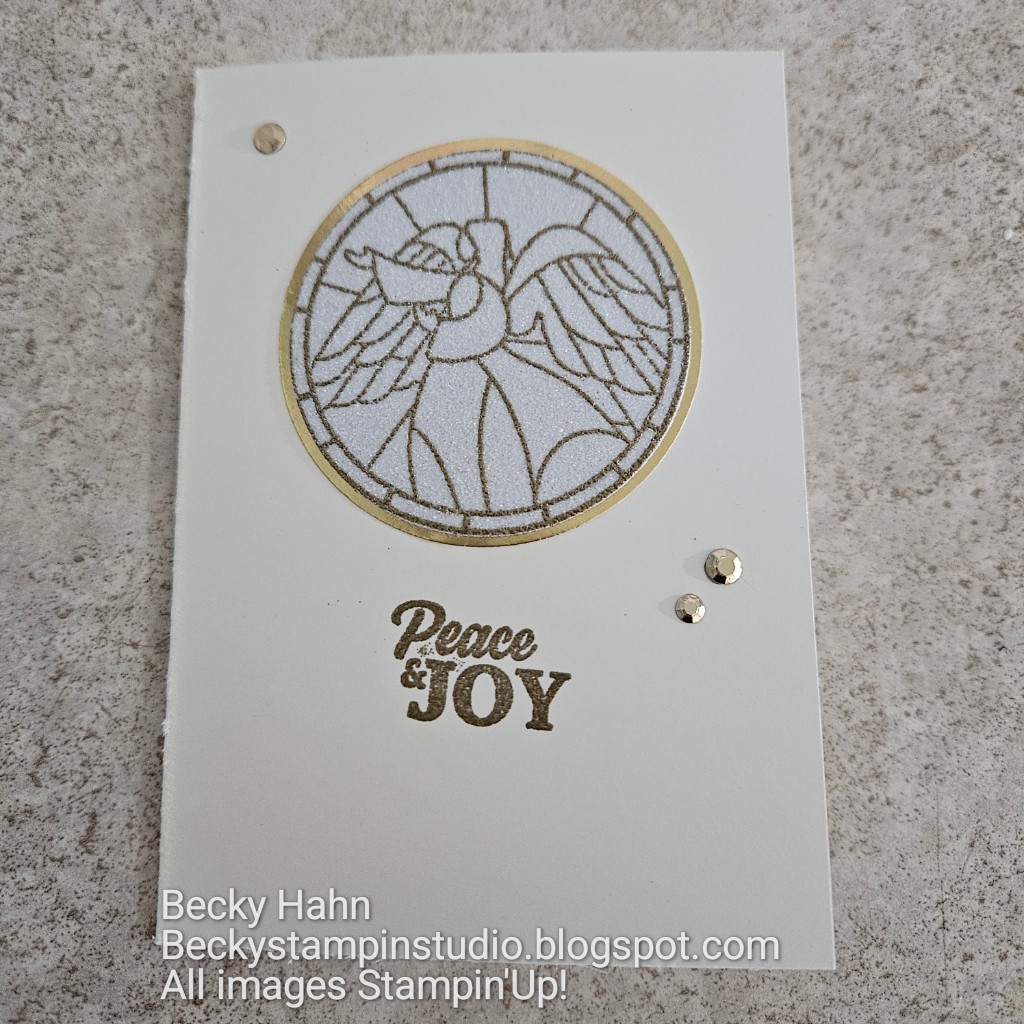
  • Stamp and emboss in silver the "angel" from the stamp set. Punch out with coordinating 2 3/8" punch. 
  • Color with Lemon Lolly, Petal Pink, and Balmy Blue Blends as shown.  Attach over doily with Dimensionals. For the blue version I used Balmy Blue, Boho Blue and Lemon Loilly Blends. I left the wings white.

Product List

Monday, August 21, 2023

So Very Merry Angel on Vellum

 I originally envisioned the images from the So Very Merry stamp set embossed on vellum and colored from behind.  I did get one of these versions done! I embossed it in gold, colored the image on the wrong side, and then sandwiched it between 2 circle openings.


Measurements:  

  • Thick Basic White: 1/2 sheet, 2 3/4" square (for angel), scrap
  • Bubble Bath (N): scrap
  • Subtles Designer DSP Pack (N): 4" x 5 1/4" Bubble Bath Print
To Make This Card
  • Temporarily adhere the DSP to folded thick White card.  
  • Die cut an opening through both layers using the Stylish Shapes Dies.
  • Separate the 2 pieces, and toss the circles.
  • Stamp and emboss in gold the "angel" from the stamp set.
  • Color with Daffodil Delight, Bubble Bath, and Pool Party Blends on the WRONG SIDE as shown.  
  • Place adhesive around the opening on the White card base.  Center the embossed image and adhere to the opening.
  • Next, add the Bubble Bath DSP on top.
  • Add a 4" strip of Sheer Bubble Bath ribbon from the new, combo pack to the bottom of the card.
  • Punch scallop oval from Bubble Bath, and smooth oval from White.  Stamp desired sentiment in Bubble Bath ink.
  • Finish with scattered iridescent pearls.

Product List