Friday, February 28, 2025

Floral Delight Accordion Gatefold

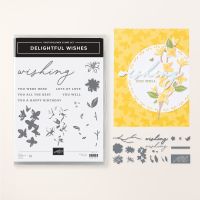
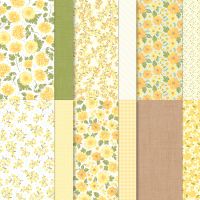
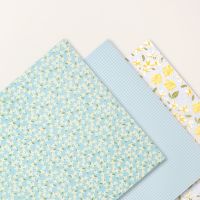
I just love this fold! So many options, so many choices to see as well! We are exploring the Floral Delight Suite this month in club, so this was a perfect creation designed, with my own twist, by Tami White. It not only uses the cheerful Floral Delight DSP, but also the Floral & Gingham Vellum. I think they are going to love making this one.


Measurements:   

  • Daffodil Delight: 1/2 sheet, 3" x 10 5/8", 2 pcs @ 1" x 2 3/4", 2" x 3 1/2" (word)
  • Basic White: 5 pcs @ 2" x 2 7/8", scraps (to stamp on)
  • Adhesive Sheet: 2" x 3 1/2"
  • Floral Delight DSP (N): 4" x 5 1/4" (inside) (Yellow Print); 2 pcs @ 1 7/8" x 5 1/4" (inside flaps) (yellow branches); 2 pcs @ 1 7/8" x 5 1/4" (outside flaps)(yellow gingham)
  • Floral & Gingham Vellum (N): 4 pcs @ 1 7/8" x 2 3/4" (blue floral)
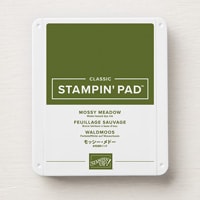
  • Mossy Meadow: 2" x 3 3/4"
To Make This Card:

  • The base of this card is a "gate" fold. Take the 1/2 sheet of Daffodil Delight and score at 2 1/8" from one end. Then, take the other side and match cut edges and crease, creating a "gate" fold.
  • At this point, you are going to make and attach the 2 "strips" that will hold the "accordion" piece to the card base.
  • Take the 2, 1" pieces and score lengthwise @ 1/2". Crease Well.
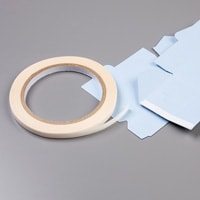
  • Place Tear n Tape on both sides. Remove backing of one side, and adhere to the inside of a flap, lining up fold to cut edge. Repeat for the other side.
  • To this, adhere the DSP pieces - inside yellow print to base, yellow branch pieces to the inside flaps, and the yellow gingham pieces to the front flaps. Set the base aside.
  • Now, for the "accordion" piece. Score at 2 1/8"- 4 1/4"-6 3/8"-8 1/2", across the piece.
  • To fold, start at the left side and make a "mountain" fold, a "valley" fold, another "valley" fold, and end with a "mountain" fold.  Crease well with a bone folder. Fold up so it all lays on top of each other. (You might need trim, re-crease to make it lay flat. And, try creasing both ways, as one might work better than the other!) Your card can open either way.
  • Next, attach the White pieces to the accordions' panels.
  • Then, add the vellum print pieces to the 2 outside panels on each side, leaving the center panel White.
  • Next, adhere the decorative DSP pieces to the 2 outside panels of the accordion piece, leaving the center panel, for now.
  • Now, stamp a sentiment in basic black ink onto center section.  I also added some Daffodil Delight filler images - (I think they are supposed to be flower centers!)
  • Now, you're ready to insert the "accordion" piece! 
  • Fold the "accordion" piece into place. Place Tear n Tape on the wrong side of the center section, the one with the sentiment.
  • Open the card base, and center and adhere the "accorion" piece to the inside on the large decorative DSP. Press well.
  • Now, for the 2 outside panels/tabs. Take one of the "tabs" and lay out flat, so it looks like an extension of the front flap. Remove the tape backing, and fold the panel into place. Repeat for the other side. Voila! It is done! 
  • Oops! At some point you need to wrap ribbon around the 2 layers of the front panel. Or, tie a knot and stick it in place.
  • Place adhesive sheet to Daffodil Delight piece.  Die cut with narrower word.
  • Die cut larger word in Mossy Meadow.  Remove backing on yellow word and adhere to Mossy Meadow base. Carefully add to front of first panel (edges will hang off).
  • Next, stamp 2 "flowers" in yellows, and 2 leaves in Mossy Meadow. Die cut from corresponding dies. Attach to front panels as shown.
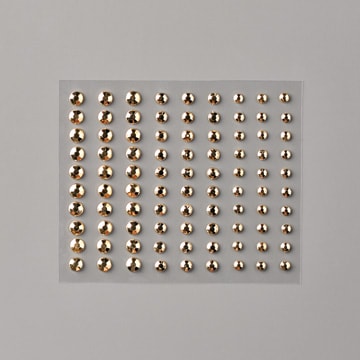
  • Finish with one Tiny Bee on the front panel, and 2 retired Gilded Gems for the flower centers.

Product List

Thursday, February 27, 2025

Memorable Blooms Trifold Window Card

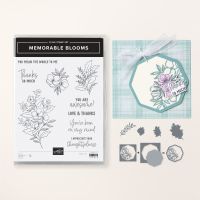
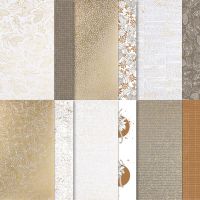
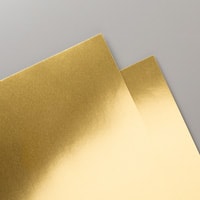
 As I mentioned before, this is my new favorite die! Isn't it just gorgeous in Gold Foil??? And, wouldn't you know this idea, again, comes from Susan Campfield!  I have done this type of fold before, but this is her take on it.  Along with the Gold Die as a focal point, she also uses the Gold & White paper from the Nature's Sweetness DSP - which I didn't even realize was still available!! This card in Gold, Silver, or any color, could be used for any occasion!


Measurements:   

  • Basic White:1/2 sheet, 5 1/4" x 6" (insert), 2 pcs @ 3/4" x 4" (embossed)
  • Gold Foil: 3 3/4" square
  • Adhesive Sheet: 3 3/4"
  • Nature's Sweetness DSP: 3 3/4" square (hashtag), 1 3/4" x 5" (another gold & white print)
To Make This Card:

  • Fold White card base in half. Open up flat, and die cut outside "octagon" shape from front.  Set cut out piece aside. We will use it later!
  • Die cut another "octogon"-only shape from the "hashtag" DSP.  Set aside, for now.
  • Adhere adhesive sheet to back of Gold Foil piece.
  • Die cut both layers of "octagon" from this piece.
  • Remove backing and adhere to DSP backing.
  • Now, take "insert piece" and score along the 6" side @ 2" crease well.  Attach DSP to this flap.  Emboss or stamp your desired message before adhering to card.
  • Next, adhere the "insert" piece to the inside of the card, centering it to the back.
  • Close card into place. You should see some of the print DSP through the "window".  Place adhesive onto this exposed DSP, and then insert "octagon" piece through the window, attaching only to the flap that has the adhesive on it!
  • Now, open your card flat. I didn't like being able to see the print on the back of the DSP Octagon, so I used the White insert from the card front, and attached it to the back of the DSP.
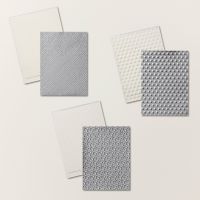
  • To add a little interest to the front (I wanted to be able to see the detail of the die cut opening), I embossed 2 strips of card stock. I used a retired embossing fold with hashtags on it, but you could use whatever...
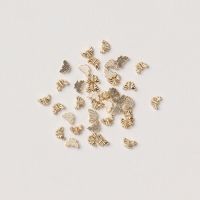
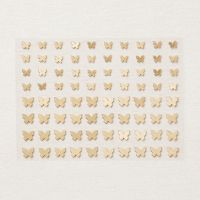
  • I then finished the details of the card with Brass Butterflies, both inside and out1

Product List

Wednesday, February 26, 2025

Clean & Simple Chair Rail Card

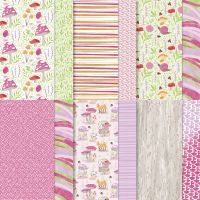
 So, I was wanting to do a "mushroom" card at the Senior Center, using the Toadstool Gardens DSP. But, I was also wanting them to color. (They love to color.) So, I dug out the retired Snailed It stamp set which goes PERFECTLY with the DSP! (There's also a "snail" that goes perfectly with it, too). So I designed this "chair rail" card design for them to make and color!  The mushroom stamp allows for perfect coloring of the design to coordinate with the DSP!


Measurements:   

  • Granny Apple Green:1/2 sheet
  • Toadstool Gardens: 1 3/4" x 5 1/4", 2 1/4" x 5 1/4" (same print - uses both sides), 3/8" x 5 1/4" strip
  • Pumpkin Pie: 3/8" x 5 1/4"
  • Melon Mambo: 3 1/4" square
  • Basic White: 4" x 5 1/4" (inside), 3" square (stamped image)
  • Gray Granite: scrap
To Make This Card:

  • Adhere DSP pieces to folded Granny Apple Green card, as shown. (This is the same piece of DSP, just flip flap the pieces, as desired.
  • For the "chair rail", cover where the cut edges meet.
  • Stamp "mushrooms" from the retired "Snailed It" stamp set onto the White square.  Die cut with Spotlight on Nature die.
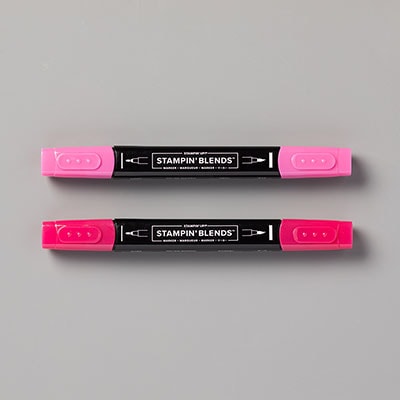
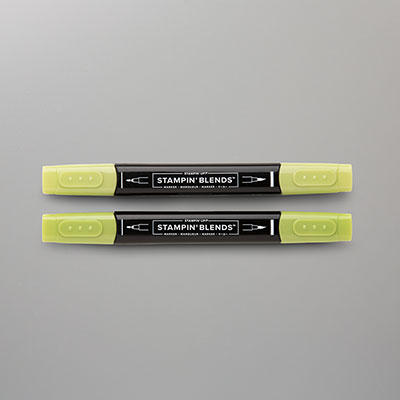
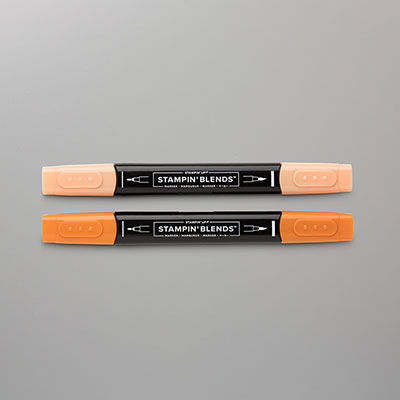
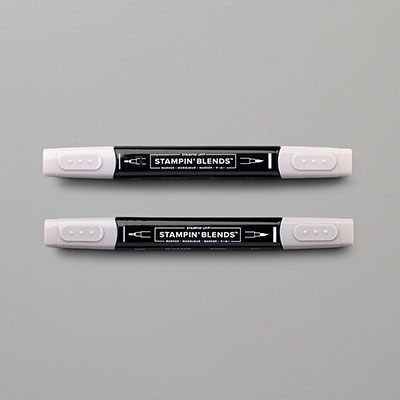
  • Color "mushrooms" with Blends, as shown.
  • Die cut a large circle from Stylish Shapes in Melon Mambo square. Adhere these 2 pieces together and then add to card with Dimensionals.
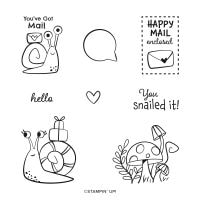
  • And, lastly, die cut a "label" from Gray Granite.  Stamp sentiment to one end, and then recut "label" shorter, by lining up the stitching of the die, and making it shorter.  (This is a neat technique. Remember it!)
  • Finish inside with White layer and strip of DSP.
  • Finish front with scattered SAB Purple Sequins!

Product List