Showing posts with label swiss dots die. Show all posts

Monday, August 10, 2026

Soft Green Foiled Butterflies

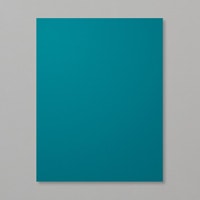
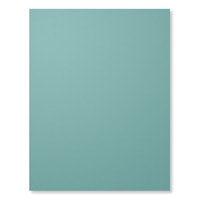
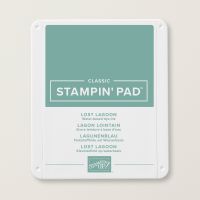
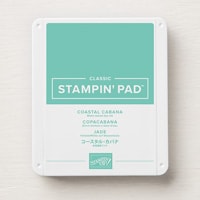
 As I search for inspiration for our new foiling products, I keep an eye out for interesting color combinations! This one caught my eye!  I love aqua and teal colors!  This one uses Lost Lagoon and Pretty Peacock!  But, there is also some Coastal Cabana in the butterflies!  I just LOVE the Swiss Dots for a sparkly background!


Measurements:  

  • Pretty Peacock: 1/2 sheet 
  • Lost Lagoon: 4 1/8" x 5 3/8"
  • Basic White: 1/4 sheet (Butterflies); 2 pcs @ 4" x 5 1/4" (one for inside); 1 1/2" x 4" (sentiment)
To Make this Card:

  • Foil one White layer with Swiss Dots Hot Foil Die and Gold Foil.
  • Adhere Lost Lagoon layer, and foiled layer to folded Pretty Peacock card base.
  • Next, Hot Foil the Butterfly Flight Die in Gold Foil onto quarter sheet of White.
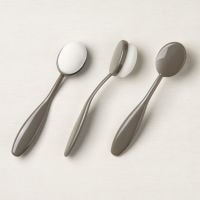
  • Color, using masks.  Start with Coastal Cabana, a blending brush, and mask #1. Then, switch to Lost Lagoon with mask #2, and finish with Pretty Peacock ink and mask #3.
  • Now, you can die cut your "butterflies".
  • Select a sentiment to foil in Gold Foil. Die cut with corresponding die.
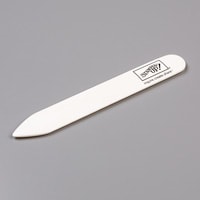
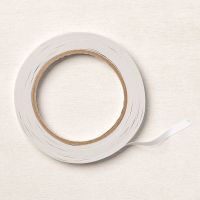
  • I decided to make this a "Landscape" card, so I started with the sentiment first.  Then, added the largest butterfly, shaping it a bit with a bone folder! I then had to decide how many other butterflies I wanted to use.  I chose the 2 smaller ones!  I adhered them with a strip of Tear & Tape down the "body" center.
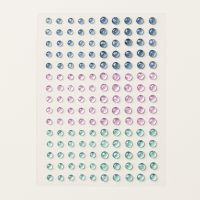
  • I finished the front with retired Tinsel Gems.
  • For the inside, after adding a White layer, I chose one of the remaining butterflies and added it to the inside.  I saved the other for another project.

Product List

Monday, August 3, 2026

Framed Violet and Foiled Swiss Dots

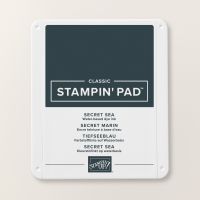
 I saw a similar sample using the Impressions dies along with the Framed Violets dies. Of course, I added my own twist and added  gold foiled Swiss Dots on Secret Sea cardstock and the Shimmering Stripes DSP for the center of the label. This is actually a really clean & simple card!


Measurements:  

  • Gorgeous Grape: 1/2 sheet cut LENGTHWISE, 1/2" x 3 7/8" strip, 2" x 3" (label), scrap
  • Peaceful Pine (N): 4 1/8" x 5 3/8", scraps
  • Secret Sea: 3 7/8" x 5 1/4"
  • Fresh Freesia: scraps
  • Basic White: 4" x 5 1/4" (inside)
  • Violet Dreams (N)(OE): 2 1/2" x 3 7/8" (Secret Sea print)
  • Shimmering Stripes DSP(N) (OE): 2" x 3" (inside label)
To Make this Card:

  • Add Peaceful Pine layer to folded Gorgeous Grape card base.
  • Hot foil Secret Sea layer in Gold Foil with Swiss Dots die. Adhere to front of card.
  • Also, add Violet DSP to the top of the card.
  • Adhere the Grape strip to the front, over the "seam".
  • Die cut label from Phrases & Frames Impressions die.  Then, go back and run it through, again, with the Impressions mat.
  • Add to front of card, over Grape strip, with Dimensionals.
  • Die cut center oval from Shimmering Stripes DSP.  Stamp with sentiment of your choice in Secret Sea Ink. Blot ink. Then, add to center of "label" with Dimensionals.
  • Next, die cut flowers in Gorgeous Grape and Fresh Freesia. Die cut all 3 leaves in Peaceful Pine.
  • Arrange die cuts onto front of card as shown.
  • Embellish flowers with Adhesive-Backed Blooms. I also added a small Freesia bow.
  • Finish the inside with layer of White. Add die cut leaves and flowers as desired.  Center of flower was a Basic Rhinestone.

Product List