Wednesday, October 23, 2024

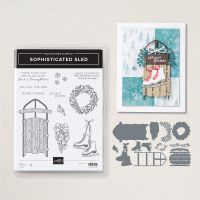
Sophisticated Sled Fun Fold

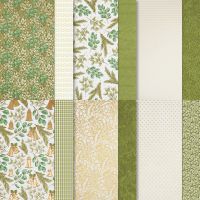
I was looking for a Fun Fold card using the Sophisticated Sled. I found several, which I hope to still do, but decided on this one for class this week! I love that it, not only, used the gorgeous, detailed sled, but the awesome Online Seasons of Green and Gold DSP, with Textured Gold accents and contrasting Navy Blue layer.


Measurements:  

  • Old Olive: 1/4 sheet, scrap
  • Mossy Meadow: 4" x 11", scrap
  • Basic White: 3 7/8" x 5 1/8" (inside) scraps
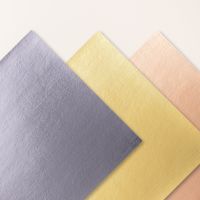
  • Textured Gold Foil (N): 2 3/4" x 3 7/8" (lower flap), 2 5/8" x 3 7/8" (upper flap), 1 3/4" x 4" (sled runners, skate blades)
  • Seasons of Green and Gold DSP (N) (OE): 2 1/2" x 3 5/8" (print, lower flap), 2 3/8" x 3 5/8" (olive stripe, upper flap)
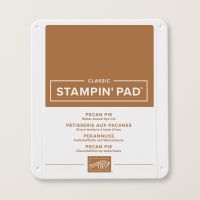
  • Pecan Pie: 3" square
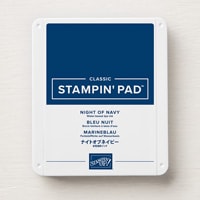
  • Night of Navy: 3" x 4 1/4"
  • Real Red: scraps
To Make this Card
  • Score Mossy Meadow base at 2 7/8" - 8 1/4". Crease well. (Note: It will overlap about 1/4", the shorter flap over the longer, with the longer being on the bottom!)
  • Attach the "base" of this piece to the 1/4 piece of Old Olive.
  • Match the correct DSP layer to its' corresponding Textured Gold piece. Match and adhere to the "base" accordingly.
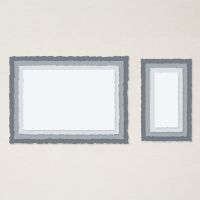
  • Next, die cut Deckled Rectangle from the Night of Navy piece. 
  • Now, for the sled. Die cut the runners/base and ice skate blades from the larger piece of Textured Gold.
  • Die cut the ice skates from White, and the "laces" from Real Red. (this is so cool!) Also, die cut 2 "sprigs" - one from Old Olive and one from Mossy Meadow. Now you're ready to assemble!
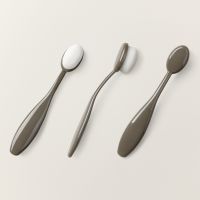
  • Oops, still need the sled!  Take the sled die and burnish Copper Clay ink directly on to it with a Blending Brush (cool huh!).  Now run it through with the Pecan Pie cardstock.  This enhances the detailed grain!!  You can also use wood grain paper, you have so many options!
  • Now, to assemble!! Put "green" glue onto the runners and cross pieces.  Adhere the sled, and the top "rail". (I worked on my silicone sheet.  Worked great!)
  • Glue the "blades" to the right side of the ice skates. Then, add glue to the "laces" and tuck in to the slit on the ice skates, too cool!!)
  • Glue the 2 sprigs together.  I put the darker one on the bottom, but you do whatever you like.  I also staggered them a little bit. Glue to the sled as shown.
  • Tie a double bow from Real Red twine. Add to the sled with a Mini Glue Dot.
  • I added the ice skates to the tails of the bow, using good old scotch tape!  Make them different lengths and then adhere to the sled.
  • Now you're ready to add the sled to the Navy layer. And then the upper half to the top, stripe flap!
  • You're almost done!  Finish the inside with the White layer, and stamped sentiment and a few snowflakes in Night of Navy Ink.
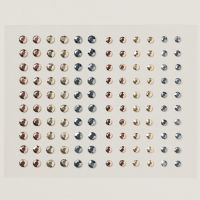
  • Finish the outside with our new Berries on the "sprigs", and gold Metallic Gems scattered on the Navy layer.
Product List

Tuesday, October 22, 2024

Yuletide Village meets Encircled in Nature

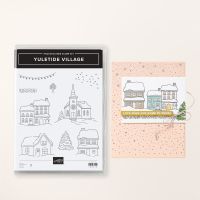
I was looking for a card for class that used the darling Yuletide Village stamp set, that didn't require the buildings to be fussy cut (takes too much time in class!) I fell in love with this one, designed by one of our Artisans.  Her directions were limited (and in Dutch), so I had to figure out a lot of this on my own...to share with you! The church from the stamp set, is stamped and colored inside, but is visible through the opening from the Encircled in Nature dies, found in the Online Store! It really wasn't a huge challenge, just several steps! I LOVE how it turned out!


Measurements:  

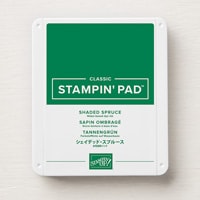
  • Shaded Spruce: 1/2 sheet, 4" square (wreath) scraps
  • Basic White: 4" x 5 1/4" (inside), scraps
To Make This Card:
  • Stamp new Falling Snow background stamp in Shaded Spruce ink on front of folded Shaded Spruce card base. (Note: to make it easier to stamp, I brought out my trusty Stamparatus!)
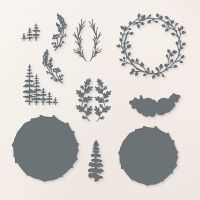
  • Now, die cut circle in the front, a little higher than center, using the Encircle in Nature Dies.  (I used the larger circle, which then made it a little more difficult to add the "wreath". Hopefully, you can use either).
  • Next, add White layer to inside of card.
  • Take a pencil and lightly mark the circle opening directly onto the white inside layer.
  • Open the card and stamp the "curved" trees as shown in Shaded Spruce ink.
  • Also, stamp the "church" in Memento Black ink, inside the circle as well. Add the sentiment to the inside as well in Shaded Spruce.
  • Color the church as shown.  Add a little Wink of Stella to look like glistening snow!
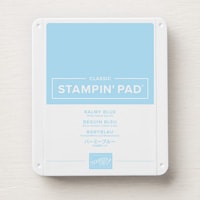
  • Next, stamp "snow" in Balmy Blue ink, then burnish a little additional color with a small Blending brush.  The inside is done!
  • To finish the outside, die cut the "leafy wreath" from square of Shaded Spruce cardstock.
  • Also, the large and small "grove of trees" from both Shaded Spruce and Basic White scraps.
  • Attach the "wreath" to the card with "green" glue.
  • Layer the "groves of trees" together, one white to one Spruce, off setting them just a bit.  Then, glue to card, as shown.
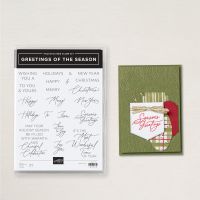
  • On scrap of paper, stamp "Christmas" from the Greetings of the Season in the Online Store in Shaded Spruce ink, then add "Merry" as shown.  Fussy cut around words and add to card, as shown, with Dimensionals.
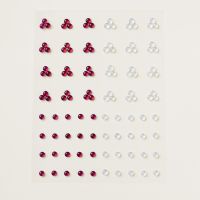
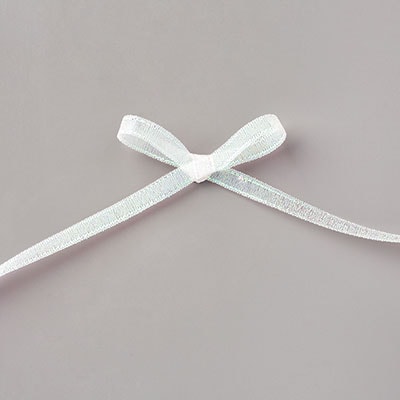
  • Finish with additional Wink of Stella in the trees, a bow from Iridescent Ribbon, and scatter Iridescent Faceted Gems.
Product List

Tuesday, October 15, 2024

Autumn Leaves Accordion Z Fold Card

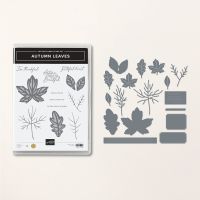
This awesome Autumn Leaves Bundle was carried over from last year.  So, I wanted to try one of my new folds with an old set! I like how this one turned out! A little bit of old and a little bit of new!


Measurements:  

  • Crumb Cake: 5 1/2" x 11"
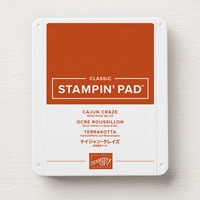
  • Cajun Craze: 3" x 7", 3" square )layer), 3 1/4" square (leaf)
  • Pretty Peacock: 1 3/4" x 2 3/4" (leaf)
  • Very Vanilla: 3 1/2" x 5" (inside), 2 3/4" square
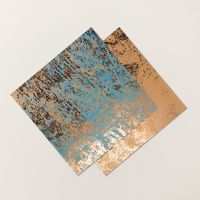
  • Oxidized Copper (OE): 2 3/4" square (front), 3 1/4" x 5" (leaves), scraps
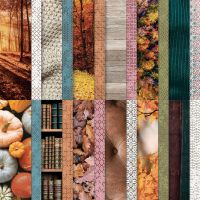
  • All About Autumn DSP (ret): 5 1/4" x 6" (vanilla & foil print)
  • Adhesive Sheet: 3 1/4" x 5"
To Make This Card:
  • Score Crumb Cake base at 1 3/4" - 3 1/2"- 5 1/4" - 7". Accordion fold and set aside.
  • Cut Vanilla Foil DSP into 4 - 1 1/2" pieces. Attach to the accordion folds.
  • Attach Very Vanilla piece to inside of card.
  • Fold the 3" x 6" Cajun piece in half, crease well.
  • Attach to card base, centering on the front fold, and attaching to front and last folds.
  • Add Oxidized Copper square to front.
  • Die cut large leaf from piece of Cajun Craze. Cut medium leaf from Pretty Peacock.
  • Attach adhesive sheet to larger Oxidized Copper piece. Die cut 2 "detail leaves". Peel and stick to solid leaves, and then attach to front of Cajun layer as shown.
  • Take Very Vanilla square and stamp off solid stamps as shown. Then, stamp details in solid colors.  Also, add sentiment of your choice in Cajun Craze.
  • Attach Vanilla piece to Cajun square, then line up behind folded Cajun piece and adhere to back Vanilla piece as shown.
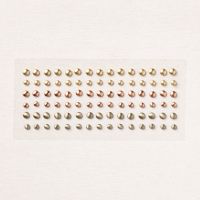
  • Finish with scattered Copper Brushed Metallic Dots.
Product List