Showing posts with label Trusty Toolbox DSP. Show all posts

Monday, February 5, 2024

Trusty Tools Back Fold Card

 I was looking for a fun, simple card for club using the Trusty Toolbox DSP. I hadn't done a Back Fold card for a while, and saw this one, and decided to try it! It also uses the new Everyday Details Dies, that I just love! 


Measurements:  

  • Gray Granite: 1/2 sheet
  • Poppy Parade: 2 3/4" square
  • Basic White: 3" x 5 1/4" (inside), 2 3/4" square, scraps
  • Trusty Toolbox DSP (N) (SAB): 3" x 5 1/4" (poppy stripe), 7/8" x 5 1/4" (granite nuts & bolts), die cut tools
To Make This Card:

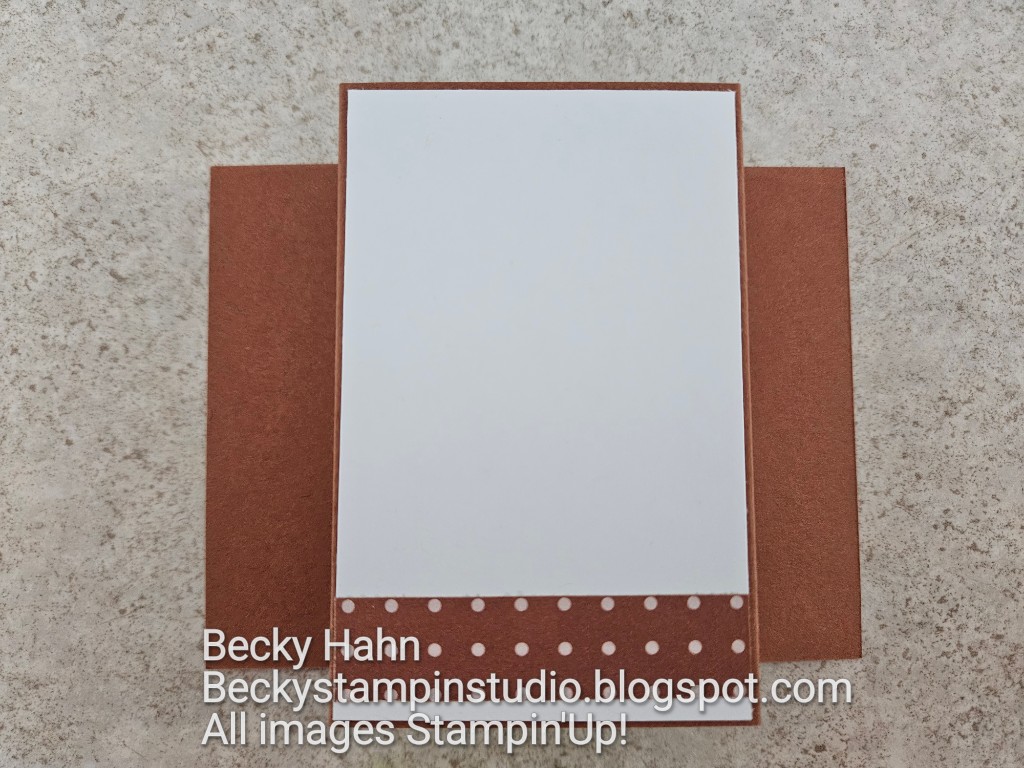
  • Fold Gray Granite card base in half. Cut 1" off the front, then score 1" from the back. Crease this 1" back, well.
  • Adhere the narrow piece of DSP to the back 1" flap, and the other piece of DSP to the front. Also, add the White piece to the inside.
  • Cut a dotted circle from the White square, and mount to a circle of Poppy Parade (I used an old 2 1/2" punch).
  • Stamp or die cut 2 "tools".
  • Stamp sentiment in Memento ink onto scrap of white. Die cut with banner from the Stylish Shapes Dies, which you will have to modify the size to make it smaller.
  • I added the "paint brush", then the banner, and then the "tape measure".
  • Now to add the circle.  I attached the RIGHT side of the circle to the 1", fold back strip. To make sure it holds, I used Tear n Tape.
  • Finish with Rustic Metallic Dots.

Product List

Thursday, February 1, 2024

Trusty Tools Bridge Card

I saw a version of this card and thought it was PERFECT for this awesome bundle and FREE SAB DSP - Trusty Toolbox. I used the "Bridge" design and then added my own twist. All of the tools were die cut from the DSP! Take note of the darling "peg board" at the back. Too cute!


Measurements:   

  • Copper Clay (N): 4 1/4" x 8 1/4", 2 3/4" x 4 1/4" (pegboard)
  • Pecan Pie (N): 1 1/4" x 4 3/4" (bridge)
  • Basic White: 2 pcs @ 2 5/8" x 4 1/8" (back & inside under pegboard), 7/8" x 2 7/8" (sentiment)
  • Trusty Toolbox DSP (SAB)(N): 2 pcs @ 1 1/4" x 4 1/8" (ruler), 2 pcs @ 1 1/4" x 4 1/8" (nuts & bolts), tools to die cut (all from the same sheet)
To Make This Card:

  • Score the 4 1/4" x 8 1/4" piece at 1 3/8" - 2 3/4". Turn and repeat at the other end.
  • Crease well with a bone folder creating an "accordion" fold.  
  • Die cut "pegboard" from sm piece of Copper Clay. (I had to move it down one row and cut again to cover the entire piece)
  • Attach one White piece to Copper Clay "pegboard", then attach at the back, inside of card.
  • Die cut a variety of "tools" from the DSP. Arrange onto the "pegboard" as shown.
  • Next add the "nuts & bolts" strips to the inside of the accordion folds.
  • Now, emboss the Pecan Pie "bridge" with the Timber 3D EF.
  • To create the "bridge", attach the Pecan Pie piece to the front of one side, about 1/4" from the bottom, and 1/4" from the side.  Attach the "ruler" strip over this piece, leaving 1/8" all around.
  • For the other side, lay completed side flat on your work surface, and accordion fold the other side this should make your card the correct size to fit into an envelope. 
  • Now, attach the other side of the "bridge" to this front.  Again, it should be 1/4" from the bottom and 1/4" from the outside edge.  You may need to trim this piece, depending on how your card is working out! Add the other "ruler" piece and your card base is done!
  • To finish, I added 2 "tools" to the front panels, stamped a sentiment in Pecan Pie onto the White piece, adding it to the "bridge".
  • Add Metallic dots to the sentiment.
  • Finish the back (so you have somewhere to write) as shown.

Product List