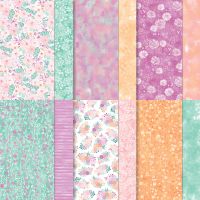
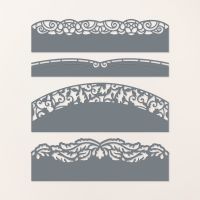
I just love the "original" version of this Pop Up Cross card, which, admittedly, is a little small, when I found this full-size version, with the decorative border on the side! So, I went through my DSP and came up with this Spring version using the Unbounded Beauty DSP in the Annual Catalog, along with the recently retired Elegant Borders in the Online Store. It is really pretty when there is nice contrast between the border and the back piece. Just a few of the measurements change to create the back piece from the original. Enjoy!


Measurements:
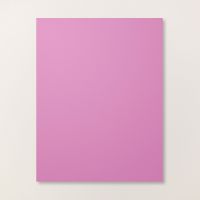
- Petunia Pop: 1/4 sheet, scrap
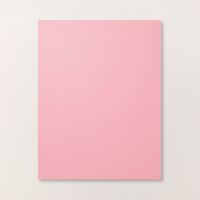
- Pretty in Pink:3 3/8" x 5 3/8"
- Basic White: 5" x 5 1/4" (pop up base), 1 1/4" x 3 1/8" (cross),4 1/4" x 5 3/8" (border piece)
- Unbounded Beauty DSP: 1 1/8"" x 5" (cross support), 1 1/8" x 3" (cross), , 2 pcs @ 3/4" x 5" ( pop up sides) (white floral), 2 pcs @ 3/4" x 5" (outside pieces) (Petunia Pop floral)
To Make This Card:
- Score White Pop Up Base along 5" side at 1"- 1 7/8" - 3 1/8" - 4". Crease as shown - valley, mountain, mountain, valley. Crease well.
- Match up DSP pieces to corresponding sides of pop up base and cross piece. Adhere to cross. Set aside.
- Next, take a decorative border of your choice, and die cut the long edge of the White base. Lay this piece onto the Petunia Pop solid color base. Trim this piece so that you have about a 1/16" edge (really narrow) all the way around - mostly from the left edge. Adhere to colored base.
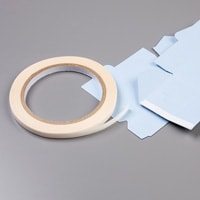
- Now, place tear in tape on wrong side of the outside pieces. Remove backing. Smash flat (like you will put in an envelope, so it kind of rests to the side), and center over Pretty in Pink Pop Up base and adhere.
- Next, add cross piece.
- To finish, check borders of Pop Up cross to the bordered layer. Trim where necessary. Most layers are really narrow, i.e. 1/16". If you like what you see, adhere to card base.
- To finish, cut a small Petunia Pop circle from the Spotlight on Nature dies.
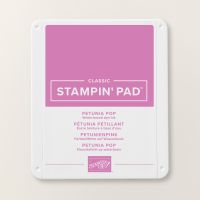
- Stamp a sentiment onto a scrap of White in Petunia Pop ink, and cut with smallest circle from the Stylish Shapes. Mount onto Petunia Pop circle, and add to cross.
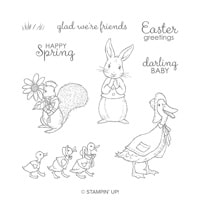
Fable Friends Cling Stamp Set
[148670]
$22.00