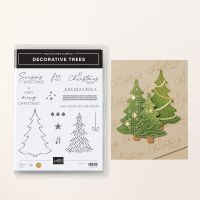
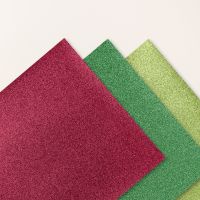
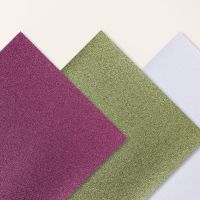
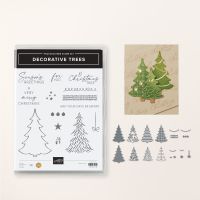
This is a version of the card from the Mini Catalog using the Decorative Trees bundle! It combines cardstock and glimmer paper with gold foil decorations to make a beautiful card. I made mine a little less "rustic" by putting the trees on a base with gold flecks from the Seasons of Green and Gold DSP in the Online Store. The results are just stunning, and so much fun to do!
Measurements:
- Very Vanilla: 1/2 sheet
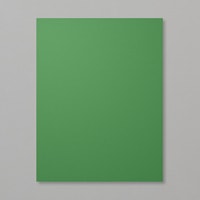
- Garden Green: 4" x 5 1/4", 2 1/2" x 3 1/2" (plaid tree)
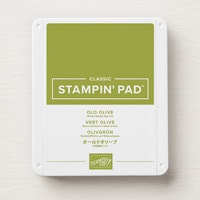
- Old Olive: 2 pcs @ 2 1/2" x 3 1/2" (stamped tree base & trimmed scroll tree base)
- Pecan Pie: small scraps
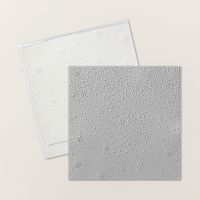
- Festive Glimmer Paper (N): 2 1/2" x 3 1/2" (lg base), 2 1/8" x 3" (scroll) (lt green)
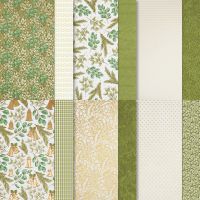
- Seasons of Green & Gold DSP (N): 3 3/4" x 5" (Vanilla fleck)
- Adhesive Sheet: 2 1/8" x 3" (scroll), 2 1/2" x 3 1/2" (plaid tree), 2" x 2 1/4" (details)
- Gold foil: 2" x 2 1/4"
To Make This Card:
- Attach Garden Green layer to folded Vanilla card.
- Then, add the DSP layer.
- First, we'll die cut all the basic tree pieces, and then assemble them!
- Cut 1 tree base from lt green (Granny Apple Green) Glimmer Paper, and one from Old Olive cardstock (we'll cut the other one after we stamp)
- Place adhesive sheet on the back of the Garden Green cardstock, then cut out with the "plaid tree die". Peel off back, and attach to the Lt Green Glimmer tree.
- Place adhesive sheet on the back of the small Glimmer piece, the die cut with scroll die.
- Before attaching the "Glimmer Scroll" to the tree, take the Old Olive tree base and burnish in some Garden Green ink, with a Blending Brush, to the bottom of the tree, leaving the top the true color. Set aside to dry.
- I used my Stamparatus for the stamped tree. Take the piece of cardstock and stamp the outline in Garden Green ink, then stamp the "sprigs". Remove from the Stamparatus, and die cut with corresponding die.
- Now, we'll die cut all the decorations. Place the adhesive sheet on the back of the Gold Foil piece. Die cut the 3 ornaments and 4 garlands. Set aside.
- Die cut 3 "trunks" from Pecan Pie cardstock.
- Ok. Now we're ready to assemble!
- You can now attach the scroll to the burnished tree. Notice the tree is bigger than the "scroll". You'll need to trim off the excess. Now you have a smaller tree! Add trunk to the bottom. (I used a narrow strip of Tear n Tape.
- Decorate the stamped tree with the "garland" as shown. Also, add a trunk to the bottom of this tree. (You may need to adjust it later.)
- Attach a trunk to the "plaid" tree.
- Next I arranged the trees onto the card front, so that the "scroll" tree ends up in the center of the card, and popped up with Dimensionals.
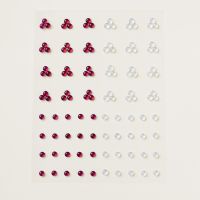
- Now, you can add the "ornaments" to the "plaid" tree. I also added the new Drusy Embellishments to the ornaments and a smaller one to the top of the tree.
Product List