Showing posts with label heart shaped. Show all posts

Friday, February 21, 2025

Folded Everyday Arch Card

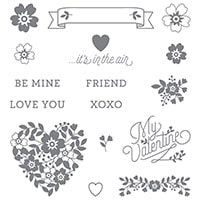
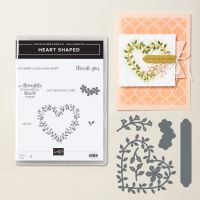
 I'm always on the lookout for interesting uses for dies and stamps that I have.  I just got these awesome Everday Arch Dies, which I love, and spotted this interesting use of the dies! The designer placed the bottom edge off the fold of the cardstock, and created a flipped up arch! So cool. It was paired with the Heart Shaped bundle from the SAB Brochure. I just love this entire design...and the colors - Lemon Lolly and Pool Party!


Measurements:   

  • Thick Basic White:1/4 sheet, 3 1/4" x 8 1/2" (folded arch)
  • Lemon Lolly: 4" x 5 1/4", 2 3/4" x 3"
  • Pool Party: scraps
To Make This Card:

  • Run Lemon Lolly piece through Starstruck Embossing Folder (SAB).  Adhere to White card base.
  • Fold White piece for arches in half, so it measures 4 1/4" x 3 1/4".
  • Lay 4th arch from the outside, so the bottom cut edge lays off the fold of the White piece.  Die cut.
  • Stamp detailed heart in Pool Party ink, onto front flap - a little below center.
  • Stamp desired sentiment in the center.
  • Die cut detailed heart from Lemon Lolly piece.  Adhere over stamped image.
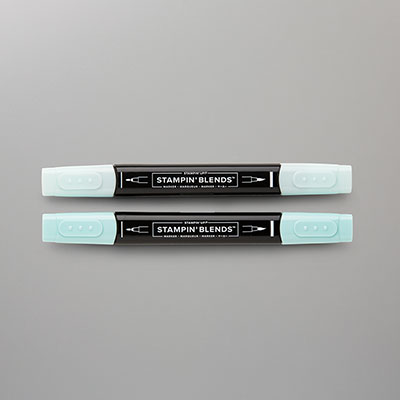
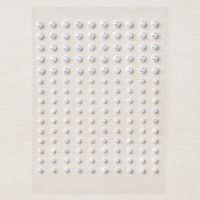
  • Color small Iridescent Pearls with Dark Pool Party Blend. Adhere to "wreath".
  • Die cut 2 Pool Party flowers, and attach to card as shown.
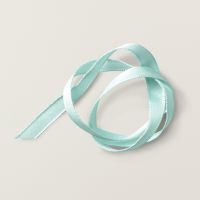
  • Wrap Pool Party Ribbon around top flap of folded arch, and tie in a knot.
  • Finish with Iridescent Pearls for flower centers, and stamped flowers and sentiment inside in Pool Party Ink.
Product List

Sunday, January 26, 2025

Pastel Heart Shaped Card

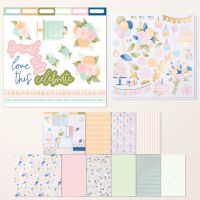
 I've actually seen several of these cards using these pastel colors, the Heart Shaped Bundle and the DSP from the Wildflower Birthday DSP in the new mini. I also loved the layering of the detailed circles!  I haven't done that before, and it's truly gorgeous!

Measurements:   

  • Pretty in Pink1/2 sheet, 4 1/8" square, scraps
  • Basic White: 4" x 5 1/4" (inside), 3 5/8" square (detailed circle)
  • Soft Seafoam: 3" square (detailed heart), scrap: 
  • Shaded Spruce: scraps
  • Adhesive Sheet: 3" square
  • Wildflower Birthday DSP (N): 4" x 5 1/4" (Pastel Stripe)
To Make This Card:

  • Adhere Pastel Stripe DSP to folded Pretty in Pink card.
  • Die cut largest decorative circle from the Spotlight on Nature Dies from the Pretty in Pink square. 
  • Stamp "detailed heart" in Shaded Spruce onto White square. Center image and die cut with next largest decorative circle.  Layer together.
  • Attach Adhesive Sheet to Soft Seafoam square.  Die cut with detailed heart die from the Heart Shaped SAB Bundle.
  • Peel off backing and adhere to stamped image.
  • Mount to card base with Dimensionals.
  • Next, die cut 5 "flowers" from Pretty in Pink scraps, and 3 sets of "leaves" from Shaded Spruce scraps.
  • Arrange onto decorative heart, as shown.
  • Stamp sentiment onto scrap of Seafoam Cardstock in Shaded Spruce. Die cut with label die from the Heart Shaped Bundle. Add to card with Dimensionals.
  • Finish with Iridescent Pearls for the flower centers and decorate label.

Product List

Wednesday, January 22, 2025

Elegant Heart Card

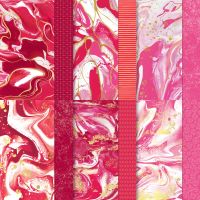
 I saw this elegant layered card designed by Julie Gilson. Many layers, but totally worth it!! It combines the gorgeous Marbled Elegance DSP (OE) with Gold Foil cardstock, Gold embossing, and gold embellishments!  Just stunning!


Measurements:   

  • Cherry Cobbler1/2 sheet, cut LENGTHWISE
  • Basic White: 3 3/4" x 5" (front), 4" x 5 1/4" (inside), 3 1/4" square (stitched circle), scrap
  • Marbled Elegance DSP (N)(OE): 2 1/8" x 3 3/4" (front), 2 3/8" square (heart), 1/2" x 4"
  • Gold Foil: 3 1/2" square (decorative circle), scraps
To Make This Card:

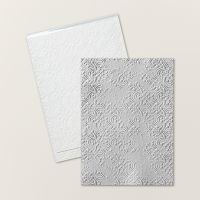
  • Run smaller White layer through Distressed Tile 3D Embossing Folder.
  • Adhere to folded Cherry Cobbler card.
  • Add DSP piece to the bottom, as shown. Add a 4" piece of ribbon, or narrow piece of Gold Foil cardstock to delineate between the 2 layers.
  • Die cut large decorative circle from Spotlight on Nature dies from Gold Foil piece. set aside.
  • Emboss detailed heart from the Heart Shaped (SAB) dies in Gold Embossing Powder in center of 3 1/4" square.  
  • Die cut with large stitched circle from the Stylish Shapes Dies, centering embossed image. Set aside.
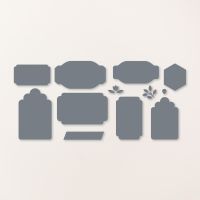
  • Die cut "stitched heart" from DSP, as well as the next 2 sizes of hearts from the Hearts of Elegance Dies in Gold Foil.
  • Now, let's layer these all together!
  • I started by adhering the stitched White circle onto the Gold Decorative Foil Circle. 
  • Next, add stitched DSP heart on top of embossing, then next Gold Foil heart, then lastly the smallest, stitched Gold Heart. I added this one with Dimensionals.
  • Next, add the completed circle to the front of card with Dimensionals.
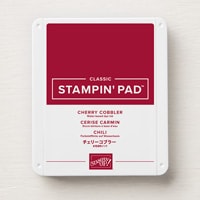
  • For sentiment, stamp in Cherry Cobble ink.  I cut mine out with a die from the Something Fancy Dies (AC). Mount to another die cut from Gold Foil.  Add to front of card with Dimensionals.
  • For inside, attach larger, White layer with strip of DSP.  Stamp sentiment in Cherry Cobbler Ink.
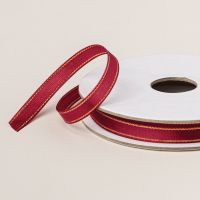
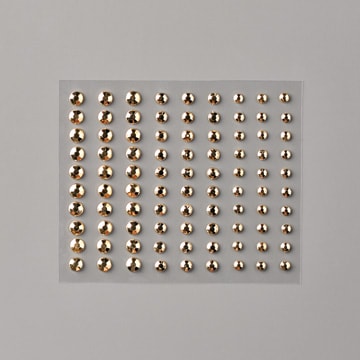
  • Finish front with small knot of Cherry Cobbler & Gold ribbon, and scattered Gilded Gems (ret).
Product List

Wednesday, January 15, 2025

Purple Heart Shaped Bloom Impressions

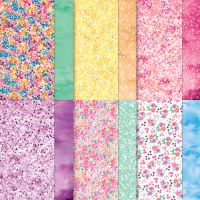
 I just love this color combination that is inspired by the colors in the Bloom Impressions DSP in the SAB brochure! It is paired with Spotlight on Nature dies, and a little bling.  I just love it!


Measurements:  

  • Thick Basic White: 1/2 sheet
  • Basic White: 3" square (stamped heart), 3 3/8" square (backing for circle), scrap
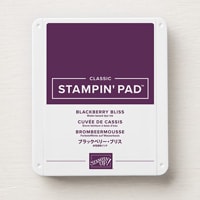
  • Blackberry Bliss: 2 3/4" square (die cut heart), 3 1/2" square (decorative circle), 2 3/4" x 4"
  • Petunia Pop: scraps
  • Fresh Freesia: scraps
  • Adhesive Sheet: 2 3/4" square
  • Bloom Impressions (SAB): 3 3/4" x 5" 1/2" x 5 1/4" (inside) Purple Flowers
To Make This Card:
  • Attach large Blackberry Bliss piece and DSP piece to folded White card base.
  • Also, attach 2 3/4" x 4", where shown.
  • Die cut decorative circle using the Spotlight on Nature dies, from the Blackberry Bliss Square. I wanted to be able to see the decoration on this circle, so I adhered it to a slightly larger square of White. (There was no circle die that I could find for this purpose). After you have done this, take a pair of Paper Snips, and trim the White to fit.  You'll want to try to "undercut" this piece, so you can't see the White from the edges. Attach this to the card front.
  • Next, stamp "detailed" heart in Petunia Pop ink onto 3" square.  Die cut with "Radiating" circle. This will just fit! Attach to the larger circle, with Dimensionals.
  • Attach adhesive sheet to the 2 3/4" Blackberry Bliss square.  Die cut detailed heart.  Peel off backing and attach to White circle over stamped heart.
  • Die cut 3 Petunia Pop and 3 Fresh Freesia Flowers. Arrange onto heart, where desired. (3 go on the front, and 3 go inside!)
  • Stamp sentiment in Blackberry Bliss ink.  Die cut with corresponding label die.  Add to card as shown.  I placed Dimensionals on the right side so it was even with the circle
  • Finish the inside with a strip of DSP, and 3 flowers.  Since this is inside, I wanted the flower centers flat, so I used the SAB Purple Sequins.
  • For the outside, I embellished the flowers and label with Purple Shimmer Gems.

Product List