Showing posts with label spring corners. Show all posts

Friday, February 7, 2025

Inlaid Spring Corners "Daisy"

I love this simple version of this Bundle! Simple-looking, yes, but the inlay does take a little time.  This time, no packing tape to adhere the inlaid pieces to, but Multipurpose Glue instead. But, I like the effect it makes.


Measurements:   

  • Basic White1/2 sheet, 3 3/4" x 5"
  • Granny Apple Green: 4" x 5 1/4"
  • Daffodil Delight: scraps
To Make This Card:

  • Adhere Green piece to folded White card.
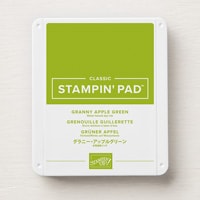
  • Stamp sentiment in Granny Apple Green ink, as shown.
  • Die cut detailed flower from Spring Corners Dies in corner of White square. Carefully keep the flower petals to reinsert into flower openings.
  • Attach this piece to card front, over Green piece.
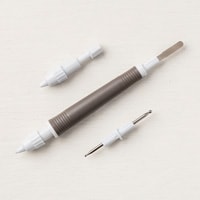
  • Carefully place Multipurpose Glue into petal openings and use putty end of Take Your Pick Tool to pick up and insert into corresponding openings.
  • Die cut flower centers from scrap of Daffodil Delight and add to image with Multipurpose Glue as well.
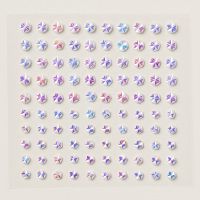
  • Finish with scattered Iridescent Faceted Gems, as shown.
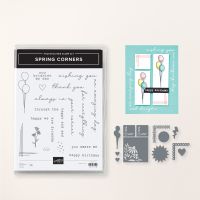
Product List

Saturday, February 1, 2025

Boho Blue "Inlaid" Spring Corners Card

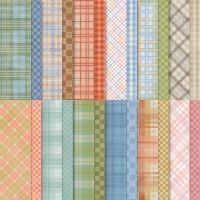
 I just LOVE this color combination - Boho Blue, Calypso Coral, and Petal Pink! This card was designed my demo Mary Fish.  I just love it! The Boho "gingham" DSP is from the Timeless Plaid DSP from the Mini Catalog, and the die cut from the Spring Corners Dies. I call it "inlaid" because I replaced the White pieces that were removed with colored cardstock!  A little time consuming, but I LOVE the final result!


Measurements:   

  • Boho Blue1/2 sheet, 3 1/8" square, scraps
  • Calypso Coral: 4" x 5 1/4", scraps
  • Petal Pink: scraps
  • Basic White:3 3/4" x 5", 2 5/8" square (Inlaid piece), 4" x 5 1/4" (inside)
  • TImeless Plaid DSP (N): 2" x 5, 1/2" x 3 3/4" (Boho Blue Plaid)
To Make This Card:

  • Adhere Coral and White layers to folded Boho Blue Card.
  • Attach gingham DSP as shown.
  • Emboss sentiment in White embossing onto corner of Boho Blue piece.
  • Die cut detailed flower in corner of White square.
  • Place piece of Packing Tape on the wrong side, so sticky side shows from Right side.
  • Die cut flower centers from Petal Pink.  Carefully place corresponding pieces into centers.
  • Next, repeat for "flower petals" from Calypso Coral, and "leaves" from Boho Blue.  This creates such a neat effect. Well, worth the time!
  • Add this piece to Boho square with Dimentionals., then add to card front.
  • Add White layer and DSP strip to inside of card.
  • Finish the outside with 3 Calypso Coral Rainbow Dots.

Product List

Tuesday, January 28, 2025

Blackberry Bliss Clean & Simple Spring Corner Card

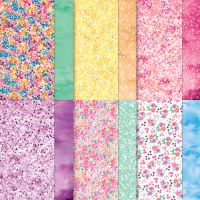
 I just love the color combination of this Bloom Impressions DSP! Plus it uses all kinds of SAB Freebies. AND, the awesome Spring Corners Bundle from the Online Store!! (Did you miss this one?) Love it!! Again, this is a wonderful idea awesome for many occasions, and many color combinations from the DSP!!


Measurements:   

  • Blackberry Bliss1/2 sheet cut LENGTHWISE, 3" x 4 1/4", 1/2" x 4"
  • Basic White: 4" x 5 1/4 (inside), 2 3/4" x 4"
  • Bloom Impressions DSP (N)(SAB): 4" x 5 1/2", 1/2" x 4" (Blackberry Bliss floral)
To Make This Card:

  • Cut DSP piece at 3 1/4". Adhere to top, front of folded Blackberry Bliss card.
  • Flip over DSP, and adhere "solid" to bottom of card front, overlapping floral piece.
  • Take 1/2" Blackberry cardstock strip and adhere where 2 pcs meet.
  • Next, take White layer, and stamp sentiment in Blackberry Bliss ink. I used my Stamparatus for placement, but it is a clear stamp, so that is fairly easy to do without it.
  • Now, die cut detailed floral image in opposite corner. Mount to smaller, Blackberry piece.
  • Attach to card front with Dimensionals.
  • Add White piece to inside, along with DSP strip.
  • Finish card front with scattered SAB Purple Sequins, and small SAB Fresh Freesia Seam Binding bow.

Product List

Monday, January 27, 2025

Spring Corners Book Binding Card

This idea is actually a combination of 2 cards I've seen - the layout of one and the colors of another! If you haven't ever even seen this stamp bundle, Spring Corners, it's in the Online Store and was released earlier this month! I just love it!!  And the dies are just awesome!  So, for this Shy Shamrock card, I also used the FREE SAB, Bloom Impressions DSP!!  This card has so many occasions and possibilities using any DSP - but particularly the variety of colors in the Bloom Impressions DSP!


Measurements:  

  • Basic White: 1/2 sheet cut LENGTHWISE, 3 3/4" square
  • Bloom Impressions (SAB) (N): 4" square, 1" x 4", 1/2" x 4" (Shamrock Floral), 2 3/8" square (Solid Shamrock)
To Make This Card:

  • Fold Basic White card in half. Score at 4 1/4" - 5 1/2".  Crease well.
  • Attach 1" DSP strip to "binding" area. Take 5 1/2" piece of narrow White ribbon and wrap around "binding" area and adhere to the back.
  • Now, attach "binding" area to card with Tear n Tape.
  • Adhere print DSP square to card front.
  • Stamp sentiment from Spring Corners Stamp Set in Shy Shamrock ink. I used my Stamparatus for placement.
  • Die cut detailed floral die in opposite corner. Attach "solid" square of DSP to wrong side of die cut opening. (Or, you can just leave the floral design show through. 
  • Attach this square over DSP on front.
  • Finish the inside with a strip of DSP, and sentiment stamped in Shy Shamrock Ink.
  • To finish, add a ribbon bow over the ribbon, and scatter Shy Shamrock Shimmer Gems to the front.

Product List