Tuesday, February 25, 2025

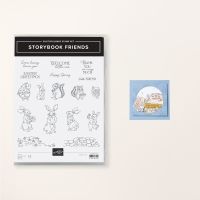
Storybook Friends Circle Flip Card

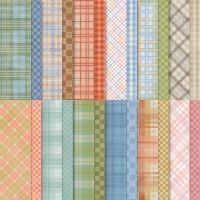
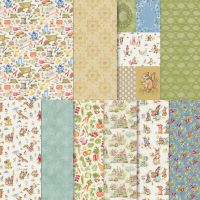
 So, here's another Susan Campfield design.  I have done a version of this in the past, but this is just darling with the Storybook Friends and Timeless Plaid DSP combination! So many possibilities!!


Measurements:   

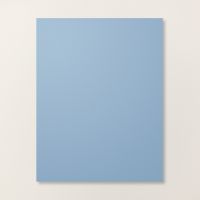
  • Boho Blue:1/2 sheet
  • Basic White: 5 " x 8" (insert), 2" square (circle for greeting); scrap (label)
  • Timeless Plaid DSP (N): 4" x 5 1/4" (card front); 1 1/4" x 4 3/4" (insert panel)
  • Storybook Moments DSP (N): small critter cut in a circle from DSP
To Make This Card:

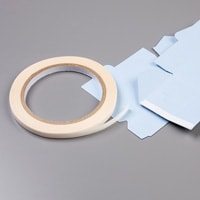
  • Place adhesive only on the edges of the 4" x 5 1/4" piece of Plaid DSP and adhere to the front of the folded Boho Blue card.
  • Using the 3rd down from the largest circle from the Stylish Shapes Dies, cut a a circle out center of the upper portion of the card front. Because there is no adhesive in the middle, you will then get 2 die cut circles. Set this aside to be used later.
  • Score the White insert piece @ 2" - 3 1/2" - 5 1/2".  Crease L to R as follows: "mountain fold" on 2" score line, "mountain fold" on 3 1/2" score line, and "valley fold" on 5 1/2" score line. Crease well.
  • Next, place DSP strip between the 2" and 3 1/2" score lines.
  • Place adhesive on the back of the last, largest section. Accordion fold the piece together, lining up the left cut edge of the insert so it is next to the center fold of the card base, press the back to the card.
  • Now, when you open the card, the right end of the insert is adhered to the inside of the card, and the left end is left lose.
  • Next, place adhesive to the first scored section, but ONLY around the outside edges of this piece and not along the folded edge. Close the card and press to adhere.
  • Close the card into place.  Some of the DSP will be visible through the circle opening. 
  • Place adhesive through the circle opening and onto the exposed DSP. Adhere the cardstock (Boho Blue) piece that was cut from the card front, through the circle opening.
  • Using the 4th circle die from the largest circle from the Stylish Shapes Dies and cut one of the cute critters from the DSP. Adhere the image to the Boho Blue circle with Dimensionals.
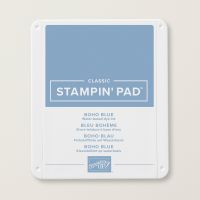
  • To finish the card, die cut circle from the White square using the 4th down die. Stamp sentiment of your choice in Boho Blue ink and then mount onto DSP circle cut from front of card.  Adhere to largest section of insert, across from circles on the front.
  • Also, die cut banner from Stylish Shapes Dies and stamp sentiment of your choice in Boho Blue ink. Adhere to front, under circles with Dimensionals.
Product List

Monday, February 24, 2025

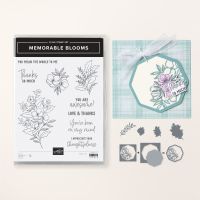
Memorable Blooms Flip Up Card

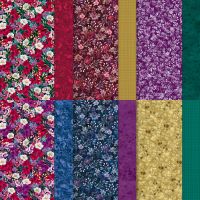
 Once again, Susan Campfield shares an awesome creation! This one uses my current favorite, Memorable Blooms Dies in a neat flip up card.  I combined it with the Regal Winter DSP currently in the Online Store in Blackberry Bliss.. All of the patterns would work nicely in this card design!  Susan used Fresh Freesia and one of the prints from the SAB DSP - Toadstool Garden. You really should give this one a try! Oh, as always, after I create a card, I analyze whether I would do anything differently.  I think for this one, I might use Fresh Freesia behind the die cut, as I feel like the White is a little bright.


Measurements:   

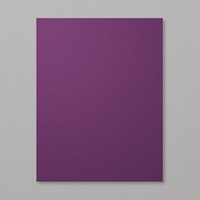
  • Blackberry Bliss: 1/4 sheet, 3 3/4" square, 1 1/2" x 5" (flip up piece)
  • Basic White:2 pcs @ 3 3/4" square (one for sentiment "inside", one for behind die cut), 4" x 5 1/4" (back)
  • Adhesive Sheet: 3 3/4" square
  • Regal Winter DSP: 4" x 5 1/4", 5/8" x 5 1/4" (back)
To Make This Card:

  • Adhere the DSP piece to the 1/4 sheet of Blackberry Bliss, the base of the card.
  • Score flip up piece at 1/2", crease well.
  • Place Tear n Tape on the extension and adhere to back of base, so the fold lines up to the cut edge. Then, add the large White piece to the back, over the extension.
  • For the front, die cut the flowers from the square of Blackberry Bliss.  You will need to use both parts of the die for this - the decorative and the outside. I also decided to add an adhesive sheet to the back before I die cut this, as I really didn't like to use the Multipurpose Glue for this.
  • Next, die cut just the outside of the die from the 2 White squares. 
  • Adhere one to the back of the card base, so the die cut lines up under the flip up piece.
  • To the other, peel off the adhesive backing and adhere to the other White base.
  • Now, attach this to the flip up piece, so it lines up over the layer on the base of the card.
  • Stamp sentiment in Blackberry Bliss ink on inside octagon.
  • Attach DSP strip to the back.
  • Finish with White Organdy bow, and scattered Purple sequins both outside and in.

Product List

Friday, February 21, 2025

Folded Everyday Arch Card

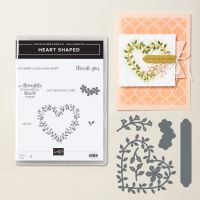
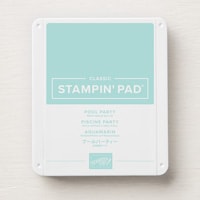
 I'm always on the lookout for interesting uses for dies and stamps that I have.  I just got these awesome Everday Arch Dies, which I love, and spotted this interesting use of the dies! The designer placed the bottom edge off the fold of the cardstock, and created a flipped up arch! So cool. It was paired with the Heart Shaped bundle from the SAB Brochure. I just love this entire design...and the colors - Lemon Lolly and Pool Party!


Measurements:   

  • Thick Basic White:1/4 sheet, 3 1/4" x 8 1/2" (folded arch)
  • Lemon Lolly: 4" x 5 1/4", 2 3/4" x 3"
  • Pool Party: scraps
To Make This Card:

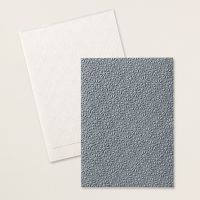
  • Run Lemon Lolly piece through Starstruck Embossing Folder (SAB).  Adhere to White card base.
  • Fold White piece for arches in half, so it measures 4 1/4" x 3 1/4".
  • Lay 4th arch from the outside, so the bottom cut edge lays off the fold of the White piece.  Die cut.
  • Stamp detailed heart in Pool Party ink, onto front flap - a little below center.
  • Stamp desired sentiment in the center.
  • Die cut detailed heart from Lemon Lolly piece.  Adhere over stamped image.
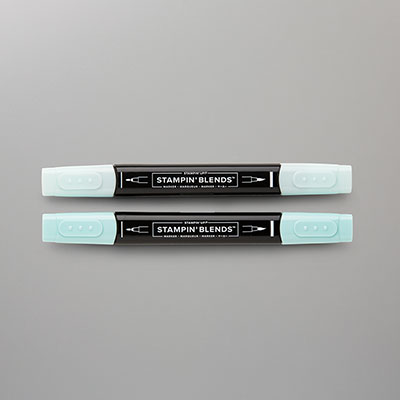
  • Color small Iridescent Pearls with Dark Pool Party Blend. Adhere to "wreath".
  • Die cut 2 Pool Party flowers, and attach to card as shown.
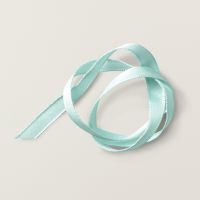
  • Wrap Pool Party Ribbon around top flap of folded arch, and tie in a knot.
  • Finish with Iridescent Pearls for flower centers, and stamped flowers and sentiment inside in Pool Party Ink.

Product List

Thursday, February 20, 2025

Expressions in Kindness Kit Accordion Gate Fold

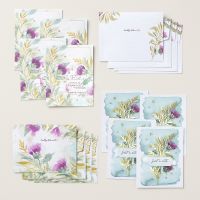
 I saw this version of the Accordion Gate Fold designed by Tami White.  It uses the ENVELOPES and cards from the gorgeous Expressions in Kindness Kit Collection Kit! This kit really has a lot of potential!  You really need to check it out in the Online Store!


Measurements:   

  • Blackberry Bliss: 1/2 sheet, 3" x 10 5/8", 2 pcs @ 1" x 2 3/4", scrap
  • Very Vanilla: 1 7/8" x 2 3/4"
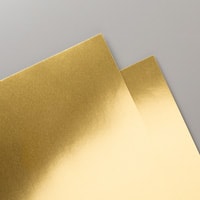
  • Gold Foil: 4" x 5 3/8" (inside base), 4 pcs @ 1 7/8" x 5 3/8" (flaps - inside & out), 5 pcs @ 2" x 2 7/8" (accordion panels)
  • Expression in Kindness Kit (N): 2 of the "thistle print" envelopes - 3 7/8" x 5 1/4" (inside base), 3 pcs @ 1 3/4" x 5 1/4", 4 pcs @1 7/8" x 2 3/4"; one "thistle" card - cut back @ 1 3/4" x 5 1/4"
To Make This Card:

  • The base of this card is a "gate" fold. Take the 1/2 sheet of Blackberry Bliss and score at 2 1/8" from one end. Then, take the other side and match cut edges and crease, creating a "gate" fold.
  • To this, adhere the Gold layers to the inside base, and 2 outside  "flaps" 
  • At this point, you are going to make and attach the 2 "strips" that will hold the "accordion" piece to the card base.
  • Take the 2, 1" pieces and score lengthwise @ 1/2". Crease Well.
  • Place Tear n Tape on both sides. Remove backing of one side, and adhere to the inside of a flap, lining up fold to cut edge. Repeat for the other side.
  • Now, you can attach the Gold Foil layers to the inside flaps. 
  • Here's how to cut the envelopes to use for DSP. First, you'll trim about 1/2" from either side, removing the folds.  This cut should run up to the envelope flap, so you now have an even piece of DSP.  I also removed the curve of the flap.  I cut my base piece first, then the next larger pieces, down to the smaller pieces.  It took 2 envelopes to cut most of the pieces.  I hated to cut into one more envelope, so I used the back of one of the cards, thinking I could always add the front to a folded Vanilla card base.
  • Finish the base by attaching the decorative "DSP" layers to the corresponding Gold Foil pieces. Note: on mine, the largest decorative piece has a mild crease from the "envelope", which is not noticable!
  • Now, for the "accordion" piece. Score at 2 1/8"- 4 1/4"-6 3/8"-8 1/2", across the piece.
  • To fold, start at the left side and make a "mountain" fold, a "valley" fold, another "valley" fold, and end with a "mountain" fold.  Crease well with a bone folder. Fold up so it all lays on top of each other. (You might need trim, re-crease to make it lay flat. And, try creasing both ways, as one might work better than the other!) Your card can open either way.
  • Arrange the 5 Gold layers onto the Accordion panels.
  • Next, adhere the decorative DSP pieces to the 2 outside panels, leaving the center panel, for now.
  • Now, take the center, Vanilla panel and emboss sentiment, from the kit, in Gold Embossing Powder. Now, you can attach to the center Gold Foil.
  • Now, your ready to insert the "accordion" piece! 
  • Place Tear n Tape on the wrong side of the center section, the one with the sentiment.
  • Open the card base, and center and adhere to the inside on the large decorative DSP. Press well.
  • Now, for the 2 outside panels/tabs. Take one of the "tabs" and lay out flat, so it looks like an extension of the front flap. Remove the tape backing, and fold the panel into place. Repeat for the other side. Voila! It is done! 
  • Finish with scattered Brass Butterflies.

Product List